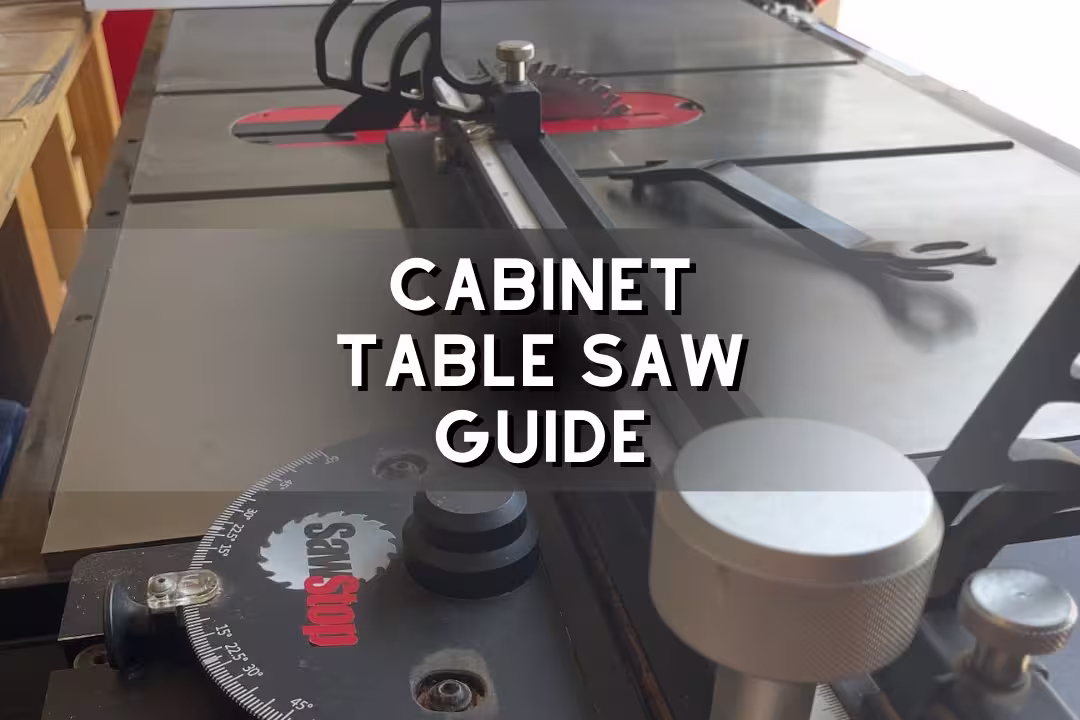
Cabinet Table Saw Guide: Compare Features, Specs, and Top Models
A cabinet table saw is a heavy, enclosed-base table saw built for maximum accuracy, dust control, and power in a dedicated shop. It uses cabinet-mounted trunnions, a belt-driven motor (often 1.75–3 HP), and a cast-iron top to cut hardwood and sheet goods with less vibration than lighter saws.
Table of Contents
This guide breaks down the specs that matter, compares cabinet saws to contractor and jobsite saws, and highlights models worth buying—plus the real setup issues that cause most “this saw won’t cut straight” complaints.
What a Cabinet Table Saw Is
Enclosed cabinet base
The defining feature of a cabinet saw is the enclosed base that supports the trunnions and captures dust. That cabinet adds mass—often 300–400+ lb once assembled—which is why the saw “feels planted” when a full sheet slides across the cast iron without the skittery vibration you get on lighter frames.
That enclosure also changes airflow. With a 4-inch port and an internal shroud, dust gets pulled from under the blade instead of billowing into your chest and leaving that dry, burnt-wood taste in the back of your throat after a long rip session. SawStop calls out very high collection efficiency with their cabinet and guard setup on the PCS line (SawStop Professional Cabinet Saw PCS175).
Who it’s for
A cabinet table saw fits people who rip hardwood weekly, break down plywood safely, cut joinery (dados/tenons), and need repeatable settings. If you’re building kitchens, built-ins, doors, or furniture where a 1/64-inch drift shows up as a gap you can feel with a fingernail, the heavier mechanism pays off fast.
It’s also for shops that can commit to a spot. Cabinet saws don’t like being shoved around every weekend; constant repositioning can knock fence rails out of parallel, and rolling over seams in concrete can twist mobile bases just enough to change how a long board behaves at the outfeed.
Core components
The core pieces are the cast-iron top and wings, the belt-driven motor, cabinet-mounted trunnions, a quality fence system, and a riving knife/guard. On better cabinet saws, the handwheels feel smooth and weighted; you can feel the blade height rise without gritty spots, which usually means the gearing is clean and the trunnion moves without binding.
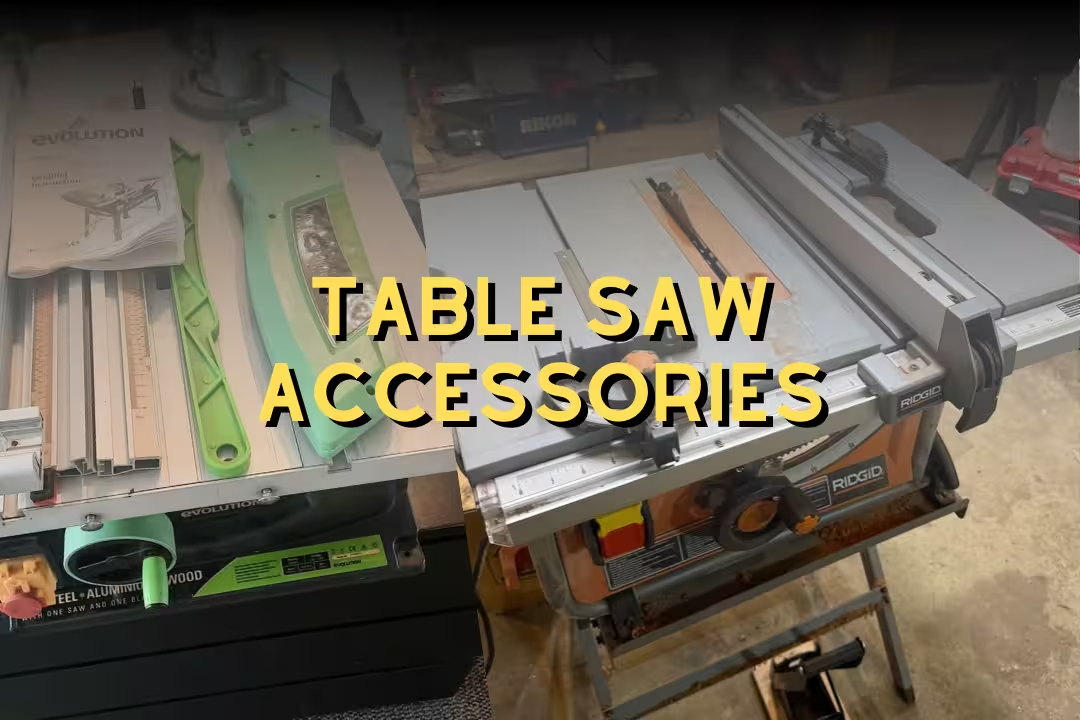
Don’t overlook the “small” parts: throat plates (standard and dado), a meaningful dust shroud, and miter slots that are actually parallel to the blade. If you’re dialing jigs for spline cuts or box joints, sloppy slots waste hours—pair this article with our table saw accessories guide so you buy the inserts, featherboards, and outfeed support that match how cabinet saws get used.
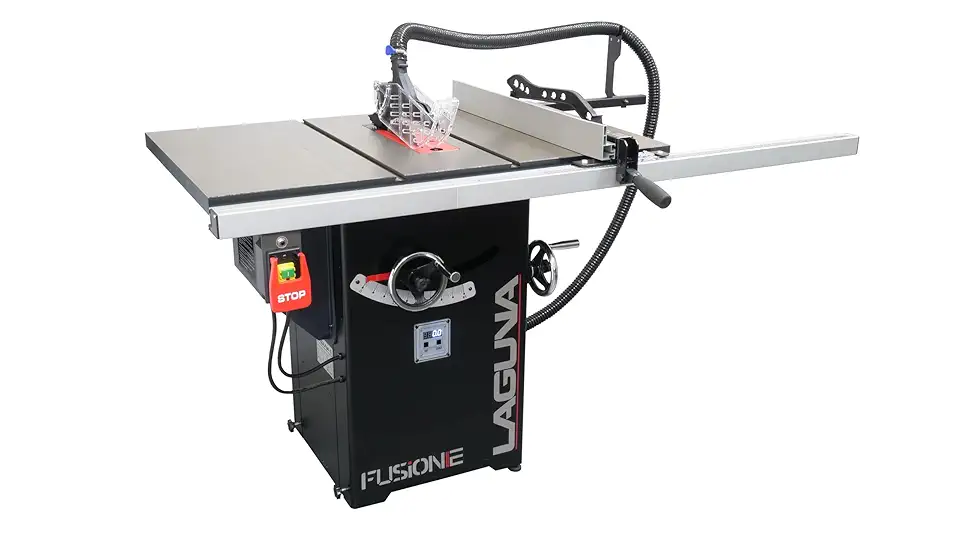
F2 Fusion Table Saw
- Compact footprint ideal for tight shops and job sites
- Smooth motor delivery for consistent cuts
- Sturdy fence system for accurate ripping
- Quick blade changes and easy maintenance
- Built-in dust collection port reduces cleanup
Key Cabinet Saw Specs to Compare
Motor and drive
Most cabinet saws land at 1.75–3 HP with a belt drive. In real cuts, the difference shows up when you push 8/4 maple through a full-kerf rip blade: a 3 HP saw keeps pitch steadier and is less likely to “sing” as the blade slows in the cut.
Beginners often buy horsepower and forget electrical reality. A 3 HP cabinet saw typically needs 240V, and the cost isn’t the outlet alone—it’s breaker space, wire gauge, and the annoyance of tripping a shared circuit when a dust collector and saw start at the same time. Plan your shop circuits before you fall in love with a motor spec.
Table and wings
Look for a flat, heavy cast-iron surface with wings that stay coplanar. A good target many brands quote is around 0.010-inch flatness; that matters because a slight dip near the blade makes a panel rock, and that rocking turns into a wandering rip line you’ll blame on your fence.
Steel wings can work, yet they’re less forgiving during assembly. I’ve seen steel wings bolt up with a tiny twist that only shows up when you’re crosscutting a wide cabinet side and the far edge drags—your hands feel it as a gritty, uneven slide instead of that smooth “hockey puck” glide across waxed cast iron.
Fence and rip
The fence is where cabinet saws either feel premium or frustrating. A good T-style fence locks without toeing in, stays square after bumping it with your hip, and reads true on the rip scale after calibration. If you want a deeper fence breakdown and setup steps, use our table saw fence guide.
Rip capacity is about more than a number. A 52-inch setup is great for sheet goods, but it also demands infeed/outfeed support and space to walk the cut. If your shop is tight, a 30–36-inch rip with a track saw for breakdown can beat wrestling a full 4×8 across the blade.
Arbor and dado
Most cabinet saws use a 5/8-inch arbor and accept dado stacks up to 29/32 inch with the right throat plate. Pay attention to arbor length and the washer/nut stack-up; some setups technically “fit” a dado but leave too few threads engaged, which is a bad day waiting to happen.
Arbor runout is another quiet spec that shows up in joinery. When runout is low, dados bottom out cleaner and you get less “bat ear” tearing at the shoulders. SawStop lists very tight runout figures on the PCS family (PCS175 specs), and that’s the kind of detail that separates “pretty good” cabinetry from dead-straight casework.
Miter slots
Standard slots are 3/4 x 3/8 inch, and what matters is parallel alignment to the blade plus consistent width. If your miter gauge bar has side play, a crosscut sled will “click” as it shifts—your fingertips notice it—and that tiny shift becomes a measurable angle error on wide panels.
A common mistake is trying to fix sled accuracy with shims before checking the saw. Set the blade-to-slot alignment first, then tune the sled runners. That order prevents you from baking a crooked reference into every jig you build.
Dust collection
Cabinet saw dust collection works best with a 4-inch hose, a decent collector, and a sealed cabinet. If you see dust “puffing” out around the throat plate, it usually means you’ve got more makeup air than suction, so the cabinet’s acting like a blower. Tape or gasket obvious leaks and add an over-blade pickup if your work creates fine dust.
Don’t ignore the blade guard path. The nastiest dust is the light stuff thrown off the top of the blade; that’s the dust that makes your nose feel dry and your eyes sting after cutting MDF. A guard with collection changes the air quality more than most people expect.
Safety features
At minimum, look for a riving knife that matches blade kerf, a real guard you’ll actually use, and a paddle switch you can slap with a knee. Kickback is the injury that surprises careful people; it happens fast, and you feel the stock “load up” against the blade right before it launches.
Active blade-stopping systems, like the SawStop cabinet saw brake, add cost and complexity, yet they change the risk profile in a way basic guards can’t. The trade-off is maintenance and false triggers if you cut very wet or conductive material without using bypass modes correctly—read the manual, and keep spare brakes on hand so a triggered brake doesn’t stall your work for a week.
| Spec | What to look for | Why it matters in real cuts |
|---|---|---|
| Motor HP | 1.75–3 HP (often 240V at 3 HP) | Keeps feed rate steady in thick hardwood and reduces burn marks |
| Rip capacity | 30–52 inches | Controls whether you can safely rip sheet goods without “board steering” |
| Dust port | 4-inch cabinet port + shroud | Stops piles inside the cabinet and cuts airborne dust |
| Dado capacity | Up to 29/32 inch with proper insert | Clean cabinet joinery without multiple passes |
| Table flatness | Low deviation (often quoted around 0.010 inch) | Prevents rocking that causes wandering rips and inconsistent joinery |
Cabinet Table Saw vs Contractor vs Jobsite
Base and stability
A cabinet saw’s enclosed base gives mass and stiffness, which is why it stays calm when you feed long stock. Contractor saws and hybrids can do good work, yet open bases transmit more vibration and collect dust in places you’ll hate cleaning later.
Jobsite saws trade stability for portability. That’s fine for trim work, but you’ll feel the difference when pushing a heavy sheet: the stand can shift, the table is smaller, and the stock tends to tip at the start of a cut if you don’t build proper support.
Power and capacity
Cabinet saws bring torque through belt drive and larger motors. Contractor saws often sit around 1.5–2 HP, while jobsite saws use 15-amp universal motors that sound higher-pitched and can bog down in thick rips if you force the feed.
Capacity isn’t just rip width—it’s how comfortably you can control the work. Cabinet setups with long rails let you keep the fence far right while still having a stable extension surface, which reduces the temptation to “muscle” a panel through when it starts drifting.
Accuracy and vibration
Less vibration means cleaner edges and fewer mystery problems. On a cabinet table saw, the cut often sounds like a steady hiss; on lighter saws, you hear a warble when the blade and belt/motor system resonate. That warble often shows up as faint scallops on rip edges.
People new to cabinet saws still mess up accuracy by leveling wrong. If the saw rocks even slightly, your outfeed support changes pressure mid-cut, and you’ll see burn marks even with a sharp blade. Shim the feet or mobile base until the saw doesn’t click or shift when you lean into a corner.
Best use cases
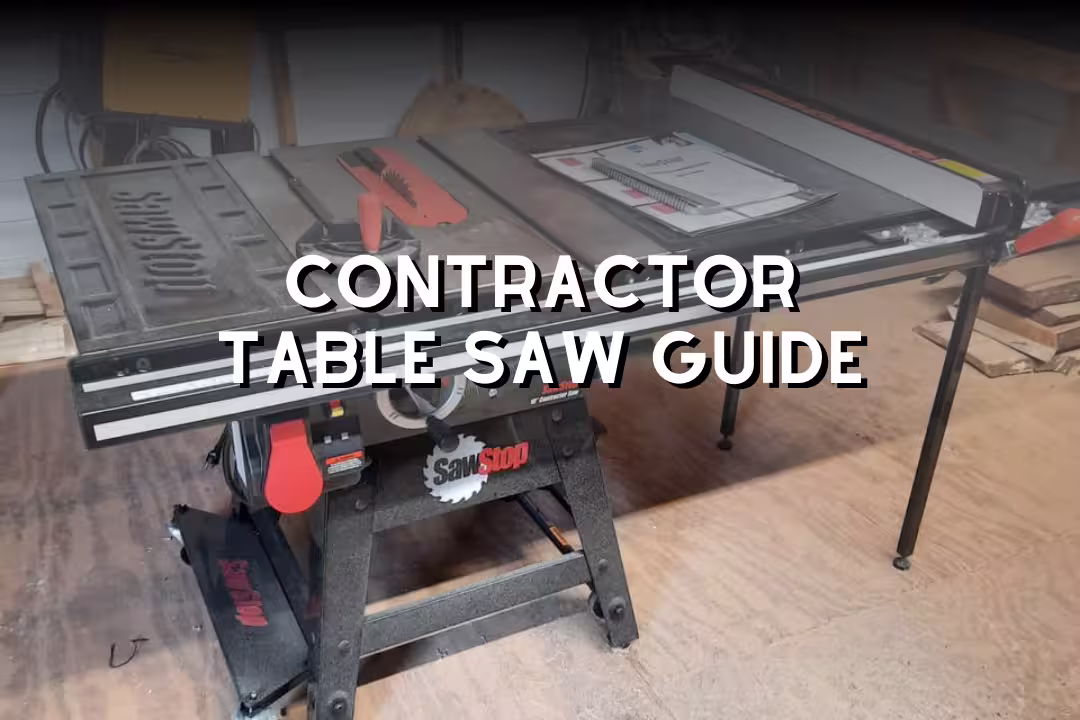
A cabinet saw shines for repeated cabinet parts, hardwood ripping, and joinery. A contractor saw makes sense if you want a shop-focused tool without the full weight and electrical demands—our contractor table saw guide covers where that middle class fits.
A jobsite saw wins when you must load it into a truck or store it tight. If you’re unsure which category fits your work, compare against our best table saw roundup before spending cabinet-saw money on a shop that can’t support it.
Top Cabinet Table Saw Models
SawStop Professional Cabinet Saw (3 HP)
If you want a no-excuses sawstop cabinet saw for furniture and cabinet throughput, the 3 HP PCS build is the benchmark: strong power, large rip capacity options, and the brake system that’s changed what many shops consider acceptable risk. The big win in daily use is consistency—wide rips don’t feel like a balancing act, and the saw stays composed when the offcut starts to sag near the end of a cut.
Watch-outs: the safety cartridge is a consumable, and a mistake like cutting wet pressure-treated stock without the right mode can trigger the brake. Build the habit of checking brake gap and keeping a spare cartridge and blade on the shelf so one incident doesn’t stop production mid-project.

SAWSTOP 3 HP Professional Cabinet Saw
- Advanced SawStop safety system protects users from blade contact
- 3 HP motor delivers professional cutting power
- 52-inch T-Glide fence for precise, long rip cuts
- Heavy cabinet base ensures stability and reduced vibration
- Large extension table supports big panels and sheet goods
SawStop 1.75 HP Contractor Saw (Cabinet-Style)
This is the pick for people who want SawStop safety with a lighter electrical footprint. The 1.75 HP motor can run on 120V in many setups, yet it still feels controlled with a good blade and patient feed rate.
The common mistake is expecting it to behave like a 3 HP cabinet saw in 8/4 stock with a full-kerf rip blade. A quick workaround is swapping to a thin-kerf rip blade and slowing feed; you’ll hear the motor tone stay steady, and burn marks often disappear without touching alignment.

SAWSTOP 1.75 HP Contractor Saw
- Industry-leading blade safety system reduces injury risk
- 1.75 HP motor for strong, steady performance
- Professional T-Glide 36-inch fence for accurate ripping
- Robust rails and extension table for larger workpieces
- Heavy-duty construction built for long shop life
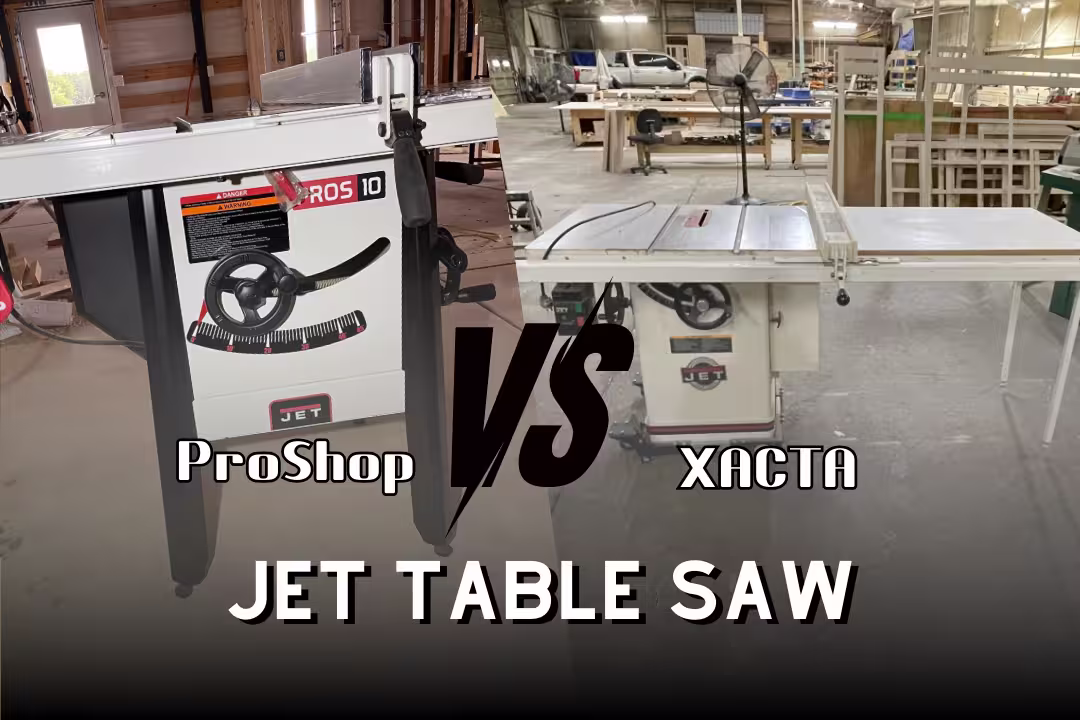
JET ProShop II 10-inch Table Saw
The JET ProShop II is a strong “shop saw” choice when you want solid fit and finish without jumping to a full cabinet machine. The feel is familiar: the fence glides cleanly, and the top gives that cool cast-iron touch that stays slick once you wax it. For a deeper look at how JET’s lineup stacks up, see our JET table saw guide.
Edge case: steel wings can arrive slightly flexed from shipping or get pulled out of plane if you over-tighten bolts before aligning. Snug bolts first, align with a straightedge, then tighten in stages; that prevents the “panel catches on the seam” problem that shows up at the worst time.
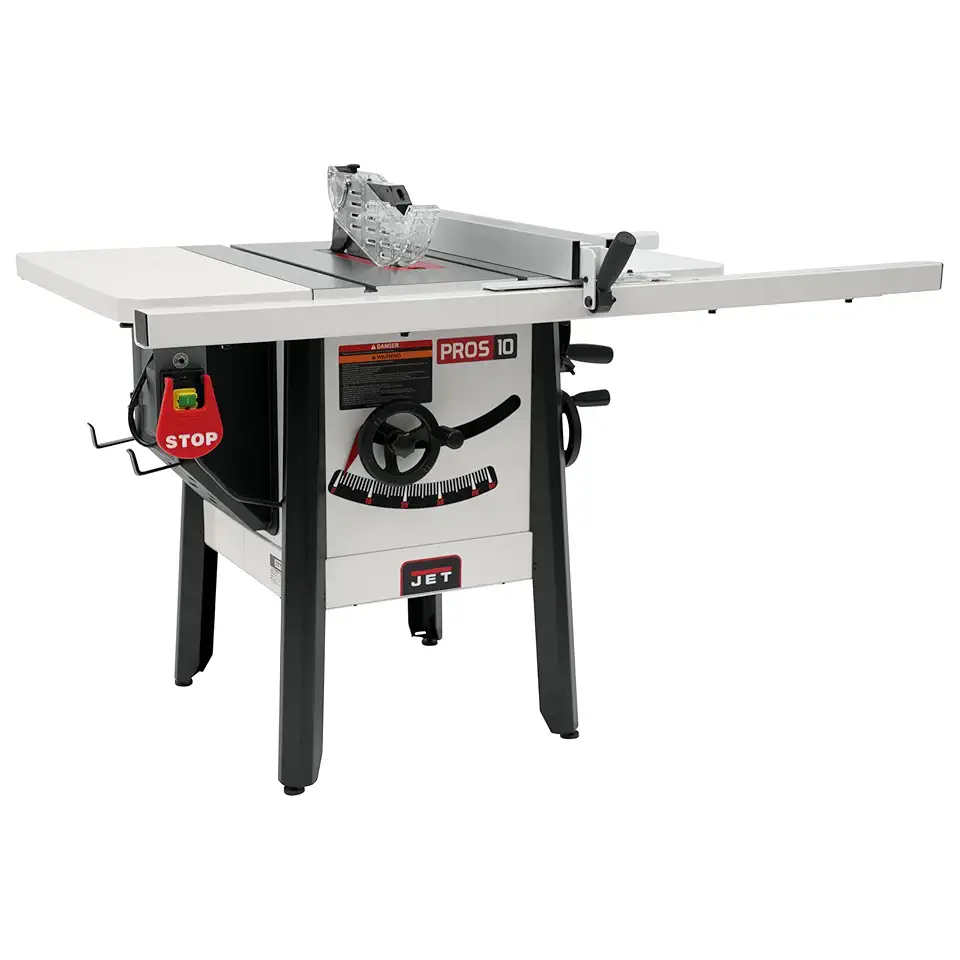
JET ProShop II 10-inch Table Saw
- 1 and three quarters HP motor for reliable shop performance
- 30-inch rip capacity handles wide stock with ease
- Steel wings provide durable outfeed support
- Accurate fence system for repeatable cuts
- Solid construction built for professional use
King Industrial KC-10KX snapshot
King Industrial’s cabinet offerings are often shortlisted by buyers who want a traditional cabinet-saw format without SawStop pricing. What I look for on these builds is trunnion rigidity and fence repeatability—those two traits decide whether seasonal humidity changes cause you to chase alignment. You can inspect KC-series positioning via the product details shown by retailers like King Industrial KC-10KX listing.
Risk to watch: if you can’t get parts quickly (switches, belts, arbor bearings), downtime hurts more than saving money up front. Before buying, check local parts support and confirm the saw uses standard sizes for belts and bearings so you’re not stuck waiting on a custom shipment.
Busy Bee CX-Series snapshot
The Craftex CX-series cabinet saws show up a lot in small pro shops that want cast iron, cabinet dust collection, and a classic fence without a huge entry cost. Busy Bee lists features like a 2 HP motor and cabinet-saw format on their 10in Cabinet Saw 2HP (Craftex CX-Series) page, which is the right place to verify rip capacity, wings, and included bits before you plan your shop layout.
Common beginner mistake: leaving the factory belt tension as-is. If the belt slips, you’ll smell hot rubber and see cut quality get worse mid-board; tension and pulley alignment fix most of it. After the first few hours of use, recheck belt setup because new belts can settle.

Buying Guide for Cabinet Saws
Choosing HP
Pick horsepower based on what you rip weekly, not what you cut once a year. For mixed hardwood work, 2–3 HP keeps the saw calm with full-kerf blades; 1.75 HP still works, yet you’ll manage feed rate more and you’ll notice it most on long rips where heat builds.
If you hate burning, don’t blame the saw first. Dull blades, pitch buildup, and fence toe-in cause most burn marks—then people try to “solve” it by buying more HP. Clean the blade, verify fence parallel, and slow the feed slightly before you spend on a motor jump.
Voltage planning
Plan 240V power like you plan dust collection: as infrastructure. Don’t run a cabinet saw on a long, thin extension cord “for now”; voltage drop makes motors run hotter, and you’ll smell that warm varnish odor that signals the motor is working harder than it should.
A clean setup uses a dedicated circuit, correct breaker, and a plug you can reach quickly. If you’re renting, factor in what modifications you’re allowed to do; sometimes the right answer is a 1.75 HP saw on 120V until your shop situation changes.
Rip capacity needs
A 52-inch rail set is great for cabinets, yet it’s wasted if you can’t support a full sheet. Measure your infeed/outfeed distance and plan for a staging spot; otherwise, you’ll end up dragging plywood across the saw, scuffing the surface, and fighting friction instead of focusing on the cutline.
Shops with limited space often do better with 30–36 inches on the saw and a separate breakdown method. That hybrid flow is faster and safer because you’re not trying to steer a floppy sheet while keeping it tight to the fence.
Fence selection
Choose a fence you trust to lock square every time. A T-style fence with a solid front rail is the common standard because it resists deflection when you press stock against it. If the fence flexes, you’ll see a rip that starts perfect and ends narrow—then your glue-ups fight you.
Pro workaround: after you set a fence, push lightly at the outfeed end before cutting. If it moves, you’ll feel it. That quick “wiggle test” catches bad lock pressure before it ruins a long rail cut.
Dust and shop setup
Good dust collection starts with airflow. A cabinet saw likes a short 4-inch run to a collector, and it works best if you avoid sharp bends that steal suction. If you’re setting up a new shop flow, budget time to seal cabinet gaps so suction pulls from the blade area instead of random openings.
Also plan outfeed support early. The first time you crosscut a heavy panel without it, you feel the panel dip at the end, the kerf pinches slightly, and the cut quality drops right where it matters. A simple outfeed table prevents that and reduces kickback risk.
Safety priorities
Start with habits: riving knife installed, guard used when the cut allows it, and push tools within reach. The scary moments I see come from rushing setup—stock not jointed flat, fence set without checking blade height, and hands drifting too close when the cut gets tense.
If you’re buying your first cabinet saw, don’t treat active safety like permission to be careless. It’s a backup for the unexpected, like a knot that twists and closes the kerf; your best safety tool is still calm feed pressure and proper support.
- Buy the saw size that matches your space and support tables.
- Confirm your shop can supply the right voltage before ordering.
- Pick a fence you can lock without second-guessing it.
- Plan dust extraction so you’re not breathing fine dust after long sessions.
- Keep push sticks, sleds, and inserts staged so you don’t “just do one cut” unsafely.
Real-World Issues to Watch For
Trunnion alignment
Trunnion alignment is where many cabinet saw complaints start. If the blade isn’t parallel to the miter slot, you’ll see burn marks on one side of the kerf and the offcut may drift into the blade near the end. Fix alignment at the trunnions, then recalibrate the fence after the blade is true.
Watch out for a misleading “quick fix”: adjusting the fence to match a misaligned blade. That makes ripping seem okay, but every sled and miter gauge cut stays wrong. Always correct blade-to-slot first, then fence-to-slot.
Belt slippage
Belt slip shows up as a chirp at startup, a hot rubber smell, and a cut that turns rough when you push stock. Check belt tension and pulley alignment, and inspect for glazing; new belts sometimes stretch slightly after break-in, so a second tension check saves your sanity.
Pro workaround: keep a spare belt on hand and write the belt size on the inside of the cabinet door. When production’s rolling, the ability to swap a belt in minutes beats trying to “make it work” while cuts slowly get worse.
Table flatness checks
Check table flatness with a straightedge and feeler gauges across the blade area and wing seams. You’re looking for dips that make stock rock or snag. Many brands publish tolerances, and even a small dip can show up when you’re fitting edge-banded panels where tiny gaps are visible under raking light.
The beginner mistake is chasing perfection in the wrong spots. A minor variance out near the far wing edge matters less than a dip right in front of the blade. Focus checks where the work rides during the cut.
Fence calibration
Calibrate the fence so it’s parallel or has the slightest toe-out at the back. Toe-in can pinch stock, raise kickback risk, and cause that squealing sound as the board rubs the blade plate. Take the time to set the cursor and scale once you know the fence locks true.
Pro workflow: keep a dedicated “setup offcut” that’s jointed straight and use it to test rips after any change. If the offcut suddenly gets burnishing or the edge looks washboarded, you’ll catch it before you ruin expensive hardwood.
Budget and Alternatives
Safety vs price tradeoffs
The biggest budget fork is active safety versus traditional designs. A SawStop premium buys a different injury outcome, yet it also adds cost in cartridges and blades after a trigger. For some shops, that trade is easy; for others, the money goes farther in dust collection, blades, and material support that reduce risky situations in the first place.
Don’t cheap out on the fence to “afford” a bigger saw. A mediocre fence wastes lumber and time, and it pushes you into bad habits like freehanding or pressing stock sideways to compensate—both raise risk and cut quality problems.
Upgrade costs
Budget for the upgrades that make cabinet saws enjoyable: a better blade set, a dado stack, a quality miter gauge or sled materials, and an outfeed table. These aren’t “nice-to-haves”; they change how the saw behaves under load and how safe you feel during wide cuts.
Also budget for shop changes: electrical work, mobile base (if needed), and dust plumbing. People often forget these and end up running a great saw in a poor setup, then blaming the machine for burning, wandering cuts, or dust buildup.
When a jobsite saw fits
A jobsite saw fits if you move locations, build decks, do punch-list carpentry, or can’t dedicate floor space. The trade is noise, vibration, and less mass supporting the cut. For many people, that’s still the right call, and a good rolling stand helps keep the saw stable enough for clean trim rips.
If you’re deciding between categories, compare your workflow: if you break down sheet goods daily and want dead-repeatable joinery, cabinet saws win. If you mostly cut framing and occasional plywood, a jobsite setup can be the smarter spend—then you can put savings into clamps, blades, and a better breakdown method.
Practical Notes From Real-World Use
The biggest surprise with a cabinet table saw is how often setup beats specs. I’ve seen great cabinet saws cut poorly because the outfeed was 1/8-inch low, which made panels dip at the end and pinch the blade; raising the outfeed and rewaxing the top fixed “alignment problems” that weren’t alignment at all.
Another real issue is workflow clutter. Cabinet saws invite big work, and big work attracts stacks of offcuts; once those piles creep near the outfeed, they catch a panel corner and twist the cut. The fix is boring but effective: a dedicated scrap bin and a rule that the outfeed stays clear before every wide rip.
Wax and humidity matter more than people admit. On damp days, plywood feels grabby and you feel yourself pushing harder, which increases the chance of drifting off the fence. A quick coat of paste wax on cast iron and a featherboard at the right spot often reduces feed pressure enough to bring accuracy back without touching the saw’s adjustments.
Final gotcha: check fasteners after moving or after the first heavy week. Rails can settle, belts can seat, and wing bolts can relax; you’ll notice it as a faint click when stock crosses a seam or as a fence that locks a hair differently than yesterday. A 10-minute inspection routine prevents the slow slide into “this saw used to cut better.”
FAQs
Is A Cabinet Table Saw Worth It For A Small Shop?
Yes — a cabinet table saw is often worth it for a small shop when you prioritize accuracy, durability, and dust control. Its heavier build and enclosed cabinet reduce vibration, improve cut quality, and collect sawdust more effectively than lighter benchtop models. Consider budget, available floor space, and the types of projects you make; for hobbyists who cut plywood and hardwood regularly, the investment pays off over time.
Cabinet Saw Vs Contractor Saw: What’s The Real Difference?
The main differences are in build quality, motor power, and dust management, with cabinet saws being heavier, more powerful, and better at dust control than contractor saws. Contractor saws are lighter, less expensive, and easier to move, making them suitable for job sites or tight budgets. For precision woodworking and frequent heavy cuts, a cabinet saw is generally the better long-term choice.
Is The SawStop Cabinet Saw Worth The Extra Cost?
Yes — SawStop cabinet saws are generally worth the extra cost for shops that prioritize safety and precision. Their blade-brake technology can prevent severe injuries and reduce liability, which many woodworkers find invaluable. If your budget allows and you work frequently with large blades or with others in the shop, the added safety and quality often justify the price.
What HP Motor Do I Need For Cutting Hardwood On A Cabinet Saw?
For cutting hardwood on a cabinet saw, choose a motor of at least 3 to 5 horsepower for most hobby and small professional shops. Three-horsepower motors handle most hardwood ripping and crosscutting with quality blades, while 5 HP adds headroom for thicker stock and heavy-duty production work. Also consider voltage, startup circuit, and blade diameter to ensure consistent cutting performance.
What Rip Capacity Should I Get For Plywood And Sheet Goods?
Aim for a rip capacity that comfortably accommodates the sheet goods you use, typically at least 24 to 30 inches for full-width plywood. A 30-inch capacity lets you rip full 4×8 sheets without extra handling or sled work; compact shops may accept 24 inches with sheet helpers. Prioritize an extension or outfeed support if you work often with wide panels.