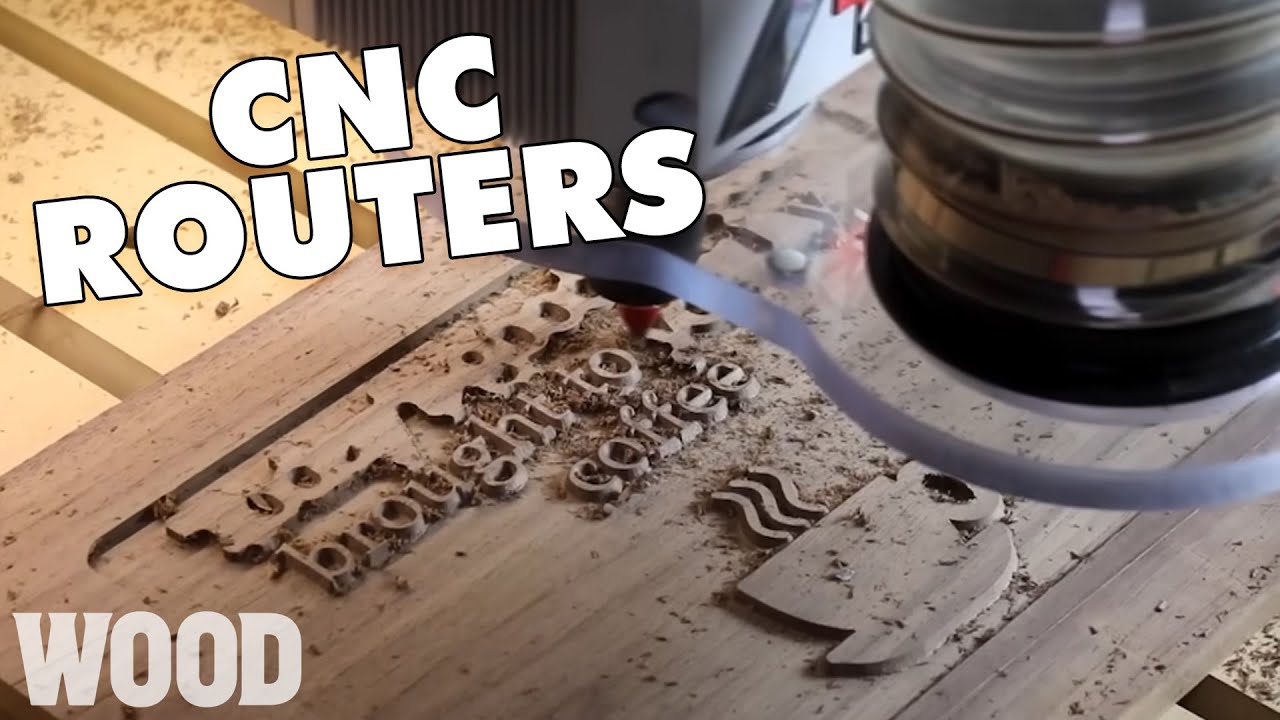
Ever watched the bit dig in the moment the spindle touched the wood? It hurts to lose material or a bit on the first pass. With a cnczone router, a few small errors make big problems. This post points out five common issues—wrong offsets, dirty collets, poor Z-probing, unchecked G-code, and weak workholding—and gives simple fixes to stop crashes and bad cuts.
Table of Contents
A cnczone router build can cut clean parts fast, yet small setup slips can cause ruined stock, broken bits, or a hard crash. This guide shows the most common mistakes and the exact checks to stop them on any desktop cnc or larger woodworking machine.
CNczone router mistakes at a glance
Most failures come from skipped steps, not bad hardware, so you’ll get better results by using a short repeatable routine every run. Operator guides estimate rookies crash from offsets about 50% of the time and from skipped G-code checks about 30%, which matches common forum patterns on cnczone router builds (5 Rookie Mistakes for the CNC Operator to Avoid).
Why beginners crash
New users usually crash because they trust one “green light” (a probe success, a toolpath preview, or a homing cycle) while another step is still wrong, like the wrong work offset or a clamp in the retract path. Treat every job like a checklist item: confirm coordinate system, confirm clearance, then confirm the tool matches the file before the spindle starts.
Where errors start
Errors start during setup changes: swapping bits, moving the stock, re-zeroing after a pause, or switching from a preview to a real cut without a dry run. That’s why a single-task workflow helps—finish one setup step fully, then move to the next without jumping around or “just running it once.”
Mistake: Wrong offsets and zero points
Offset errors are the fastest way to ruin a job on a desktop cnc machine, since a small work area (like common 3018-size machines) leaves little margin for a bad origin. Fix this by choosing one origin method (corner, center, or fixture pin) and using it the same way every time on your cnc machine wood projects.
X0 Y0 setup
Pick a physical feature you can touch reliably for X0/Y0: a corner stop, a pinned fixture, or a machined edge on a spoilboard. Mark that point and keep it consistent across CAM, sender, and machine so your wood cnc machine isn’t “right” in one screen and wrong in another.
If you set X0/Y0 from an edge finder, compensate by half the tip diameter or your location will be off by that exact amount. Write the compensation value on a sticker near the machine so you don’t re-calc it mid-job when you’re trying to keep setup stress low.
Z0 probing
Probe Z0 only after the stock is fully secured and the cutter is tightened, because anything that changes height after probing changes your cut depth. For wood, set Z0 to either the material top (best for engraving and pockets) or the spoilboard (best for through-cuts), then stick to that method for the whole toolpath set.
Open vector offsets
Open vectors (a line with endpoints) can make inside/outside offsets look “correct” in CAM while the cutter runs on the wrong side in the real cut. Close shapes before offsetting, or add tabs/bridges on closed geometry only, so your offset direction is predictable across every pass.
Edge-finder compensation
An edge finder or touch probe is only as accurate as your compensation and approach direction. Approach the same edge from the same direction each time, then apply the same half-diameter compensation so backlash and flex don’t flip your reference point between jobs.
2D toolpath check
Before cutting, switch to a top-down 2D view and verify the cutter stays on the intended side of every contour, especially around open lines and small islands. Use a quick “air cut” 2–5 mm above the work to confirm the origin matches what you see on screen.
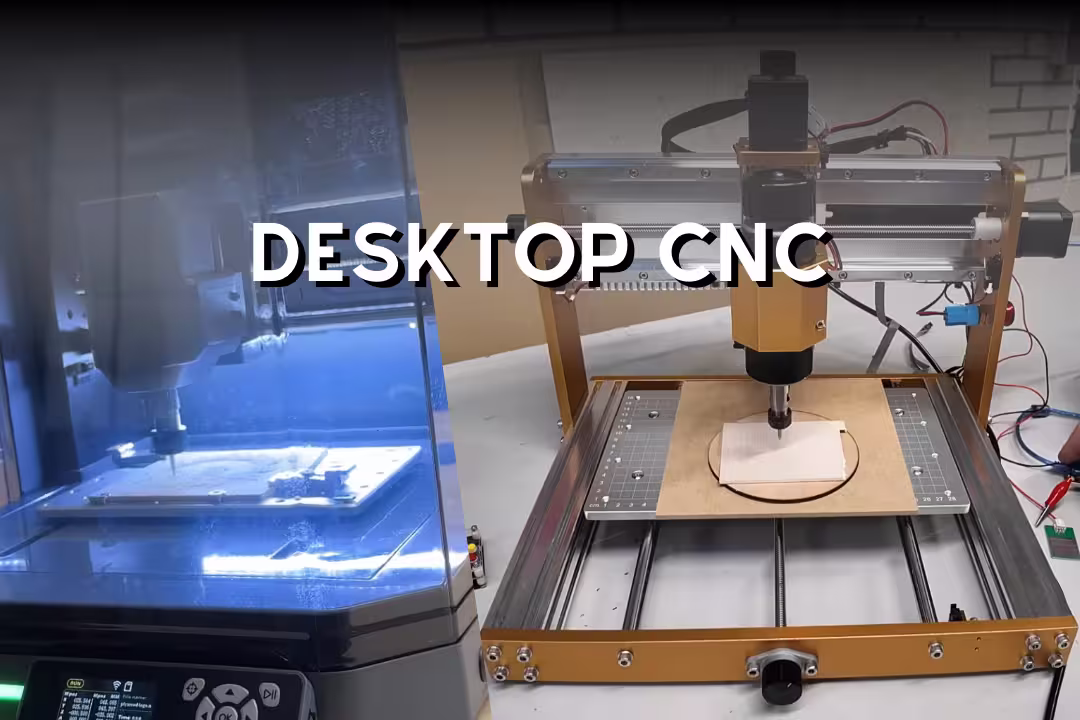
If you’re still shopping for a small starter platform, a 3018-style desktop cnc is a low-cost way to practice zeroing and offsets without risking a large sheet of plywood.
Mistake: Skipping collet cleaning and bit tightening
A dirty collet is a silent failure that makes bits creep downward mid-cut, then snap when the tool suddenly takes a deeper bite. Treat collet cleaning as part of every bit change on any woodworking cnc machine, even if the cut “looked fine” last time.
Collet debris risks
Sawdust packed inside the collet reduces grip and can polish the surfaces over time, which makes slipping more likely. Remove the nut, tap out debris, and wipe with a clean rag so your clamping force acts on metal-to-metal contact, not dust.
Proper clamping
Seat the bit fully, then pull it out 2–3 mm before tightening so it doesn’t bottom out and loosen later from vibration. Tighten firmly and evenly with the right wrench so the round shank stays centered and you don’t add extra runout from skewed clamping.
Bit reach limits
Long stick-out increases chatter and bending, which is a common cause of snapped cutters in cnc machine wood work like deep pockets. Use the shortest protrusion that clears the job, then use step-downs instead of “reaching” deeper with an unstable cutter length.
Mistake: Inconsistent cutter height and Z-probing
Inconsistent cutter height causes random depth changes, clamp hits, and tool holder crashes that feel “mysterious” until you track the setup. Control Z by locking down the stock, setting a repeatable tool stick-out, and probing the same way every time on your wood cnc machine.
Secure first, probe
Clamp or vacuum the work first, then probe, because wood can rock or lift slightly while you tighten hardware. If you want cleaner hold-down ideas, see this guide to types of clamps and match clamp style to cutter direction so the work can’t creep under load while Z stays repeatable.
Protrusion vs depth
Measure planned depth of cut, then confirm your tool protrusion exceeds that depth plus safe clearance for chips. If your depth is 12 mm, don’t run a 12 mm protrusion—add room so the collet nut and spindle body never become the depth stop.
Runout checks
Runout looks like a “wobble” and creates burning, oversize cuts, and early bit wear on woodworking cnc machine setups. Do a simple check by spinning the tool by hand and watching the tip against a fixed reference; if it visibly swings, reseat the bit, clean the collet, and retighten.
Tool setter limits
Auto tool setters help, yet they assume the surface is flat and the workholding doesn’t shift between tools. Use the setter, then confirm with a quick manual touch-off on a known surface so your Z reference stays true across tool changes.
Mistake: Ignoring G-code verification and toolpaths
Skipping verification is a common reason a cnczone router “moves right” but cuts wrong: the file can call the wrong work offset, retract too low, or cut contours on the wrong side. Spend two minutes on a preview and dry-run and you’ll avoid most crashes on any desktop cnc machine.
Work offsets review
Confirm which offset the program uses (like G54) and confirm your controller is set to the same offset before pressing cycle start. If you probe, then switch offsets or reset the sender, you can lose the saved zero without noticing.
Retract height checks
Scan the program or preview for retract heights that clear clamps, screws, and end stops, then raise safe Z if needed. A low retract that “barely clears” is risky on warped stock, so add margin and keep clearance height consistent across every tool.
Tool order sanity
Check tool order to avoid swapping to a fragile detail cutter before roughing is done. Run big tools first to remove bulk material, then finish with smaller tools so the final passes see lower cutting forces and reduced tool load.
Inside vs outside cuts
Match inside/outside selection to what you want to keep: inside for holes and pockets, outside for profiles you’ll keep as parts. If the preview shows the bit on the wrong side, flip the offset and re-post before you waste wood on a cnc machine wood job.
Open vs closed vectors
Closed vectors are required for clean profiles because the CAM system needs a bounded shape to apply offsets correctly. If a circle “looks closed” but is actually open at a tiny gap, fix nodes and re-check so your toolpath direction doesn’t flip mid-cut.
GRBL test runs
On GRBL-based machines, run a dry cycle with the spindle off and Z raised to confirm direction, limits, and clearance before committing to a cut. If you’re using sender software, keep one stable setup and avoid swapping settings mid-job; many users share GRBL workflow tips on cnczone.com forum threads.
If you want reliable GRBL operation for practice cuts, these desktop cnc options are popular entry points.

Genmitsu 3018-PRO Desktop CNC Router
- Compact 300 x 180 x 45mm work area for small projects
- Suitable for wood, acrylic, PCB, PVC carving and milling
- GRBL control with offline controller for reliable operation
- Hobbyist-friendly assembly and easy adjustments
- Precise XYZ motion for detailed engraving

CNCTOPBAOS 3018-PRO Mini Desktop CNC
- Compact 300 x 180 x 45mm size ideal for small projects and hobby work
- USB GRBL control for simple connectivity
- Works well on plastic, acrylic, PCB, and wood materials
- DIY-friendly assembly with upgrade options
- Precise engraving for electronics and crafts
Mistake: Poor workpiece securing and mechanical checks
Bad workholding turns a good toolpath into scrap because the cutter will pull wood into the direction of least resistance. Add quick mechanical checks before every run so your woodworking cnc machine behaves the same way each job.
Workholding forces
Assume cutting forces will try to lift, slide, and rotate the work, then clamp against those directions. If you use a spoilboard, add perimeter screws outside the cut area, then back it up with side stops so your cnc machine wood cuts can’t “walk” the stock.
Use a stable surface so clamping pressure stays constant during long jobs; a stiff bench reduces vibration and lost steps. This overview of woodworking workbenches is a good reference for building a base that won’t flex under a running router, keeping cut depth consistent.
Axis binding tests
Before cutting, jog each axis across its full travel and listen for stutter, pitch changes, or tight spots. Cycle each axis 10–15 times, then fix the cause (belt tension, lead screw alignment, debris on rails) so you don’t lose steps in the middle of a profile cut.
Conservative settings
Start with conservative feeds, speeds, and step-downs for a new material or new bit, then increase after you see stable chips and sound. A slower first run saves wood because it reduces tool deflection and clamp slip, which is why conservative settings prevent most beginner scrap events (3 mistakes that cost a lot of wood money).
DOS axis checks
If you suspect PC timing issues or sender glitches, run a simple axis-movement test from a minimal environment so the machine sees a clean stream of commands. The goal is to confirm repeatable moves and rule out software interference before you chase hardware faults on your cnczone router.
If you want a more rigid platform than a basic desktop unit, these larger-frame machines can handle heavier cuts in wood with less vibration and fewer lost steps, which helps repeatability.
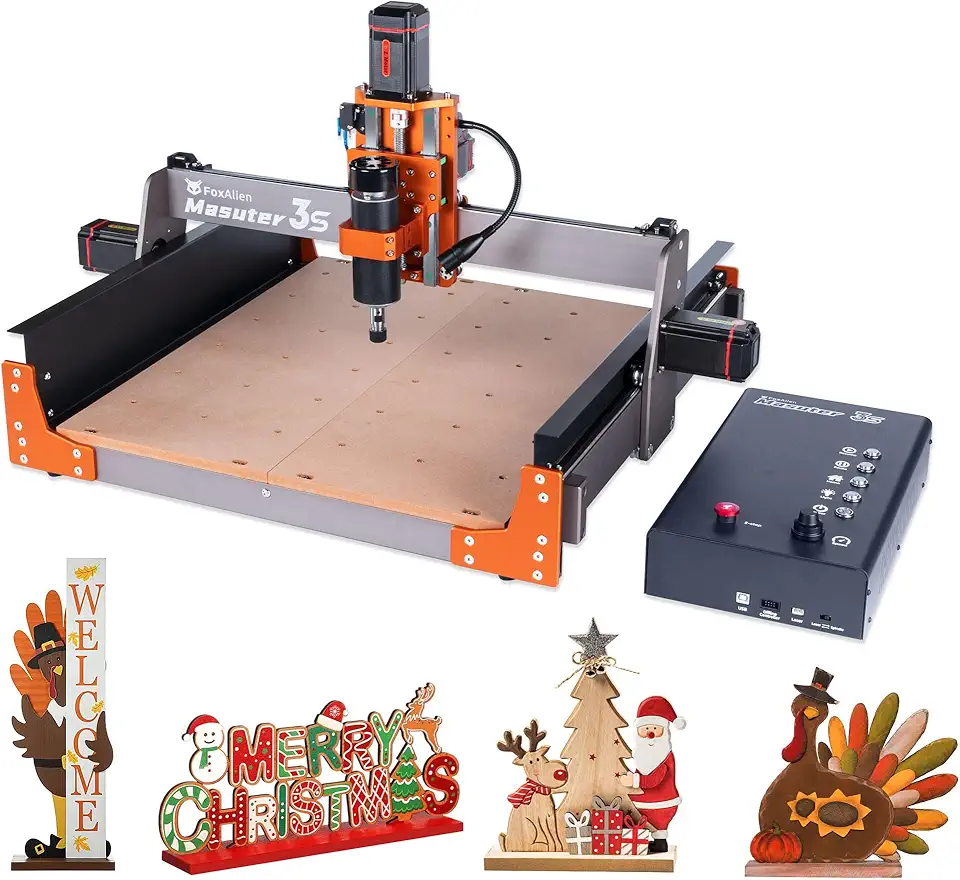
FoxAlien Masuter 3S Closed-Loop CNC
- NEMA 23 closed-loop steppers for higher torque and accuracy
- 400W spindle for faster cutting and smoother finishes
- Rigid 3-axis design for wood, acrylic, and aluminum work
- Improved stability for heavier-duty milling
- Straightforward setup for hobbyists and pros
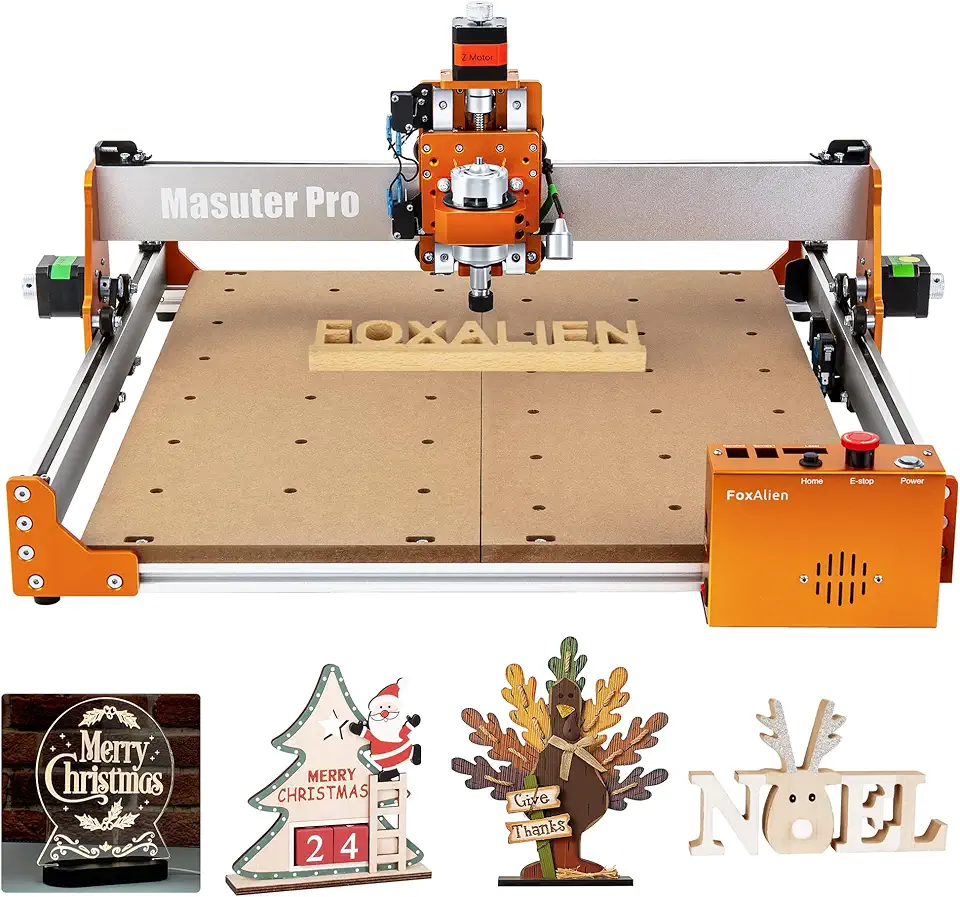
FoxAlien Masuter Pro All-Metal 3-Axis CNC
- All-metal structure for enhanced rigidity and reduced vibration
- Great for wood, acrylic, MDF, and nylon routing
- Beginner-friendly controls with reliable repeatability
- Precise milling for fine detail work and prototypes
- Compatible with common CNC tools and software
CNczone router setup checklist essentials
A short checklist beats memory because it removes “I thought I did that” errors on a busy day. Build a one-page sheet you can tick off in under two minutes, then keep it next to your desktop cnc so you never depend on guesswork.
Bit change routine
Use the same bit-change steps every time so Z stays consistent and the tool can’t slip. Keep the routine visible and slow enough that you can’t skip the collet cleaning step.
- Stop spindle and power down motion if your controller requires it.
- Remove collet nut, blow out dust, and wipe mating surfaces.
- Insert bit, then back it out 2–3 mm before tightening.
- Tighten to firm resistance; don’t “muscle” it to fix poor fit.
- Re-probe Z0 (or re-touch off) using your chosen Z method.
Axis cycle routine
An axis cycle catches binding before it ruins a part. Jog X, Y, and Z end-to-end, then repeat each axis 10–15 times so any stutter shows up before you commit to a full run.
Single-task workflow
Keep setup steps separate: workholding, tool install, probing, then preview and dry-run. If you want a broader overview of machine selection and safe workflows, this CNC router guide connects machine types to typical setup routines for wood cnc machine users.
Desktop CNC essentials stats
Small machines amplify setup errors because you work close to clamps and limits, yet they’re perfect for practicing repeatable habits. Use the table below as a quick reference for what tends to fail first on a desktop cnc machine and what to check.
| Failure pattern (desktop CNC) | Fast check that prevents it |
|---|---|
| Wrong X0/Y0 origin picked in sender | Confirm active work offset (example: G54) before cycle start |
| Z0 set before clamping is finished | Clamp/vacuum first, then probe; re-check with a paper touch test |
| Bit slips mid-cut | Clean collet at every tool change; avoid bottoming out the shank |
| Clamp hit during rapid moves | Preview retract heights; run an air cut above the work |
| Lost steps from binding | Jog and cycle each axis 10–15 times; fix tight spots before running |
FAQs
What CNC Routers Do CNCZone Members Recommend For A Hobbyist On A Budget?
CNCZone hobbyists often recommend compact, lower-cost desktop routers and kits like the 3018/3020, Genmitsu models, Shapeoko, or X-Carve for budget builds.
These machines are inexpensive to buy or convert and have large communities with tried-and-true upgrade paths for stiffer frames, better spindles, and improved electronics; start simple and upgrade parts as you learn.
Where Can I Find CNCZone Build Threads And Common Mods For Router-Based Machines?
You can find build threads and common mods in CNCZone’s Router and Project forums where members post photos, parts lists, wiring diagrams, and upgrade notes.
Use the forum search, sort by most views or replies, and follow sticky or pinned build threads; members often link to external galleries, GitHub repositories, and YouTube walkthroughs for step-by-step guidance.
How Do I Troubleshoot Chatter, Poor Finish, Or Tool Breakage On A Router According To CNCZone Advice?
Begin troubleshooting by checking machine rigidity, spindle/collet runout, tool sharpness, feed/speed settings, and workholding—these are the most common causes of chatter, poor finish, and breakage.
CNCZone advises systematic testing: tighten or replace loose parts, measure runout, try a fresh sharp cutter at conservative feeds, and swap suspect bearings or belts while changing only one variable at a time.
What Router/Spindle And VFD Setups Do People On CNCZone Suggest For Cutting Hardwoods And Aluminum?
For hardwoods and aluminum, users typically recommend a water-cooled spindle in the 1–2.2 kW range with a compatible VFD, or a high-quality router for softer hardwoods and light aluminum work.
Use rigid fixturing, proper carbide cutters, correct feeds and depths, and climb milling for aluminum; for heavier aluminum work consider 2.2–3 kW spindles and stronger motion hardware or upgraded stepper/servo systems.