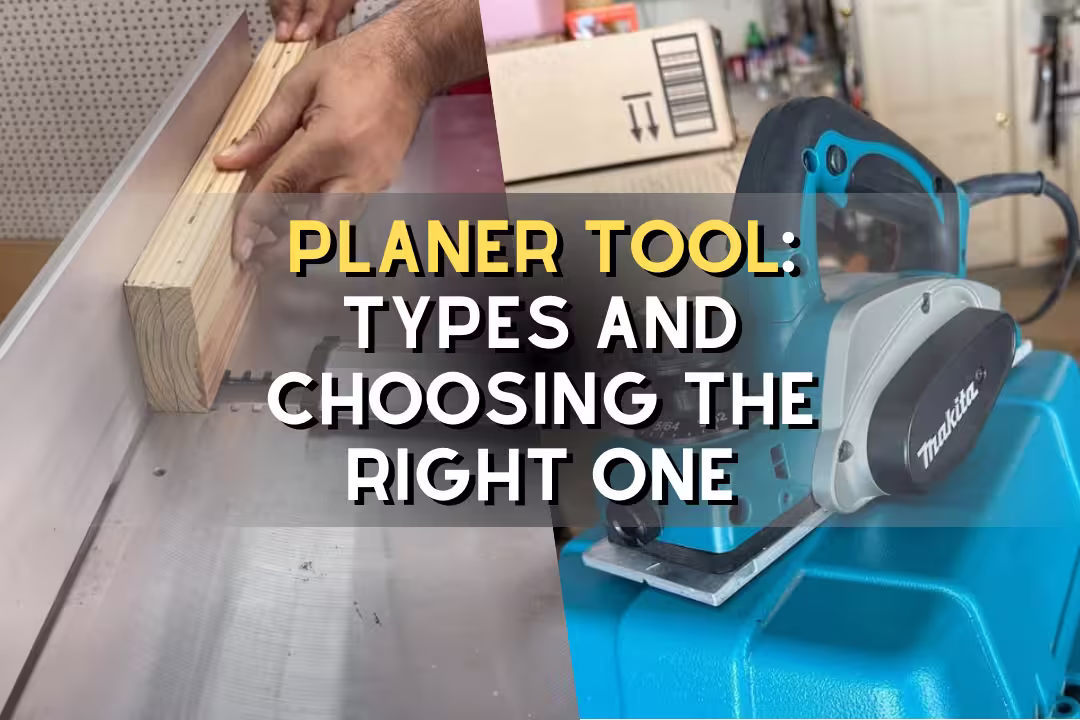
Planer Tool Guide: Types, Features, and Choosing the Right One
A planer tool shaves wood to make it a consistent thickness and a cleaner, flatter surface. In a shop workflow, it’s the tool that turns rough or uneven boards into stock that fits joinery, glues up tight, and finishes without washboard ridges.
Table of Contents
If you’re still deciding between a jointer and a planer, read jointer vs planer first because the planer makes boards parallel, not automatically flat on one face.
What a planer tool does
A planer references one face of the board and removes material from the opposite face, so you end up with a uniform thickness and faces that are parallel. That’s why planing a twisted board “as-is” can still leave twist—you’ve just made a twisted board thinner.
Most planers also leave a surface that feels noticeably different under your hand: sharp knives can leave a silky glide, while dull knives leave a fuzzy, warm-to-the-touch “hairy” grain that drinks finish unevenly and needs extra sanding.
Thicknessing lumber
Thicknessing is the bread-and-butter job for a woodworking planer: you start with rough or uneven stock and sneak up on a target thickness so parts fit your project plan. In real use, I aim to remove most material with a few heavier passes, then switch to light passes so the last cuts don’t telegraph tiny roller marks into the final surface.
Status checks matter: I’ll mark the face with pencil squiggles, run a pass, and see what remains. Those uncut areas tell you the board is still out of plane, and it’s a sign you should joint one face first or use a sled to fake a flat reference.
For a quick refresher on the correct sequence (flatten → thickness → edge), this Lowe’s wood planer buying guide lines up with what you’ll see in most shops.
Smoothing surfaces
Planers can smooth fast, but they’re not the final word on “finish-ready.” A thickness planer can leave subtle scallops that you can feel if you drag fingertips across the grain, so I still expect a few minutes of sanding or a couple passes with a hand plane when I need a dead-flat sheen under film finishes.
A common beginner mistake is to chase “perfect smooth” by taking deeper cuts. That tends to raise tearout risk and can leave compressions from the feed rollers; the workaround is to take lighter passes and clean up with a sharp smoother or a card scraper.
Typical depth per pass
For rough thicknessing, a typical depth per pass is about 1/16″ to 1/8″, then for finishing passes I’ll drop to about 1/32″ to 1/64″. Going lighter near the end reduces snipe visibility and lowers the odds of tearout on reversing grain.
Edge case: wide, dense hardwood (like hard maple) often needs smaller bites than the numbers above, even on strong machines, or you’ll hear the cutterhead bog and see burnished patches. That “hot plastic” smell from overloaded chips in the hood is a sign to back off, clean extraction, and take thinner cuts.
| Task | Typical depth per pass | What to watch for |
|---|---|---|
| Rough thicknessing | 1/16″–1/8″ | Motor bog, chatter, tearout |
| Truing after flattening | 1/32″ | Parallel faces, roller marks |
| Final surfacing | 1/64″ | Snipe, fuzzy grain, scallops |
Types of planer tools
“Planer tool” can mean several tools that remove wood in different ways, and picking the wrong type wastes time. I decide based on whether I need consistent thickness across a whole board, or I just need to shave a high spot, ease a door, or tune a joint in place.
Hand planes
Hand planes cut with a fixed blade and your hands supply the power and feedback. The big upside is control: you can take whisper-thin shavings on tricky grain, and you can “spot plane” a joint without changing the whole board thickness.
Electric handheld planers
Electric handheld planers are the fast fix for doors, studs, and edges that don’t line up. They remove material quickly, but they don’t guarantee true thicknessing across a board unless you build jigs and use careful reference surfaces.
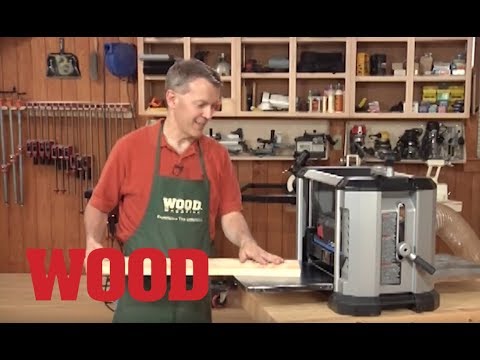
Benchtop planers
Benchtop planers are the sweet spot for many home shops because they can thickness boards accurately while fitting on a stand or bench. The trade-off is noise and chip volume—fresh knives can throw shavings that feel like warm, curled ribbons, and they’ll pile up fast if your dust setup can’t keep up.
Stationary thickness planers
Thickness planers in the stationary class are built for higher volume and wider stock, with heavier frames and stronger feed systems. They shine when you’re processing lots of rough lumber because consistent feed pressure and mass reduce chatter and leave a more predictable finish off the machine.
For a good breakdown of planer configurations and why some shops step up to stationary units, Planer Styles and Options is a helpful reference.
Hand planes: best uses and styles
A hand plane earns its keep in the last 5% of fit and finish, where machines can’t “think” for you. If the board is slightly crowned, a few controlled strokes can remove a high spot without touching the rest of the surface.
Bench planes
Bench planes cover flattening, truing, and smoothing. A jack plane (#5) removes stock faster, a smoother (#3/#4) cleans up surfaces, and a jointer (#7/#8) helps straighten long edges for panel glue-ups.
Beginner pitfall: using a smoothing plane like a jack. If you open the mouth wide and take thick shavings, the blade chatters and leaves washboard marks; the fix is a sharp iron, tight mouth, and lighter cuts.
Block planes
Block planes are small, quick to grab, and great for breaking edges and trimming end grain. On end grain, the cut should sound crisp and feel smooth; if it feels like the plane is skipping or “crunching,” the blade is dull or the cut is too deep.
Specialty planes
Specialty planes (rabbet, shoulder, router, plough) handle joinery tasks that are awkward on machines, like tuning tenon cheeks or cleaning a dado bottom. They’re also safer for tiny parts that are risky near spinning cutterheads.
Low-angle for end grain
A low-angle plane works end grain because the blade meets fibers at a slicing angle that reduces crushing. You’ll feel the difference in your hands: the plane glides with less resistance, and the end grain looks glassy instead of fuzzy.
One detail many people miss is sharpening. A “sort of sharp” iron seems fine on long grain, then tears end grain to bits; a proper stone routine makes the tool predictable—see sharpening stone for a practical setup.
For a straightforward overview of plane types and what they’re meant to do, Hand Planes: An Introduction lays out the families clearly.
Electric handheld planers: when to use them
An electric handheld planer is for fast, localized correction, not precision thicknessing across a wide panel. I grab one when the workpiece can’t go to a machine, like a sticking door in a finished house or a proud edge on installed framing.
Common jobs
These tools shine on tasks where a little material removal fixes fit. The key is to mark your target and “feather” the last passes so you don’t leave a visible step you can catch with a fingernail.
- Trimming a door that rubs (take light passes, test often)
- Flushing proud joints on framing or laminated edges
- Beveling edges before glue-up to prevent squeeze-out ridges
- Knocking down high spots on slabs before machine work
Cutting width options
Cutting width affects productivity and control. A common 3-1/4″ planer fits door edges and most trim, a smaller 2-3/8″ unit is easier one-handed for narrow stock, and a wider 4-3/8″ model covers more surface per pass but feels heavier and can “grab” if you don’t keep the shoe flat.
Corded vs cordless
Corded planers run all day without battery swaps, which matters when you’re easing a long run of studs or trim. Cordless planers feel freer and safer on ladders and rooftops, but you have to manage depth settings carefully because it’s easy to take “one more pass” and go past your layout line before you notice.
Real-world tip: cordless chips can clog compact chutes faster, and the motor note changes when it’s packing up. If you smell hot dust or feel chips blowing back onto your forearms, stop and clear the chute before it wedges a shaving under the cutter and leaves a gouge line.
Benchtop vs stationary thickness planers
Both benchtop and stationary machines are woodworking planer options meant for consistent thickness, but they behave differently under load. Benchtops can deliver excellent results, yet they’re more sensitive to dull knives, long infeed/outfeed support, and dust collection restrictions.
Capacity and workspace
Capacity is more than max width—workspace controls accuracy. A 13″ benchtop planer can thickness wide boards, but if you don’t support the board before and after the cut, the piece tips slightly and you get snipe. Stationary units often sit in a fixed line with long tables, which makes board support easier.
If you’re short on space, a jointer-planer combo can be a smart compromise. See jointer planer combo for what you gain and what you give up.
Volume and power
Volume drives the decision fast. After a few dozen board feet, benchtop machines often need slower feed, more frequent knife rotations, and extra cooling pauses if your dust system can’t pull chips away; stationary planers handle sustained loads better and usually recover faster after a deep cut.
Powermatic planer overview
A Powermatic planer sits in the “buy once, cry once” lane: heavy castings, strong motors, and upgrade paths like helical heads on many models. In day-to-day use, the benefit is stability—less vibration, less chatter on figured wood, and a more consistent finish when you’re feeding long or wide boards for hours.
One trade-off: bigger planers can hide problems until they get expensive, like feeding lumber with embedded grit. That grit hits carbide like sandpaper, so I keep a bright light at the infeed and scan for dirt, staple shadows, and small stones stuck in bark before the first pass.
Features to compare before buying
Specs matter, but “feel” matters too: a planer that adjusts smoothly and locks solid saves time on every board. I look for features that reduce rework, keep knives sharp longer, and make chip handling less miserable, because chips can get everywhere—in your collar, in your hair, and inside motor housings.
Cutterhead types
Straight-knife cutterheads are cheaper and can leave a clean surface, but they punish you on reversing grain and dull faster when you hit knots. Helical heads use small carbide inserts and tend to leave a smoother surface with less tearout because each insert takes a tiny bite at a slight angle.
Helical heads often cost more up front, yet they pay back if you process a lot of hardwood or figured stock since you can rotate a single damaged insert instead of changing full knives. Woodcraft notes helical options and upgrade paths in Planer Styles and Options.
Blade count impacts
More blades (or more inserts) can mean a cleaner finish because each knife takes a smaller bite and reduces the “thump” you feel through the housing. On handheld planers, I notice 3-blade setups tend to feel smoother in the cut, while 2-blade units can leave slightly more texture if you rush feed speed.
Beginner mistake: assuming blade count fixes technique. If you tilt the front shoe at the start or lift the rear shoe at the end, you’ll still dish the board; the workaround is to keep consistent pressure over the front knob until the rear shoe is fully supported, then shift pressure rearward.
Power and speed
Power keeps the cutterhead from slowing when the board hits dense grain, and speed affects surface quality. High RPM can leave a nicer surface, but only if the feed stays steady; surging feed speed shows up as repeating ridges you can see in raking light.
Depth adjustment
Depth adjustment should move predictably and stay put. On thickness planers, backlash in the elevation mechanism can trick you into taking more off than planned; I always “approach from the same direction” (raise above target, then lower down to it) so the mechanism is loaded consistently and the readout matches reality.
Dust collection
Dust collection is where many budget planers fall apart in real shops. If the port is undersized or the hood leaks, chips recirculate and you’ll hear them rattling around like dry pasta; that leads to clogs, heat, and sometimes chips getting pressed into the board and leaving dents.
Workaround that saves headaches: seal gaps at the hood with foil HVAC tape, then run the shortest hose you can, with gentle bends. When I see chips spraying from seams, I fix it immediately because those chips can end up in rollers and create uneven feed.
Recommended planer tool picks 2026
These picks match the most common use cases I see: trim and on-site work for handheld electric planers, and precision tuning for hand planes. Treat them as starting points, then choose based on your board width, how often you work hardwood, and how much chip control you can support.
Recommended handheld planers
Here are handheld options that cover common cutting widths and power levels for trimming, fitting, and fast surface correction.

WEN 6-Amp 3-1/4-inch Planer
- Powerful 6-amp motor for consistent material removal
- 3-1/4-inch cutting width for common trim and board work
- Adjustable depth control for precision smoothing
- Comfortable grip and balanced design for better control
- Built-in dust chute for cleaner workspaces

WEN 8-Amp 4-3/8-inch Planer
- Robust 8-amp motor for heavier stock removal
- 4-3/8-inch cutting width covers wider boards faster
- Fine depth adjustment for controlled material removal
- Ergonomic design reduces user fatigue during extended use
- Dust collection port helps keep the work area clean

DEWALT 20V Brushless Planer
- Brushless motor for longer run time and durability
- Compact cordless design powered by 20-volt batteries for portability
- High speed performance for smooth, consistent cuts
- Precise depth control up to 2 millimeter for fine adjustments
- Lightweight and balanced for comfortable single-handed use

WEN 3.8-Amp 2-3/8-inch Planer
- Efficient 3.8-amp motor for light to medium planing tasks
- 2-3/8-inch cutting width perfect for trim and small boards
- Easy depth adjustment for controlled finishing
- Simple blade change for quick maintenance
- Integrated dust port keeps shavings contained

VEVOR 3-1/4-inch 710W High Speed Planer
- Powerful 710 watt motor with high speed 16500 rpm for fast stock removal
- 3-1/4-inch cut width for common woodworking tasks
- Adjustable depth settings for precision shaping
- Sturdy construction for demanding DIY and carpentry jobs
- Designed for smooth finish and efficient performance
Recommended hand planes
These hand plane options cover small trimming, low-angle end grain work, and a standard smoothing plane form factor for bench work.

Jorgensen Mini Wood Plane
- Small footprint ideal for fine trimming and craft work
- Adjustable cutting depth for precise shavings
- Durable ductile iron body stands up to regular use
- Smooth blade edge delivers clean planing results
- Lightweight and easy to maneuver for detailed tasks
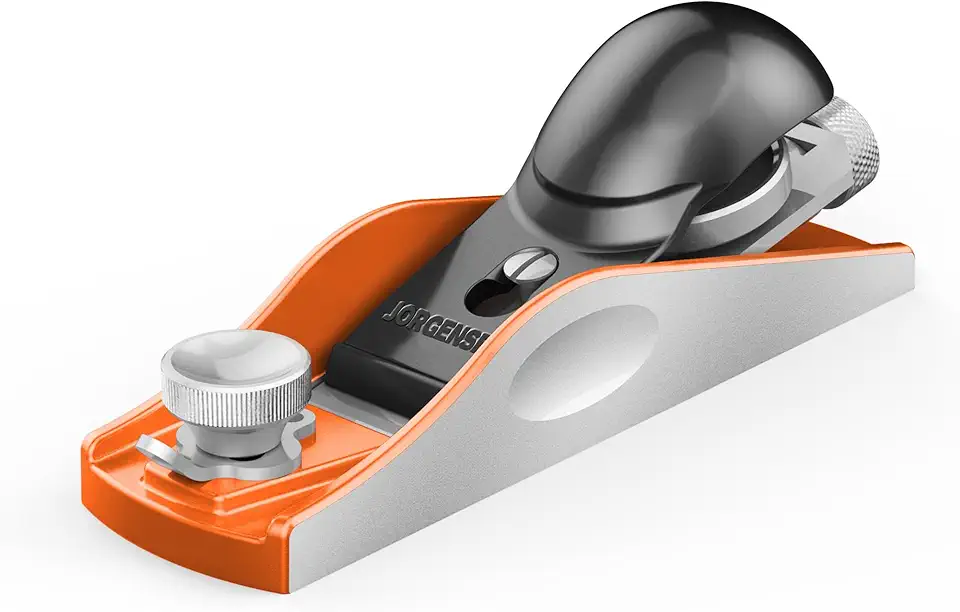
Jorgensen 6-1/4-inch Low Angle Plane
- Low angle blade geometry for shaving end grain and delicate cuts
- 6-1/4-inch sole for stable, accurate planing
- Adjustable mouth for fine to coarse work
- Heavy duty ductile iron body for long lasting stability
- Comfortable handle and knob for controlled use

Ryobi 18-Volt ONE+ 3-1/4-inch Planer
- Cordless convenience with Ryobi ONE+ battery compatibility
- 3-1/4-inch cutting width handles common woodworking jobs
- Compact, balanced body for easy maneuvering
- Adjustable cutting depth for precision smoothing
- Ideal for on site and DIY projects without cords

Amazon Basics No 4 Bench Plane
- Classic No 4 bench plane for smoothing and flattening wood
- 2-inch blade designed for controlled shavings
- Adjustable blade depth and mouth for varied tasks
- Sturdy cast body provides a flat reference surface
- Affordable option for hobbyists and beginners
Pro kit recommendation
If you want one handheld planer kit that feels solid in the hands and stays predictable under load, the Bosch kit is a strong fit for jobsite trim and shop touch-ups.
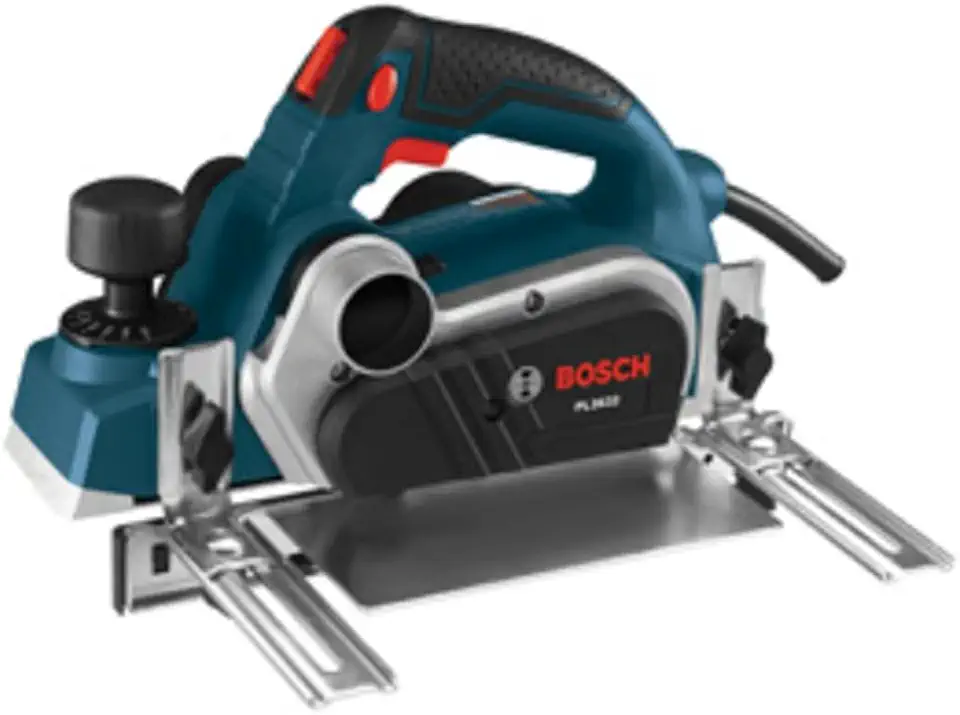
Bosch 3-1/4-inch Planer Kit
- Powerful motor designed for consistent planing performance
- 3-1/4-inch cutting width for standard boards and trim
- Precise depth control for accurate material removal
- Kit includes accessories for immediate use
- Smooth finish and reliable build quality
Common issues and how to avoid them
Planers are simple machines, but the failure modes are predictable once you’ve seen them a few times. Most problems come from poor work support, wrong grain strategy, dull cutters, or chips stuck where they shouldn’t be—then you get defects you can feel instantly when you run your palm across the board.
Snipe and uneven thickness
Snipe is that annoying deeper cut at the start or end of a board. It often happens when the board tips as the rollers grab or release; the fix is longer infeed/outfeed support, keeping the board level, and taking very light final passes.
Pro workaround: run a sacrificial board right before and after your workpiece (“lead” and “tail” boards). The planer still snipes, but it hits the sacrificial pieces instead of your parts, and your good stock stays full-length.
Tearout and grain direction
Tearout happens when the knives lift fibers ahead of the cut, often on reversing grain or curly figure. If the surface looks ripped and feels rough like tiny splinters, change feed direction, take lighter cuts, and consider a fresh knife edge or a helical head for difficult species.
Edge case: if switching feed direction doesn’t help, dampening the surface lightly can reduce brittle tearing on some woods, but don’t soak it. Too much moisture swells fibers and can change thickness slightly after the board dries, which causes fit drift in joinery.
Dust extraction gaps
Dust extraction problems show up as chip blowback, clogged hoods, and roller slip. Budget machines often leak around the hood and port, so the fan effect inside the planer can’t move chips out fast enough and they get re-cut, making heat and leaving tracks.
Fixes that work: seal the hood seams, keep hoses short, avoid tight elbows, and match the collector to the tool’s chip volume. If you’re upgrading shop machines soon, read jointers next, since dust collection planning works best when you size it for the loudest, chippiest tools in the shop.
Practical Notes From Real-World Use
The most surprising issue I hit with planers wasn’t the cut—it was the workflow mess. A planer can fill a bag or clog a hose in minutes, and once chips start packing around the cutterhead you get a dull roar, hotter air, and little dents pressed into the surface that you only notice when finish hits and the light rakes across the board.
Another real constraint is noise and vibration fatigue. After a long session on a benchtop unit, your hands can feel “buzzy,” and you’ll start feeding faster just to be done—then you create snipe, ridges, and tearout. My workaround is batching: plane stock in short sets, rotate or change knives before they’re fully shot, and stop the moment the machine starts leaving a fuzzy sheen instead of clean curls.
One more thing that didn’t work as expected: trying to thickness twisted boards without jointing first. The planer faithfully made them thinner and still twisted. When I can’t joint first, I hot-glue shims under the board on a sled so the planer references a stable base; it’s slower, but it saves material and prevents the “why won’t this board flatten?” spiral that wastes an afternoon and leaves you with undersized parts.
If you want the cleanest process for flat stock, pair these notes with jointer vs planer and build your sequence around creating one true reference face before the planer does its job.
FAQs
What Is A Planer Tool Used For In Woodworking?
A planer is used to shave wood to a consistent thickness and create a smooth, flat surface. It removes small amounts of material across a board’s face to correct warp, twist, and uneven thickness before gluing or finishing. For beginners a benchtop thickness planer and attention to feed technique are sufficient; pros often pair a jointer for perfectly square edges.
Do I Need A Jointer If I Have A Thickness Planer?
Not always — a thickness planer flattens faces to a uniform thickness but cannot reliably square or straighten board edges. A jointer is required when you need dead-flat faces and square edges for glue-ups or tight joinery. Hobbyists can sometimes avoid a jointer by buying jointed lumber, using hand planes and shooting boards, or accepting small edge workarounds.
What’S The Difference Between A Benchtop Planer And A Stationary Thickness Planer?
A benchtop planer is compact and portable for occasional use, while a stationary thickness planer is larger, more powerful, and suited to heavy or wide stock. Benchtop models handle narrower boards with less horsepower, while stationary machines process wider, thicker pieces faster and with finer finish. Choose based on your shop space, production needs, and budget.
Is A 3-1/4-Inch Handheld Planer Wide Enough For Most Jobs?
A 3-1/4-inch handheld planer is wide enough for many small to medium tasks like trimming doors, fitting jambs, and smoothing boards under 3 inches. For wider boards or production milling you’ll need a wider planer or multiple passes, but the 3-1/4 inch is versatile for finish and on-site work. It’s especially handy for hobbyists and carpenters doing fit-and-finish tasks.
Which Hand Plane Is Best For Beginners: No. 4, Block Plane, Or Jack Plane?
For most beginners, a No. 4 smoothing plane is the best single choice because it handles a wide range of tasks and teaches core planing skills. A block plane is great for end grain and small trim work, while a jack plane is better for stock removal and prepping boards. Many start with a No. 4 and add a block plane later; used tools tuned to fit are a cost-effective route.