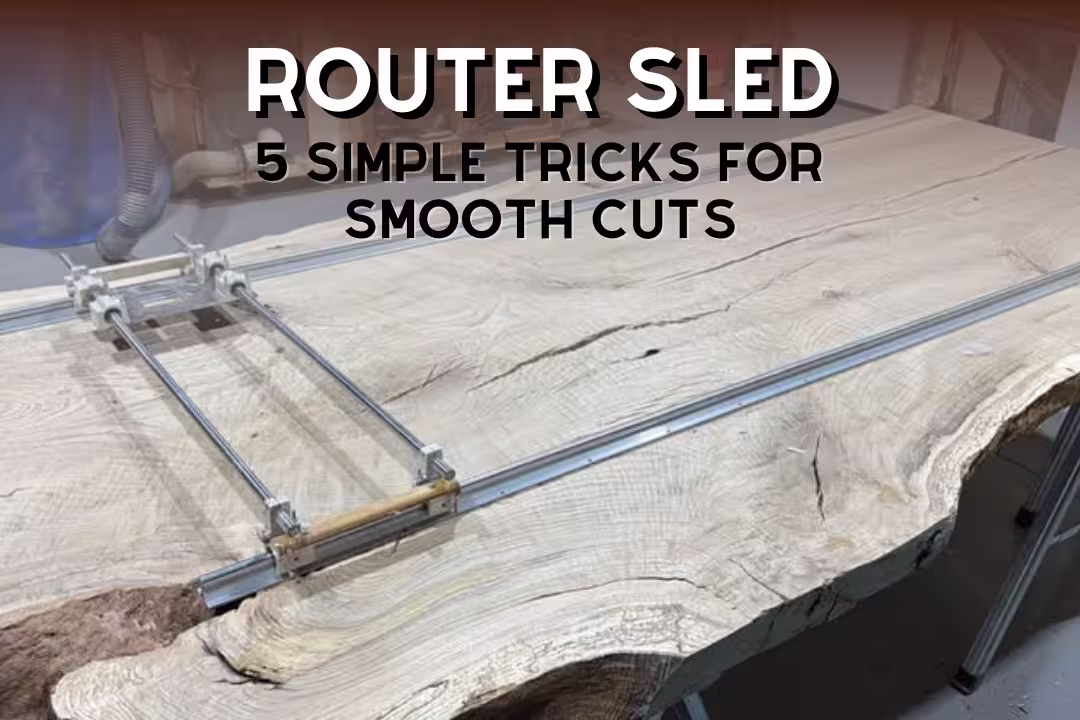
Want flat, smooth slabs without a big planer? A router sled can do that in a home shop. These five simple tricks help you get smooth cuts, less tear-out, and truer surfaces. You’ll learn rail alignment, smart bit choice, shallow passes, repeatable height adjustments, and how to cut vibration for cleaner results.
Table of Contents
A router sled helps you flatten wide, twisted, or cupped slabs using a handheld router guided by rails. This guide explains how a sled works, why it beats many shop shortcuts, and how to choose between a diy router sled and a router sled kit.
What a Router Sled Does
Router sled basics
A router sled is a jig that keeps your router moving on guided rails so you can shave a surface flat in controlled layers, even when the slab is too wide for a planer. The key idea is simple: the rails create a reference plane, and the router removes everything above that plane one pass at a time.
This setup works especially well on live-edge slabs, reclaimed lumber, and epoxy pours where the top face isn’t predictable. A helpful deep read on why sleds are popular for slab flattening is Why you need a router sled, which explains common use cases and practical shop outcomes.
Key parts
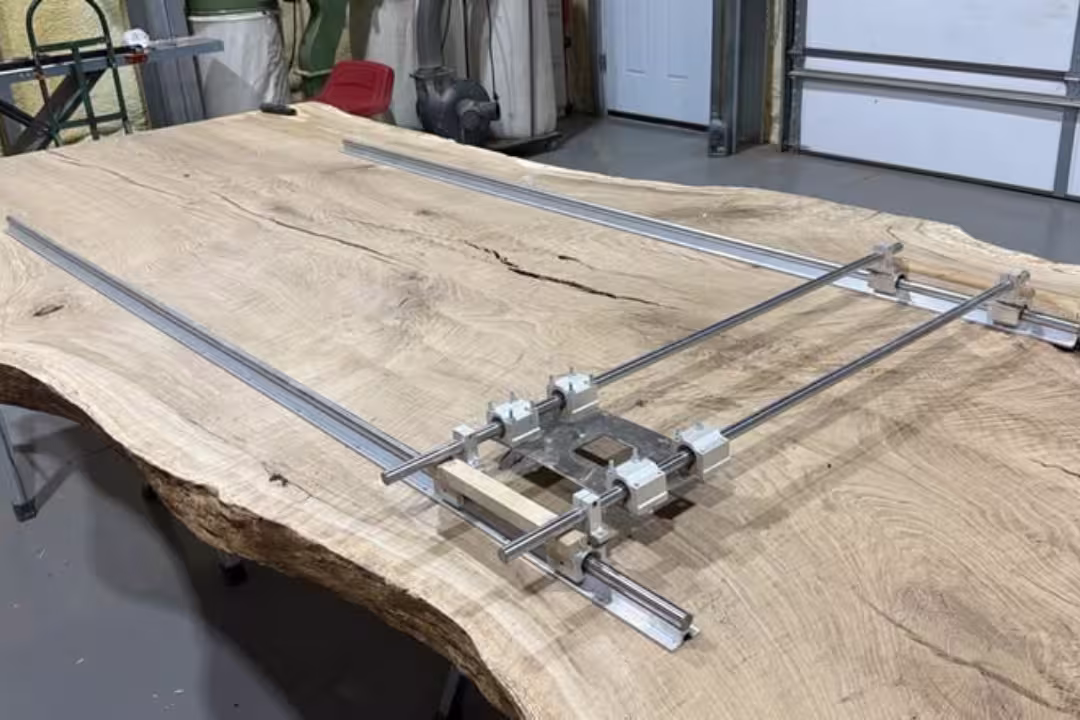
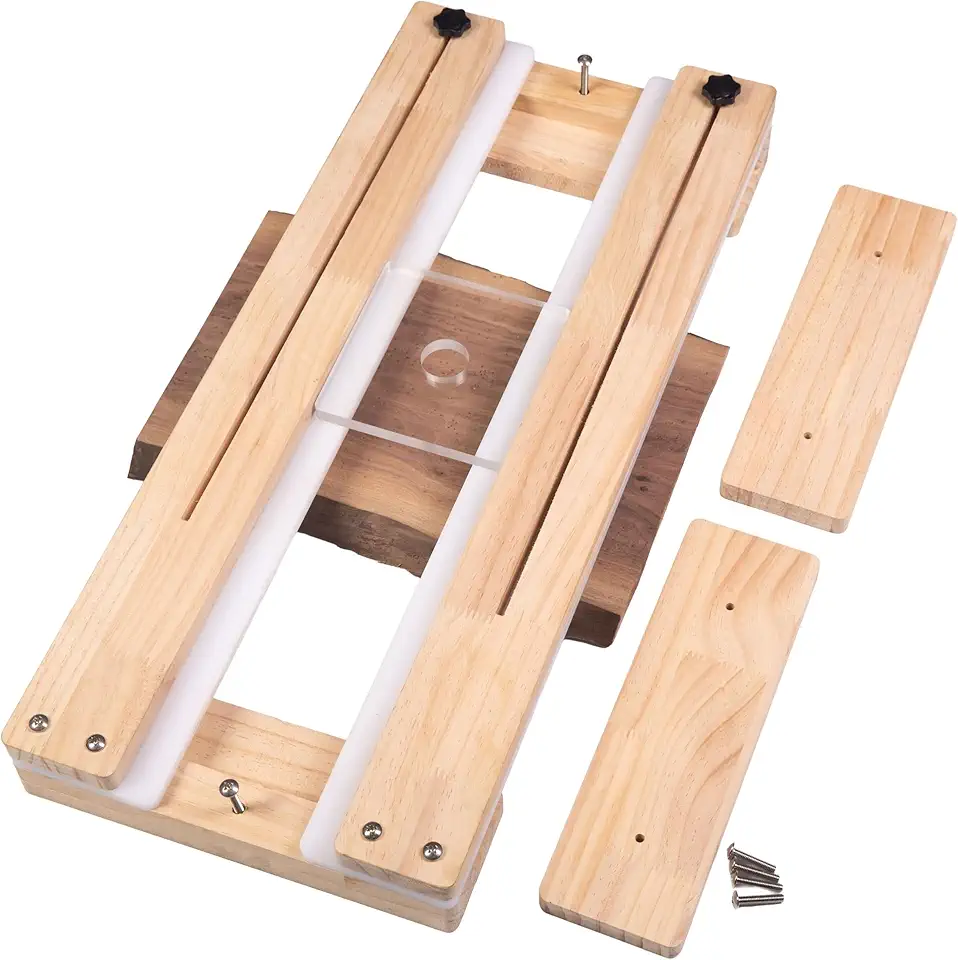
Most sleds break into three main parts: rails, a carriage that rides on the rails, and a router plate (or base) that slides across the carriage. If any one of those flexes or binds, you’ll see ridges, chatter, or low spots that take extra sanding to fix.
- Rails: straight tracks that span past the slab length so the carriage can travel end-to-end.
- Carriage: the bridge that rolls or slides along the rails (often using bearings, UHMW, acrylic, or HDPE runners).
- Router plate: holds the router steady and lets you move left-to-right for each pass.
- Base platform: a flat support under the slab, often MDF or melamine, with room for clamps and shims.
- Height adjusters: knobs, bolts, or shims that set cutting depth and help lock it in place.
When it’s essential
A sled becomes non-negotiable when your slab is wider than your planer, too heavy to safely joint, or too uneven to run through machines without rocking. It’s also a smart pick if you’re flattening end grain, resin, or extra-thick stock where a planer can tear fibers or stall.
It also fills a middle ground between hand tools and big machines: you get flat results without buying a large planer or a full CNC setup. If you’re deciding between machines, this quick overview of a CNC router can help you weigh cost and shop space against how often you’ll actually flatten slabs.
Router Sled Benefits for Slab Flattening
Precision flattening
A sled gives repeatable flatness because the rails act like a “truth line” across the entire surface. Once the rails are level and parallel, every pass references the same plane, which helps you remove twist and cup without guessing.
Cost savings
The budget win is straightforward: many slab-capable sled kits cost far less than a wide planer, and a CNC is often priced out of reach for a hobby shop. Some kits start under $200, while big planers can run $1,000+ and still won’t take very wide slabs, according to Router sled for beginners: a buying guide.
Versatile projects
A single sled can flatten tabletops, benchtops, cutting boards, and resin surfaces without changing your whole workflow. You can also use it to thickness rough-sawn boards that are too warped to joint safely on day one, then move them to a planer after you’ve created one flat reference face.
If you’re building a bench top, a sled pairs well with strong workholding and a stiff base; this guide to woodworking workbenches can help you set up a platform that doesn’t flex while routing.
Durability and storage
Many sleds use aluminum or steel rails with low wear surfaces, so you can flatten for years if you keep them clean and waxed. Storage is also realistic in small shops because lots of kits break down fast, and DIY builds can be designed as wall-hung rails plus a removable carriage.
DIY Router Sled vs. Router Sled Kit
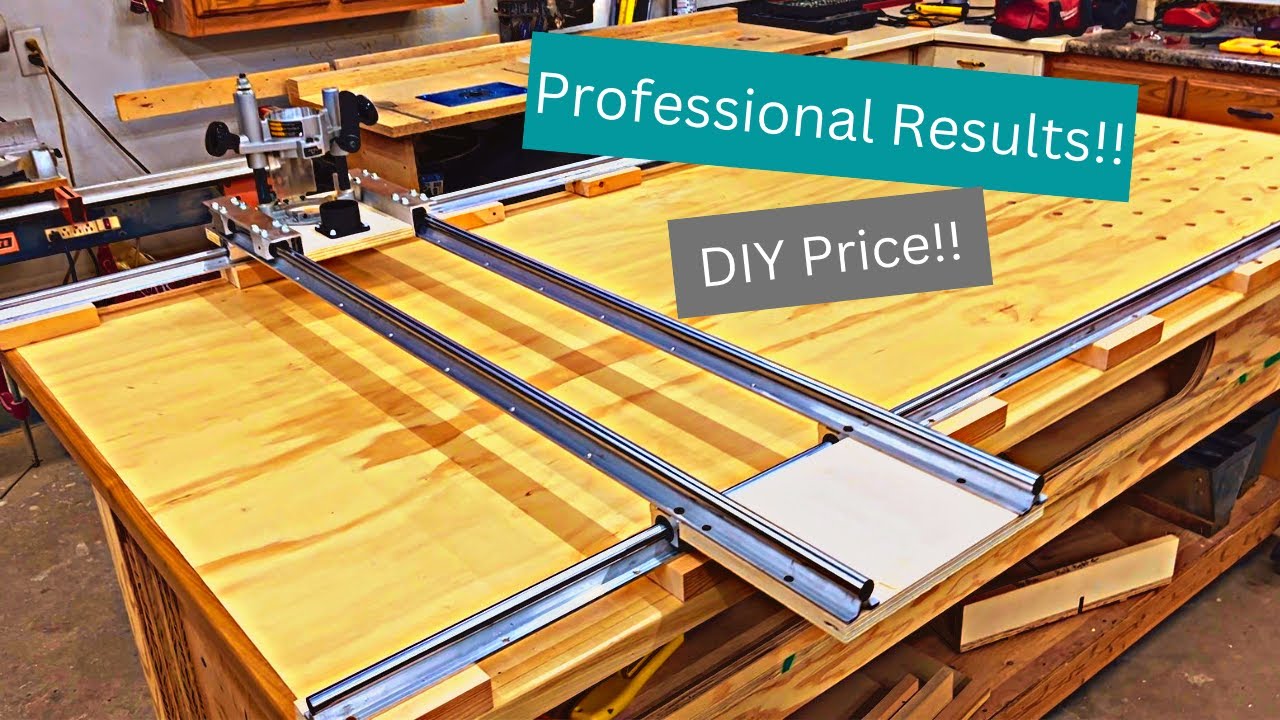
DIY router sled builds
A diy router sled makes sense if you like building jigs and you want custom sizing for one-off slabs. Common DIY builds use plywood + straight edges, aluminum extrusion, or steel angle, with UHMW/HDPE strips for slick motion and simple bolts for height control.
DIY works best when you can verify straightness and keep the rails from sagging over long spans. Spend your effort on the rails and carriage alignment first; a fancy router plate won’t fix a rail that flexes under load.
Router sled kit advantages
A router sled kit is the faster path to clean results because the critical parts show up straight, drilled, and ready to assemble. Better kits include stable carriages, smoother slides or bearings, and height controls that lock securely so the router doesn’t creep mid-pass.
If you want a strong mid-size option for most tabletop work, this “Best Pick” is sized for common slabs while staying easy to store.
Sizing and scalability
Pick sled size based on your largest slab, plus extra travel so the router can clear the ends without tipping. A practical rule: rails should extend several inches past the slab length, and the carriage span should cover the slab width with space for clamps and chip clearance.
Many builders scale a sled by extending rails or swapping in longer extrusion, which is easier than rebuilding the carriage. If you mill your own lumber first, pairing a sled with a chainsaw mill can speed up the process; this intro to a chainsaw mill shows how slabs are often prepared before final flattening.
Here are popular kit-style options that cover common spans from medium boards up to large slabs.

VEVOR 64-Inch Adjustable Router Sled
- 64-inch span handles large slabs with ease
- X and Y axis adjustments deliver precise leveling
- Robust construction for stable, accurate planing
- Quick setup for DIY and home projects
- Compatible with most handheld routers

48in Slab Flattening Router Sled
- 48-inch length accommodates wide boards and slabs
- Height-adjustable L-carriages for accurate passes
- Steel and aluminum build for lasting durability
- Smooth carriage motion for even surfacing
- Fast assembly for hobbyist woodworking

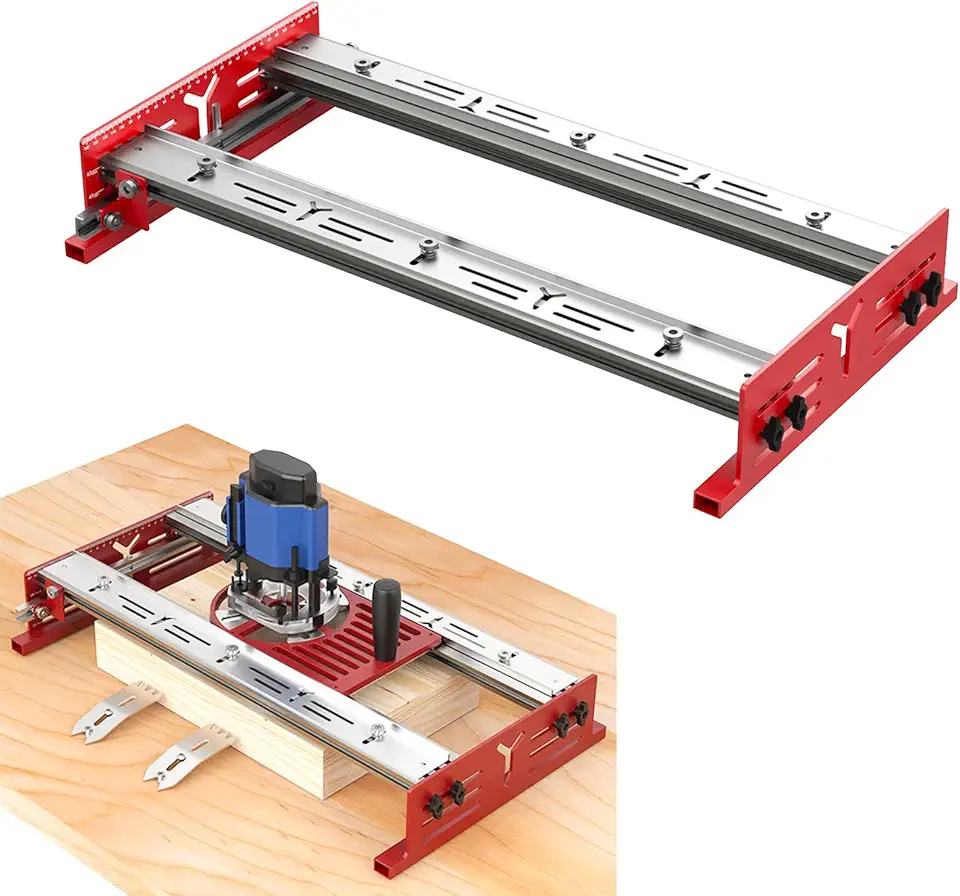
47.2in Portable Router Sled
- Compact 47.2-inch design suits medium slabs and boards
- 3-axis adjustments allow fine tuning for true flatness
- Portable and lightweight for easy transport and storage
- Tool-friendly adjustments speed setup and use
- Works with most routers and standard bits
Trick 1: Rail Alignment for Smooth Tracking
Level the base
Start with a flat base so you don’t “machine in” a twist. Use a known-flat sheet (melamine or MDF) on a stable bench, then check it with a long straightedge; if your bench sags, shim under the base sheet until it reads consistent.
Clamp the slab
Lock the slab down so it can’t rock, slide, or lift under the bit’s pull. Use the right clamps for the job—F-style, pipe clamps, or hold-downs—while keeping clamp heads below rail height; this guide to types of clamps makes it easier to choose the safest setup.
Shim for parallel
Square up the rails so they’re parallel and coplanar from end to end. Use shims under rail supports to correct small dips, then re-check by sliding the carriage across the full travel to confirm it doesn’t bind or drift.
Trick 2: Router Bit Choice for Clean Cuts
Surfacing bit specs
For flattening, use a surfacing bit with a wide diameter (often 1-1/2 to 2 inches) and a 1/2-inch shank if your router supports it. Wide, flat-bottom cutters remove material faster and leave fewer ridges, which cuts sanding time.
This carbide surfacing bit is a common style people use for slabs and spoilboards.
Carbide vs. budget bits
Carbide-tipped cutters keep a sharp edge longer, which matters because slab flattening can hit grit, bark pockets, and dried glue lines. Lower-cost bits can work for soft woods and clean stock, but expect more burn marks, more sanding, and earlier replacement if you flatten dense hardwoods.
Trick 3: Shallow, Systematic Passes
Pass depth targets
Aim for shallow passes—often about 1/16 to 1/8 inch—based on router power, bit diameter, and how hard the wood is. If the router bogs down or the sled chatters, reduce depth first before changing feed rate.
X-then-Y routing pattern
Use a repeatable pattern so you don’t miss stripes. Run full left-to-right sweeps across the slab (X direction), step the carriage forward a consistent amount (Y direction), then repeat while keeping overlap between passes to reduce ridges.
Start at low spots
Start where the slab is lowest so the bit doesn’t crash into a high corner. Set your first cut to “kiss” the low area, then work outward until the entire face shows fresh tool marks; that’s how you know the top is in one plane.
Trick 4: Dialed-In Height Adjustments
Set the first depth
Drop the bit to touch the slab’s lowest point, then lock the router and confirm the carriage doesn’t rock. That first “reference” cut keeps you from wasting time air-cutting over low areas.
Fine-tune and lock
Make small depth changes and lock settings after each adjustment so vibration can’t walk the bit deeper mid-pass. If your sled uses threaded knobs, mark a reference line so you can repeat micro-adjustments without guessing.
Repeatable settings
Repeatability improves when the sled has tight tolerances and easy-to-read adjusters. These options emphasize precision systems that help you return to the same height after test cuts or bit changes.

SpeTool 48in Precision Router Sled
- Three-axis precision height system for fine adjustments
- Reinforced rails increase rigidity and accuracy
- 48-inch reach handles large slabs and tabletops
- Machinist-style fittings deliver mill-like results
- Clear instructions make assembly straightforward

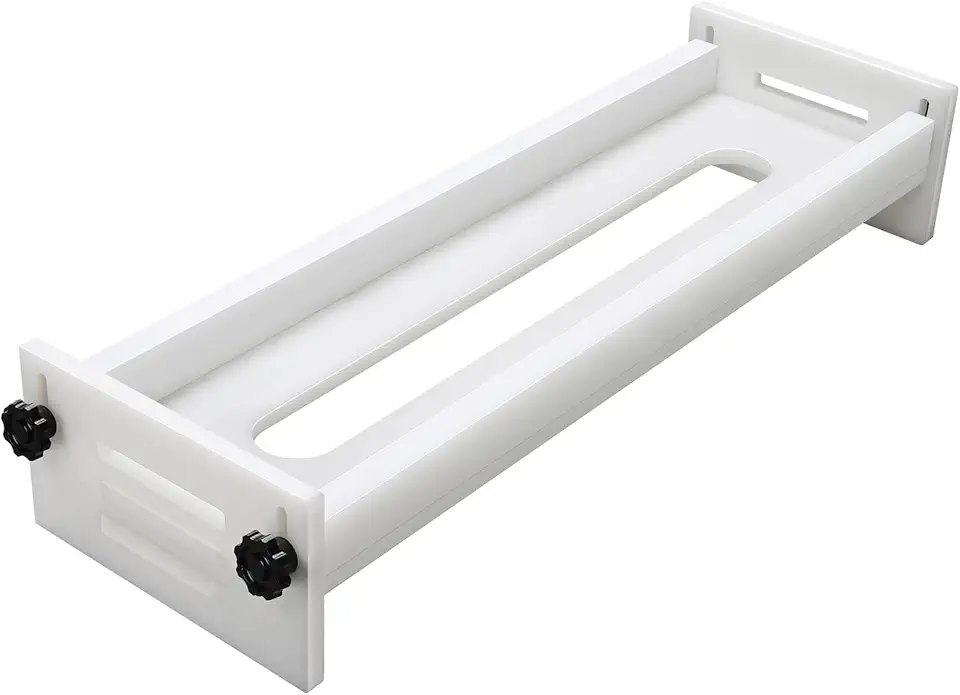
Benchtop Slab Flattening Router Jig
- Compact benchtop design fits most workspaces and tables
- Precision sled handles boards, end-grain, and resin projects
- Durable components provide consistent, repeatable results
- Small footprint ideal for hobby shops and studios
- Accepts a wide range of common router bases
Trick 5: Lower Friction and Vibration
Wax and slick bases
Lower friction gives you cleaner passes because the sled moves smoothly instead of lurching. Paste wax on rails and wear surfaces works well, and HDPE or acrylic plates can glide with less stick-slip than bare plywood.
Bearing and rail play
Chatter often comes from tiny play in the carriage, not the router. Tighten hardware, check bearings for wobble, and confirm the rails are supported often enough to stop sag over long spans.
Dust control basics
Flattening makes a chip storm, so plan dust control before your first pass. Use a router dust shroud if you have one, add a shop vac or dust collector hose that doesn’t snag the carriage, and pause to clear rails so debris doesn’t lift the sled and ruin flatness.
These sled styles focus on smoother travel and materials that can help reduce drag while keeping the setup compact.
24in Benchtop Panel Milling Router Sled
- 24-inch milling span great for panels and smaller slabs
- Height-adjustable slide for controlled, accurate surfacing
- Rigid rails ensure flat, even passes every time
- Suited to small shops and tabletop setups
- Router base not included for flexible tool choice
24in HDPE Router Sled for Slab Flattening
- HDPE base reduces friction for smoother, consistent passes
- 24-inch width fits moderate-sized slabs and boards
- Adjustable trimming lets you dial in precise flatness
- Lightweight construction for easy handling and storage
- Great choice for DIY woodworkers and makers
Adjustable Router Sled with Acrylic Base
- Clear acrylic baseplate offers visibility and stable support
- Smooth plastic tracks enable effortless sled movement
- Fits most trim routers for versatile use
- Designed for cutting boards, epoxy tables, and slab work
- Easy assembly and simple adjustments to achieve flatness
Router Sled vs. Other Flattening Methods (Quick Comparison)
This table gives a quick snapshot of where a sled fits compared to other common options, based on price, capacity, and workflow.
| Method | Pros | Cons |
|---|---|---|
| Router Sled | Cost-effective ($100–500), precise for large slabs, compatible with diy router sled builds | Manual setup time, dust and noise, slower than automated surfacing |
| Planer | Fast thicknessing after one face is flat | Can’t handle very wide slabs; rough slabs can rock and snipe |
| CNC Router | Automated toolpaths, repeatable production | High cost (often $5,000+), steeper setup and learning curve |
Flat results come from a rigid reference plane, consistent pass depth, and a sled that slides smoothly without play.
Shop-proven routing practice
FAQs
What Is A Router Sled And How Does It Work?
A router sled is a simple guided platform that holds a router and moves it across a workpiece to flatten or surface large boards and slabs. It rides on rails or fences and uses incremental passes to remove material evenly. You adjust the router depth and sled travel for controlled, repeatable cuts, making it ideal for live-edge slabs or wide panels.
How To Make A Router Sled?
You can build a router sled using two straight rails, a flat base, and a router carriage that spans them. Secure parallel rails to a stable surface, attach a sled base that slides smoothly, and mount the router so its bit can be adjusted in small increments. Finish by taking shallow passes and checking for flatness.
Can A Router Sled Replace A Planer Or Jointer For Flattening Large Slabs?
Yes — a router sled can effectively replace a planer or jointer when flattening wide or very thick slabs. It removes material in controlled passes without the width or thickness limits of typical machines, but it’s slower and more labor-intensive. For finely finished edges, you may still use a jointer or hand planes for final cleanup.
Which Router Bits And Settings Are Best For Use With A Router Sled?
Use a large-diameter, carbide-tipped spiral or compression bit at moderate feed rates for clean cuts with a router sled. Start with a 3/4-inch to 1-inch down-cut or compression bit to reduce tear-out; set shallow depth per pass (about 1/32 to 1/8 inch) and maintain steady sled travel with a moderate router speed. Always secure the workpiece and test cuts for best results.