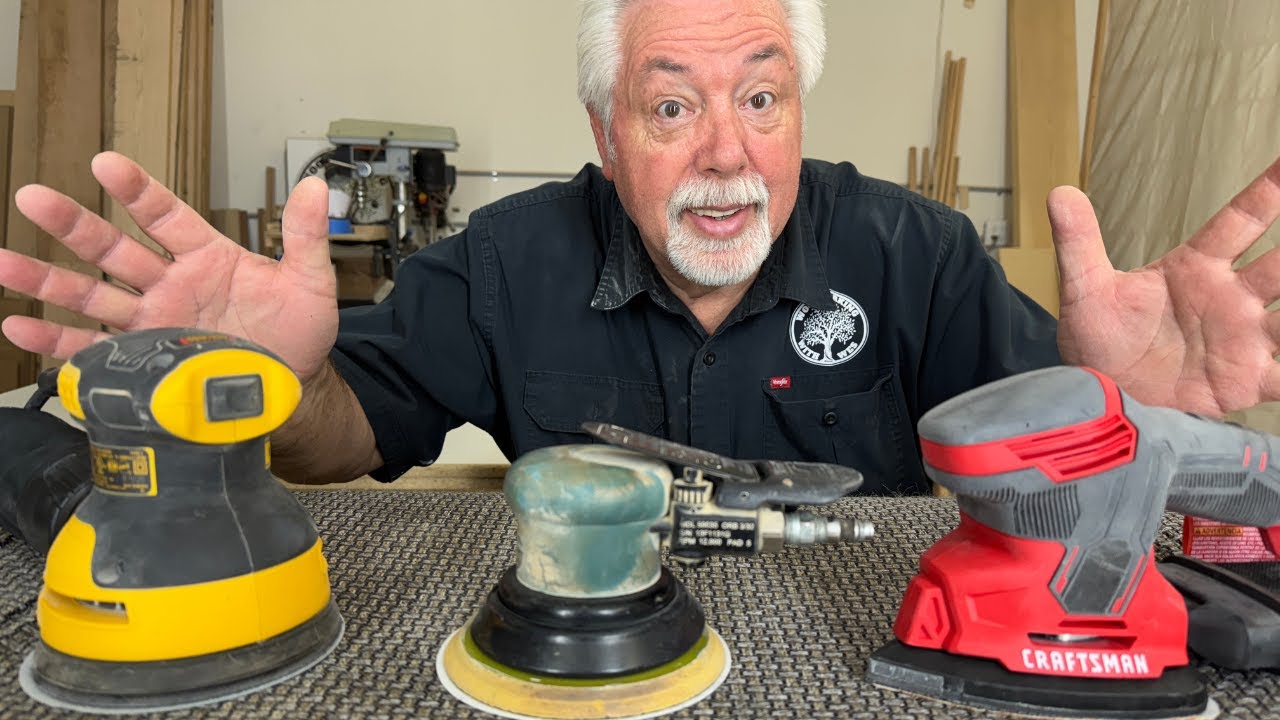
Have you ever started a project and found your sanding machine scratches or clogs the work? That usually means the tool was the wrong fit. This short guide points out seven common buying mistakes. You’ll get clear tips on power, dust collection, durability, and sandpaper fit. Use these notes to pick the right machines for sanding or a single sander machine and finish faster with cleaner results.
Table of Contents
A sanding machine can save hours and improve finish quality when you match it to the surface, size, and material. This guide breaks down how to pick the right sander machine without wasting money on the wrong features.
Matching the Sanding Machine to Your Project
Start by choosing machines for sanding that fit the job’s shape and scale, not the price tag. Many problems—swirl marks, slow progress, and sore hands—come from using a tool built for detail work on big flats, or using an aggressive tool on delicate edges.
Project type
Different materials and shapes need a different sanding pattern. A random orbital sanding machine works well for most furniture parts, painted surfaces, and medium panels because the orbit reduces visible scratch direction. A belt sander machine removes stock fast on flat wood, yet it can destroy profiles or veneer edges in seconds if you hold it in one spot too long.
If you’re sizing boards, flattening glue lines, or stripping thick finish, pick a more aggressive tool and plan a grit “step-down” to remove deep scratches later. For tight corners, legs, trim, and cutouts, a detail sander or hand sanding block often beats large machines for sanding because it can follow the shape without rounding it over.
Project size
Size drives tool choice as much as material. For floors and large slabs, you usually want a dedicated floor unit (drum/belt) or a large orbital with strong dust pickup; using a small detail sander machine on a big surface turns into a long, tiring session. For cabinet doors, shelves, and tabletops, a 5-inch random orbital sanding machine is often the best balance of coverage and control.
| Project | Best-fit sanding machine type | Why it fits |
|---|---|---|
| Tabletop (solid wood) | 5″ random orbital sander | Fast coverage with reduced swirl risk |
| Paint prep (doors/trim) | Random orbital or finishing sander | Controlled removal without gouging |
| Heavy stock removal (flat boards) | Belt sander | High removal rate for leveling |
| Corners, spindles, cutouts | Detail sander / hand sanding | Reaches tight areas with better control |
| Floor refinishing | Drum/belt floor sander + edger | Designed for large area leveling |
Common mismatches
A common mismatch is picking the smallest sanding machine to “play it safe” and then pressing hard to speed things up. That pressure can stall the pad, create pigtails, and leave shiny low spots that show through stain or paint.
Another mismatch is choosing an aggressive belt sander machine for furniture edges and then “fixing it later” with finer grits. Deep gouges often force you to remove more material than planned, which can change dimensions and ruin joinery; if you also use specialty tools, see the drum sander guide for where drum sanders fit and where they don’t.
For examples of sander types matched to common tasks, Lowes’ buying guide lays out where random orbital, belt, and detail sanders perform best (choose the best power sander). Pick the category first, then shop features inside that category to avoid tool mismatch.
Getting Power and Speed Right
Power and speed decide whether your sanding machine cuts cleanly or bogs down. If the motor can’t keep the pad moving under light pressure, you’ll compensate by pushing harder, which heats the surface and makes scratches harder to remove.
Motor power
For corded tools, motor size is usually shown in amps or watts; higher numbers help maintain speed under load. Light finishing work can run fine on smaller motors, while stripping, flattening, or sanding dense hardwood benefits from a stronger motor that doesn’t stall when you keep the pad flat and let the abrasive cut.
Use motor strength as a filter, not a trophy metric. A powerful sander machine with poor pad balance still leaves swirl marks, while a modest motor paired with a stable orbit can finish clean if you use the right grit plan and don’t rush grit jumps.
Variable speed
Variable speed gives you control across materials and grits. Slower settings help when you’re sanding between coats, working near edges, or scuffing paint without melting it; higher settings help on raw wood when you want faster scratch removal.
Speed matters for finish quality because the wrong setting can “skate” the pad and leave visible trails even with fine paper. Popular Mechanics highlights why orbital sanders with speed control are easier to tune for different tasks (power sanders), and that matches what you’ll feel in your hands on real projects.
If variable speed is high on your list, this option is a practical pick for general finishing work:
Not Skimping on Dust Collection
Dust control isn’t a luxury add-on; it affects health, cleanup time, and the surface you’re trying to finish. When dust stays on the work, it gets trapped under the pad and acts like extra grit, which can add random scratches that show up after staining or clear coat.
Built-in dust systems
Many handheld sanding machines use a bag, canister, or cyclonic box that captures dust without a vacuum. These work best when you keep the holes in the abrasive aligned with the pad and empty the container before it packs tight, since airflow drops fast once it fills.
Vacuum ports
A vacuum port is the simplest upgrade that makes a big difference in real use. Pairing your sander machine with a shop vac or dust extractor improves cut consistency because the abrasive stays clearer, and it keeps your shop from getting coated in fine dust.
Pay attention to the port style and the pad hole pattern, since mismatched parts reduce suction at the surface. If you already maintain a dust plan for bigger tools, your handheld sander can plug into the same system for cleaner sanding.
Finish quality impact
Dust affects finish quality in two ways: scratches during sanding and contamination during finishing. Fine dust can also hide low spots; once you wipe with mineral spirits or apply finish, those flaws appear, and you’re forced to resand.
If you want a simple rule, treat dust control as part of your sanding “system,” not a feature checkbox. For industrial examples of why collection capacity matters on wide belts, SL Coating’s overview of wide belt machines discusses dust extraction needs at higher removal rates (wide belt sanding machine reviews).
Choosing Durability and Ergonomics Over “Cheap”
A budget sanding machine can work for light use, yet poor durability and rough vibration often cost more in the long run. When a sander chatters, you sand longer, swap paper more, and still fight a surface that won’t look even under finish.
Build materials
Look for tight fit between the pad, bearings, and housing, plus a solid switch and cord strain relief on corded models. Better internal components help the sander machine hold speed and reduce wobble, which is what causes uneven scratch patterns.
Vibration control
Vibration control matters because it impacts both your hands and the work. Less vibration helps you keep steady pressure, which leads to more even sanding and fewer accidental dips when you transition across edges or seams.
If you do long sessions, vibration also affects how long you can hold a tool without taking breaks. That’s a real productivity issue on large panels, and it’s one reason higher-quality machines for sanding feel “faster” even at the same rated speed.
Weight and handling
Weight should match how you sand. A heavier tool can help on flat surfaces because it settles the pad, while a lighter sanding machine is easier for vertical work, one-handed sanding, and overhead sanding where fatigue hits fast.
Grip shape and balance matter more than the number on the spec sheet. If you build furniture with curves or you do inside sanding, pairing the right handheld sander with specialty tools like a spindle sander can reduce hand sanding time and keep profiles consistent.
These models are popular options when you want a better balance of comfort and long-term use; here are a few to compare side by side.
Avoiding Sandpaper Compatibility Pitfalls
Sandpaper fit issues waste time and wreck results, even with a good sanding machine. If the disc doesn’t sit flat, or the holes don’t line up, suction drops and the paper loads faster, which can burnish wood instead of cutting it.
Disc and sheet sizing
Confirm the size before you buy abrasives in bulk. Common random orbital sizes are 5-inch and 6-inch discs; detail sanders often use small shaped sheets, and finishing sanders use quarter-sheet or half-sheet formats.
Stick to one main disc size if possible so you can store fewer SKUs and swap between grits without hunting for the right box. That small habit keeps your sander machine in use instead of waiting on supplies.
Hook-and-loop vs quick-change
Hook-and-loop discs are common because they’re quick and widely available. Quick-change systems can be faster in certain trades, yet they may lock you into a narrower abrasive selection or higher refill costs, so check local availability before you commit.
Plan your swaps to reduce downtime. Keep the next grit staged nearby, and replace discs once they stop cutting efficiently; forcing a dull disc makes you press harder and heats the surface, which can cause finish problems.
Grit range planning
A smart grit plan beats brute force. For raw wood, a common range is 60–80 for flattening, 100–120 for scratch refinement, then 150–180 (and sometimes 220) for pre-finish smoothing, depending on species and finish type.
- Strip/level: start at 60–80 only when you must remove defects fast
- General prep: move through 100–120 to erase prior scratches
- Pre-finish: stop at 150–180 for many film finishes; go finer when the finish calls for it
- Between coats: use very fine paper lightly with low speed
If you want a deeper sanding workflow for furniture-style projects, browse more shop tips in the woodworking blog and compare how different grit stops affect stain and clear coat results.
Trusting Reviews and Real-World Reputation
Brand reputation won’t sand the board for you, yet it often predicts how a sanding machine will hold up after months of use. Reviews help most when you read them like test notes, not star ratings.
Known brands vs unknown
Known brands usually offer better pad availability, replacement parts, and consistent specs across batches. That matters if you rely on one sander machine for multiple projects and don’t want to restart your learning curve every time a bargain tool fails.
Review signals to check
Look for reviewers who mention what they sanded, how long they used it, and what abrasives they used. Comments like “worked great” without material details don’t help you pick machines for sanding that match your work.
Pay attention to repeat complaints that match your deal-breakers: pad brake failures, weak dust pickup, excessive vibration, or hook-and-loop pads wearing out fast. Review roundups from hands-on testers can help narrow shortlists; Reviewed’s picks for random orbitals explain performance differences that show up on real boards (best random orbital sander).
Brushless and runtime claims
Brushless motors can extend runtime on cordless sanders, yet battery size and dust management still decide how long you can work comfortably. Treat runtime claims as best-case numbers; real sanding involves load, frequent starts and stops, and sometimes higher speed settings.
If you’re comparing cordless options, check whether the tool maintains speed under light pressure with a fresh disc. That “feel” matters more than marketing lines, and it’s the difference between a fast, controlled sanding machine and one that forces you to push.
Balancing Budget With Frequency of Use
Your budget should match how often you sand and how visible the final surface will be. A weekend DIY user can get great results with a simpler sander machine if they follow a smart grit plan and control dust, while daily use rewards spending more for comfort and consistent performance.
DIY vs pro spend
DIY users often do best with a reliable, mid-priced random orbital sanding machine and a good assortment of discs. Pros often gain more from better vibration control, stronger dust extraction, and a motor that holds speed across long sessions.
Feature/value trade-offs
If you must cut costs, keep performance features and skip gimmicks. Prioritize a stable pad, decent dust collection, and variable speed over extras you won’t use, since those three items most directly impact finish quality.
Kits and extras savings
Kits can save money when they include discs you’ll actually use and a case that keeps paper clean and flat. If the included grits don’t match your usual workflow, buying a smaller kit and adding the right discs later often costs less than keeping a pile of unused paper.
Top 10 Best Sanding Machine Models for Every Project
Finding the right sanding machine makes any project easier and more precise. From orbital and detail sanders to drywall models, these top 10 sanding machines deliver reliable performance for DIYers and professionals alike.

SKIL 5” Random Orbital Sander — Cyclonic Dust Control
- Smooth random-orbit action for professional finishes
- Cyclonic dust box captures debris for cleaner work
- Ergonomic, lightweight design reduces hand fatigue
- Includes sanding sheets to get started right away
- Versatile for wood, metal, and paint prep

WEN 6301 Palm Detail Sander
- Compact palm grip for precise control in tight spots
- Consistent orbital motion for even finishing
- Lightweight design minimizes user fatigue
- Quick sandpaper changes speed up the job
- Affordable choice for DIY and small projects

SKIL Corded Multi-Function Detail Sander
- Multi-function design handles corners, edges, and flat surfaces
- Micro-filter dust box keeps your workspace cleaner
- Includes extra attachments for added versatility
- Comes with sanding sheets to start immediately
- Corded power delivers consistent performance
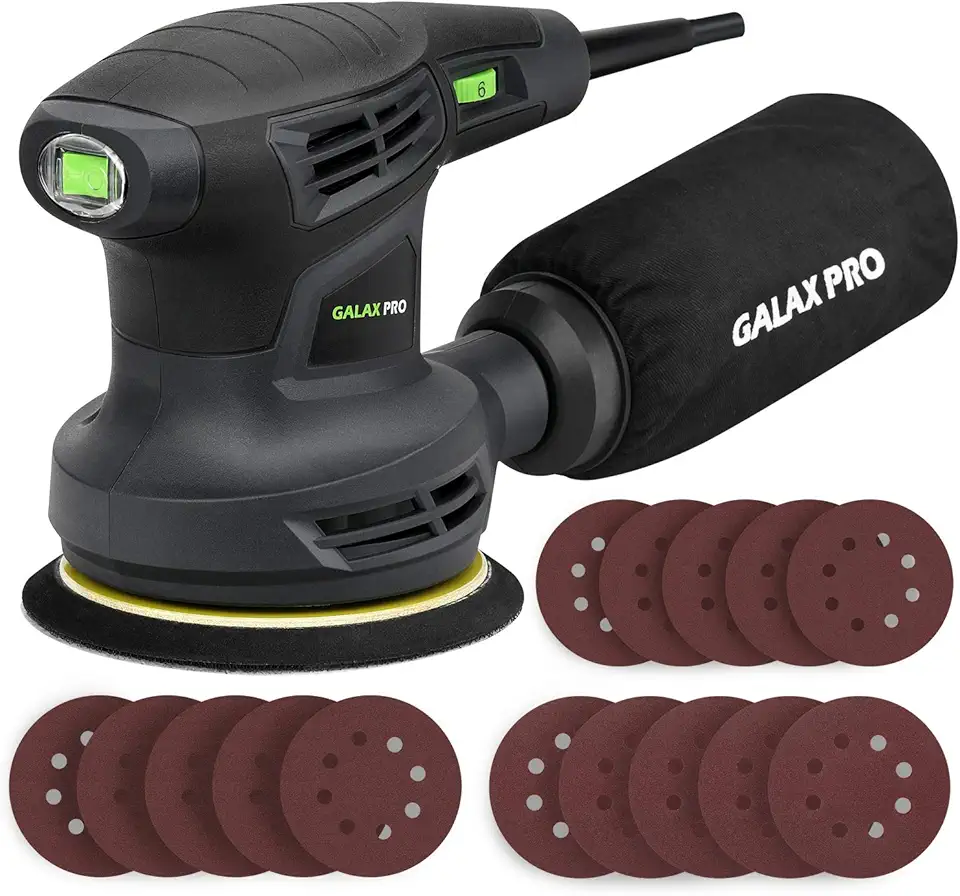
GALAX PRO 5” Variable-Speed Orbital Sander
- Variable speed control for precise material removal and finishing
- Built-in dust collector helps keep surfaces and air cleaner
- 15-piece sanding disc set covers multiple grits and jobs
- 280W motor delivers strong, reliable performance
- Suitable for sanding and polishing a variety of materials

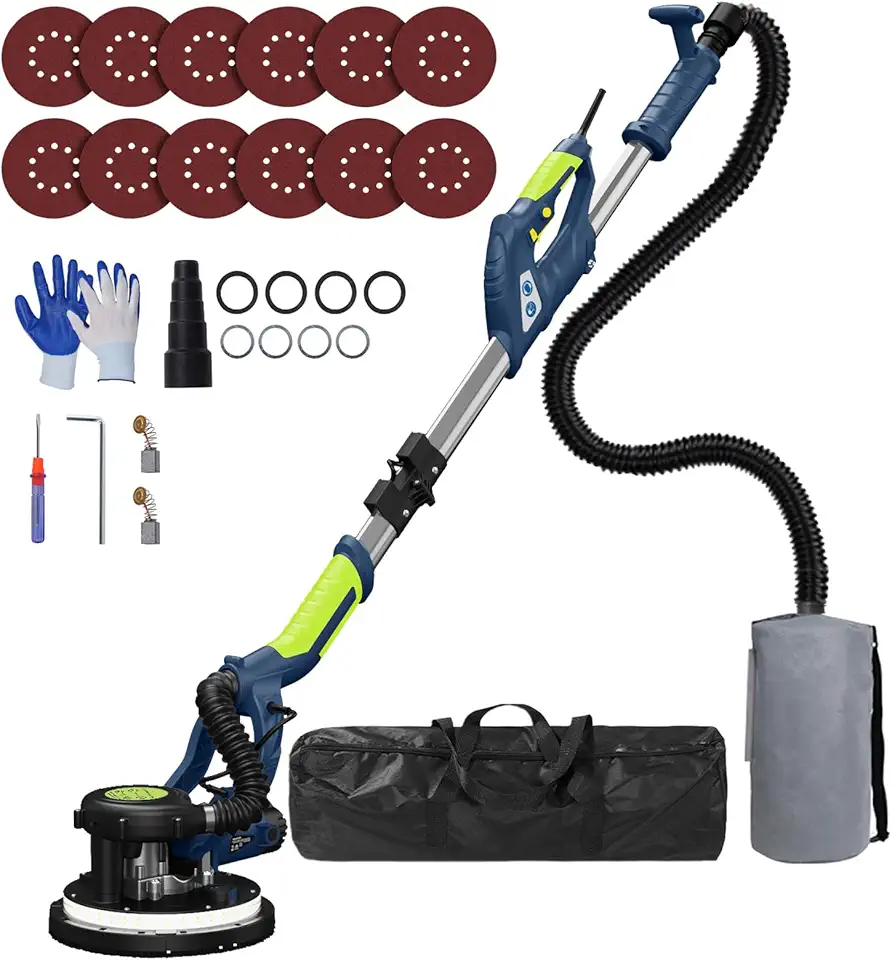
KUPERIA 8.5A Drywall & Ceiling Sander
- Powerful 8.5 amp motor designed for popcorn and drywall removal
- Seven variable speeds for controlled sanding from 800–1800 RPM
- Extendable handle reaches ceilings and high walls comfortably
- Built-in LED light improves visibility in work areas
- Includes multiple sandpapers for different surface needs

HYCHIKA Compact 14,000 OPM Detail Sander
- High-speed 14,000 OPM performance for quick material removal
- Compact shape fits tight spaces and corners easily
- Efficient dust collection keeps the area cleaner
- Includes 12 sandpapers so you can start right away
- Great for sanding, polishing, and paint removal in home projects

DEWALT 20V MAX Orbital Sander (Tool Only)
- Cordless convenience for portable sanding without cords
- Compatible with the DEWALT 20V MAX battery platform
- Durable build suited for jobsite use and frequent use
- Smooth orbital action delivers consistent finishing results
- Tool-only option for users who already own batteries
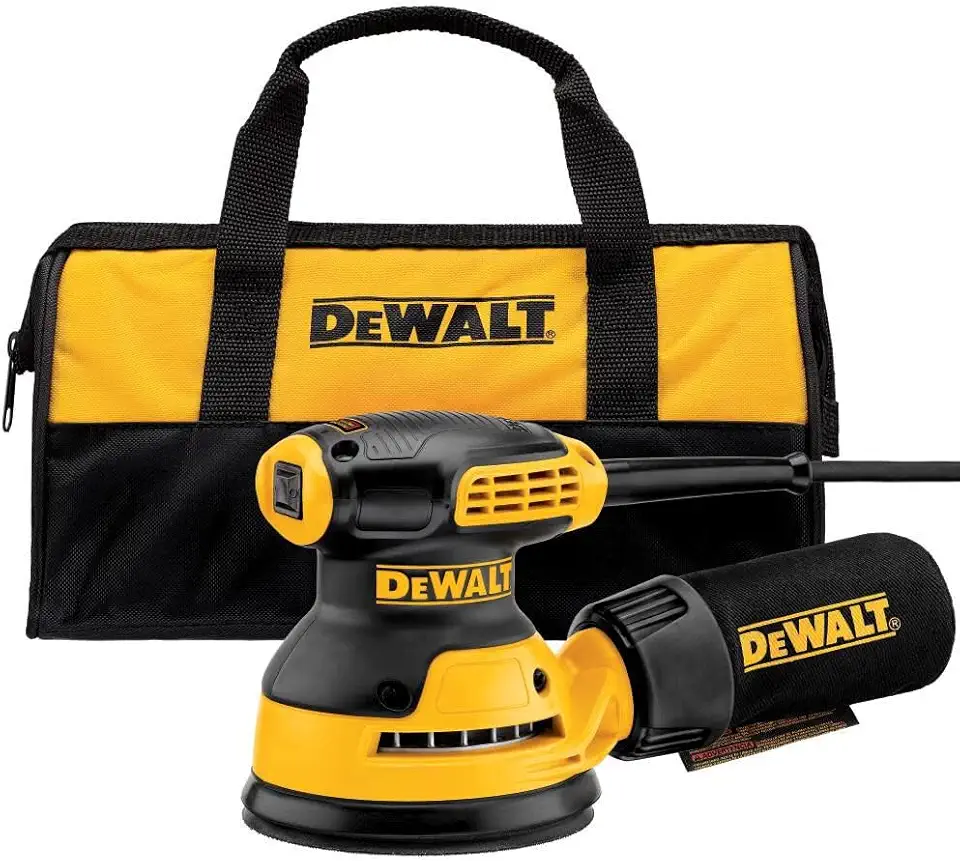
DEWALT 5” Corded Orbital Sander Kit
- Reliable 3 amp motor provides steady sanding power
- 5-inch pad accepts common sanding discs for flexibility
- Corded design ensures uninterrupted runtime for long jobs
- Includes carrying case and accessories for easy transport
- Built to deliver professional-quality finishes
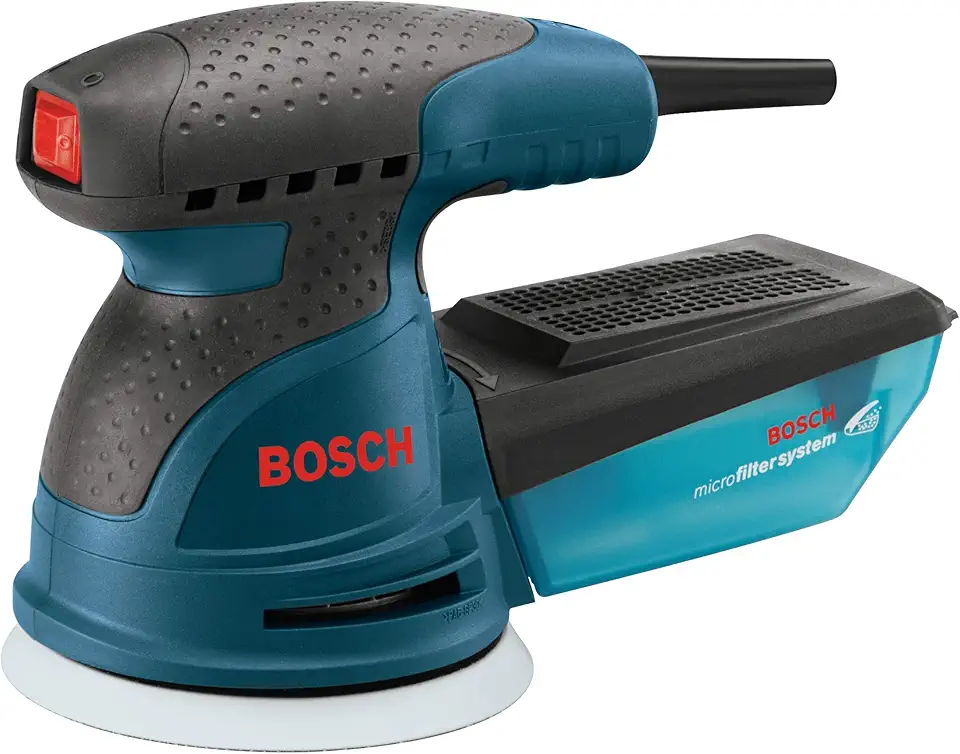
BOSCH 5” Palm Random Orbital Sander
- Variable speed control for precise sanding and polishing
- Efficient dust collection minimizes mess and cleanup time
- Comfortable palm grip reduces hand strain during extended use
- Includes soft carrying bag for organized storage and transport
- Designed for smooth, swirl-free finishes on many surfaces
Upgraded 8A Drywall & Ceiling Sander with Vacuum
- Powerful 8 amp motor for fast drywall and popcorn ceiling removal
- Seven speed settings for precise control from 800–1800 RPM
- Integrated vacuum dust collector reduces airborne dust
- Extendable handle and LED light improve reach and visibility
- Includes multiple sanding discs to handle different surfaces
Choosing the right sanding machine depends on your project and needs. These top 10 options offer versatility, efficiency, and quality results for both home and professional use.
FAQs
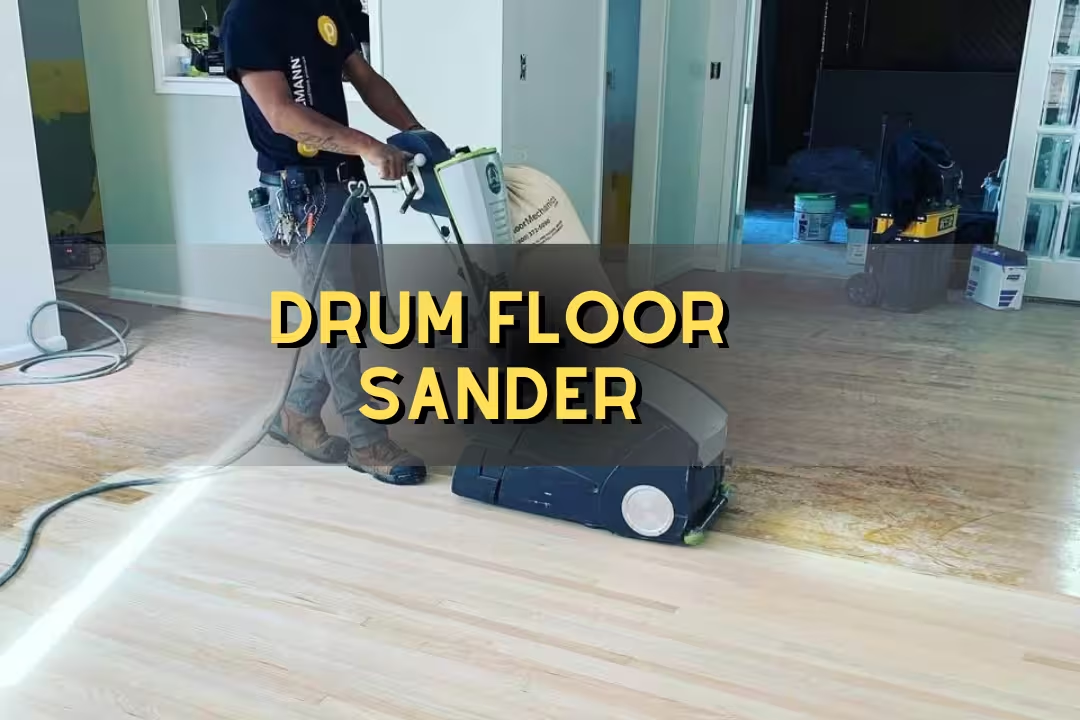
What Type Of Sanding Machine Is Best For Refinishing Hardwood Floors?
A drum sander is best for full hardwood floor refinishing, while a random-orbit sander and an edger are better for light sanding, corners, and trim. Rent a drum sander for large, flat areas, and use the edger along baseboards for a clean edge. Beginners often choose a random-orbit for easier control and fewer gouges.
How Much Is Sanding Machine?
Prices vary widely: handheld orbital sanders typically cost $30–$150, mid-range random-orbit models run $100–$300, and professional floor drum sanders sell for $1,000–$3,000 new; rental rates for floor sanders are usually $60–$150 per day. For most DIYers, renting a floor sander and buying abrasives and dust collection accessories is more economical than purchasing.
How Do I Choose The Right Grit And Abrasive For A Sanding Machine?
Begin with a coarse grit to remove old finish and deep scratches, then move to medium and fine grits to level and smooth; a common hardwood sequence is 36–40, 60–80, then 100–120 grit. Choose durable abrasives like aluminum oxide or zirconia for floor sanding, and test on scrap to refine your progression based on wood hardness.
How Can I Prevent Swirl Marks And Gouges When Using A Power Sander?
Prevent swirl marks and gouges by using the correct sander, keeping the sanding pad flat, and moving the tool steadily without excessive pressure. Replace worn abrasives promptly and follow a proper grit progression to remove sanding marks. Beginners should practice on scrap pieces, check the surface often, and use a random-orbit sander to reduce patterning.
What Safety Gear And Precautions Should I Take When Operating A Sanding Machine?
Wear eye protection, a dust mask or N95 respirator, hearing protection, and sturdy gloves and footwear when operating a sanding machine. Ensure good ventilation, use dust-collection systems or shop vacs, and keep loose clothing, hair, and jewelry secured. Always read the user manual, disconnect power before changing abrasives, and keep bystanders and children away from the work area.