Want smoother curves without hours of sanding? A good spindle sander and the right sleeves can cut major time from a build. The oscillating action reduces marks and heat so you spend less time reworking parts. Choose a solid motor, a roomy table, and the right spindle sander spindles and you’ll finish edges faster. Below are seven top buys—plus tips on the WEN oscillating spindle sander and other machines for sanding that speed the job.
Table of Contents
A spindle sander is one of the fastest ways to smooth inside curves, cutouts, and rounded parts without fighting scratchy hand-sanding marks. This guide explains how oscillation works, what to look for when buying, and how to get clean results with less rework.
Spindle Sanders: Fast-Finish Basics

What a spindle sander is
A spindle sander is a benchtop machine that spins a sanding sleeve around a vertical drum (the spindle) so you can sand curves, holes, and contours with control. It shines on parts like chair arms, template-cut curves, and interior radii where flat sanders waste time or round over edges you wanted to keep crisp; a helpful overview of sander types and where each fits is on The Different Types of Sanders and Their Uses.
Oscillating spindle sander action
An oscillating spindle sander adds an up-and-down stroke while the drum rotates, so the sleeve doesn’t grind the same line repeatedly. That movement spreads wear across more abrasive, keeps the sleeve cutting longer, and helps you get a more even finish on tight curves without “dishing” one spot.
Best uses vs machines for sanding
A spindle sander fills the gap between hand sanding and other machines for sanding because it supports the work on a table while the abrasive conforms to curves. A belt sander removes stock fast on edges, and a random orbit sander cleans up faces, but neither reaches inside cutouts cleanly; if you’re building a workstation, pairing it with a good router table makes shaping-and-sanding curves much quicker.
- Use a spindle sander for inside curves, holes, and template-shaped edges.
- Use a random orbit sander for flat faces and broad blending.
- Use a belt sander for straight edges and fast flattening (then refine the curve work on the spindle).
Why an Oscillating Spindle Sander Saves Time
Fewer swirl marks
The up-down stroke breaks up the repeating scratch pattern that creates visible swirls on curved edges. You’ll still need good grit steps, but you spend less time chasing the same mark that keeps reappearing because the sleeve keeps contacting fresh areas of abrasive.
Less clogging
Oscillation reduces paper loading because dust and resin don’t pack into the same spot as quickly, so sleeves stay sharp longer. In practice, that means fewer sleeve changes and fewer “mystery burn” spots that show up when a clogged sleeve starts rubbing instead of cutting.
Cooler sanding
Less heat comes from distributed friction across the sleeve instead of one fixed band doing all the work. That helps on hardwood edges, end grain, and plywood glue lines where heat can glaze the abrasive and leave dark burn marks that take extra sanding to remove.
Dust port benefits
A decent dust port gives you clear sight of your line and keeps the sleeve cutting, since dust trapped between the sleeve and wood acts like a cushion. If you work in a shared space or small shop, controlling sanding dust also reduces cleanup time and keeps grit off your bench; Northeastern’s Spindle Sander User Guide covers safe use and shop practices.
Power and RPM range
Most benchtop models land around 1000–2400 RPM, with some offering variable speed for better control on plastics and softer woods. Higher RPM removes stock faster, but heat rises quickly on small-diameter spindles, so speed control plus a steady feed rate often finishes parts faster than running flat-out and fixing burn marks later.
| Material / Task | Practical RPM approach | Why it saves time |
|---|---|---|
| Hardwood inside curves | Low to mid RPM, steady feed | Reduces burns and re-sanding |
| Softwood shaping | Mid RPM, lighter pressure | Avoids gouges from aggressive bite |
| Plywood / end grain | Mid RPM with frequent motion | Less glazing on glue lines |
| Plastics | Lower RPM, short passes | Limits melting and clogging |
How to Choose a Spindle Sander Fast
Motor and power
Start with motor size because it decides how hard you can push without stalling when sanding thick hardwood or large curves. Benchtop units often run 3.5A to 5A (or around 1/2 HP on some premium tools), which is plenty for furniture parts, templates, and small production runs.
Speed control
Variable speed gives better finish across different materials since you can slow down to prevent heat and speed up for quick shaping. If you sand mixed materials (hardwood plus resin inlays, plastics, or painted parts), speed control usually beats a single-speed machine for fewer do-overs.
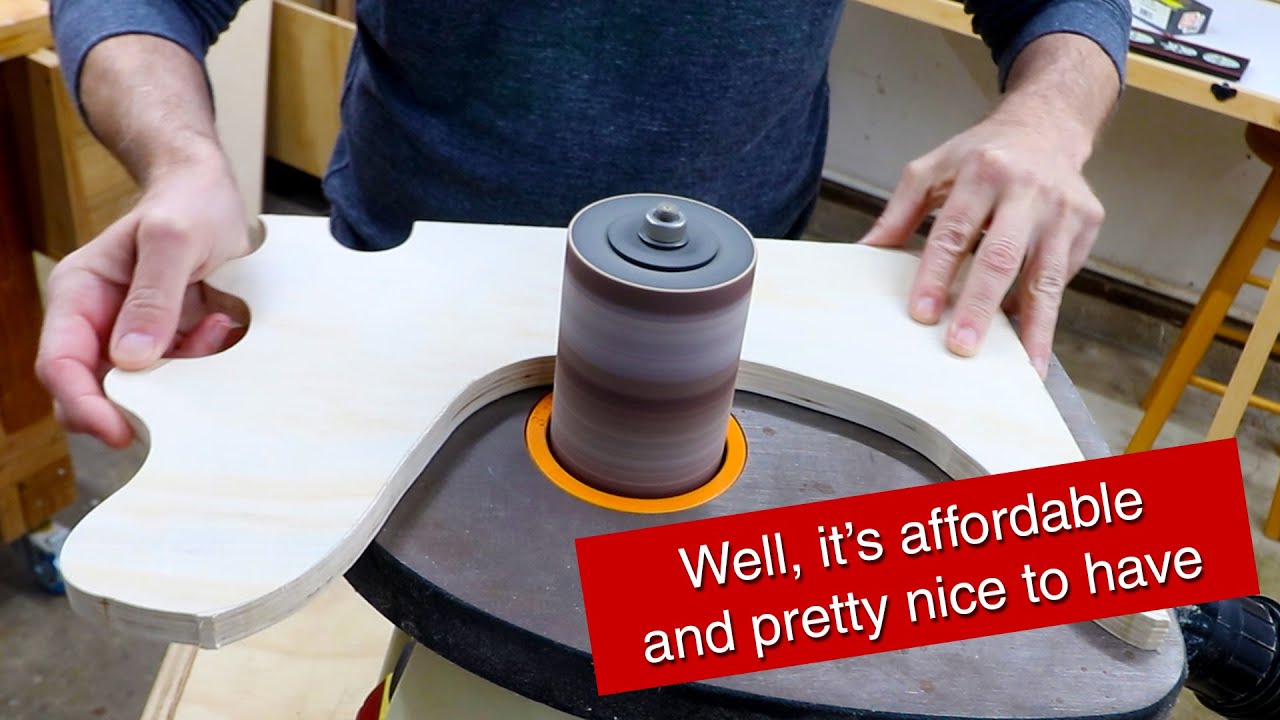
Table size and tilt
A larger support table keeps curves stable, especially on long parts like chair rails or guitar bodies, so you don’t rock the piece and round over edges by accident. A tilting table is worth paying for if you sand bevels after routing; it’s often faster than trying to freehand a consistent bevel on curves.
Dust collection
Look for a dust port you can actually connect to your vac or collector, since good dust capture keeps the sleeve cutting and your layout lines visible. If your shop setup is still evolving, a solid bench and hose management make a difference; this guide on woodworking workbenches helps you set up for stable sanding.
Spindle sander spindles and sleeves
More included spindle sizes means fewer workarounds, because the right diameter matches the curve and keeps the shape true. Aim for common options (about 1/2 inch up to 3 inches), plus easy sleeve swaps, so you can jump from shaping (60–80 grit) to pre-finish sanding (150–240 grit) without losing time.
7 Spindle Sander Buys to Finish Projects Fast
WEN oscillating spindle sander: 6510T 3.5A (Best for Small Shops)
If you want the best value for most small shops, this compact benchtop choice covers common curve work without taking much space, and quick sleeve changes help you move through grits faster.
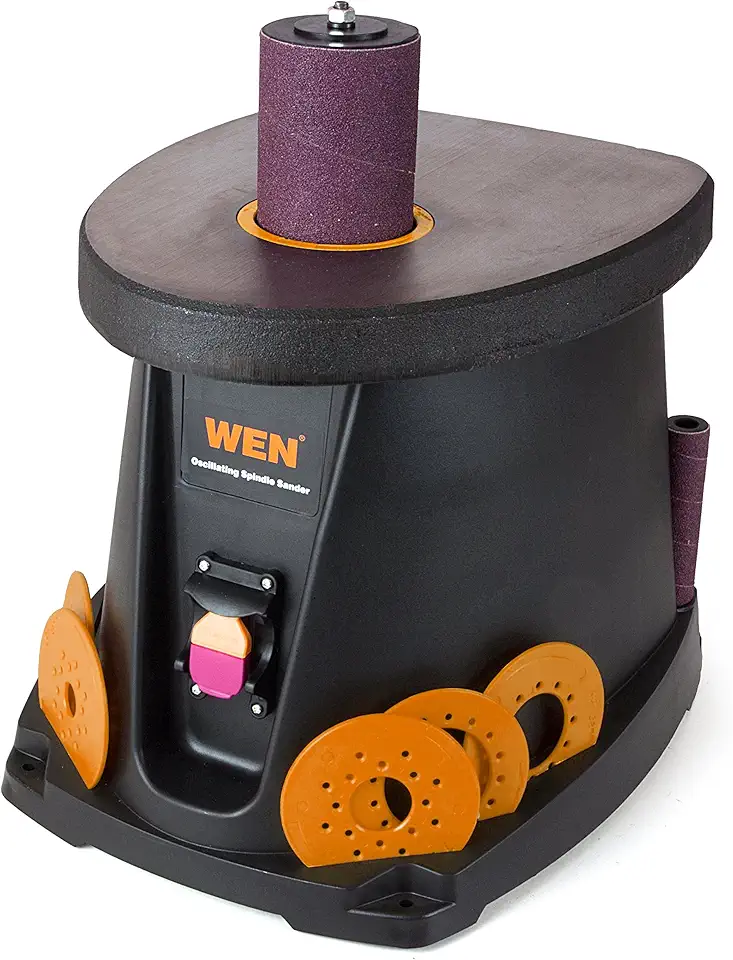
WEN 6510T 3.5A Oscillating Spindle Sander
- Compact footprint fits small shops and benchtops
- 3.5 amp motor provides steady sanding power
- Oscillating action minimizes gouging and heat build-up
- Quick sleeve changes for fast grit swaps
- Dust port helps keep the workspace clean
WEN 6524 belt & spindle sander combo
A combo unit saves bench space because you can clean up straight edges on the belt, then move right to inside curves on the spindle without swapping machines. That back-to-back workflow is great after bandsawing or CNC cutting; if you do computer-cut shapes, pairing this with a CNC router setup can speed up production parts.
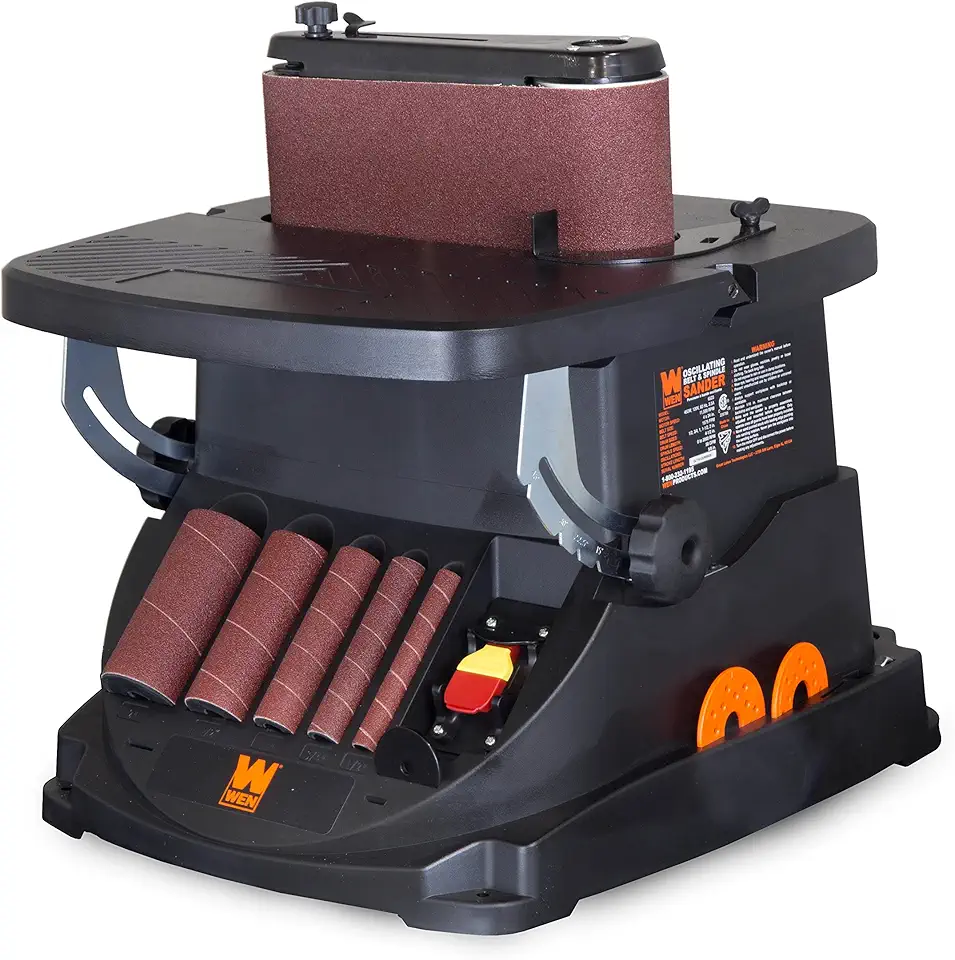
WEN 6524 Belt & Spindle Sander
- Two-in-one design handles belts and spindle jobs for versatile sanding
- Robust construction for consistent performance
- Oscillating spindle reduces swirl marks and burning
- Easy access for sleeve and belt changes
- Dust port for cleaner operation
WEN HA5932 5A variable-speed spindle sander
This pick makes sense if you want more torque and speed control for dense hardwoods or longer sessions where a smaller motor can slow down. Variable speed helps you dial in cleaner results on tricky stock, then step up RPM for fast shaping once the curve is established.

WEN HA5932 5A Variable-Speed Spindle Sander
- Variable speed control adapts to different materials and grits
- 5 amp motor delivers reliable power for tougher jobs
- Oscillating action promotes even sanding and less clogging
- Portable size for easy bench placement and storage
- Dust collection port keeps work area neater
4A variable-speed oscillating spindle sander
If you’re watching cost but still want speed control, this style of variable-speed benchtop sander can cover most weekend projects and hobby furniture work. Aim to use the lowest RPM that still cuts cleanly, since that’s often the fastest path to a finish-ready curve without melted pitch or burn marks.
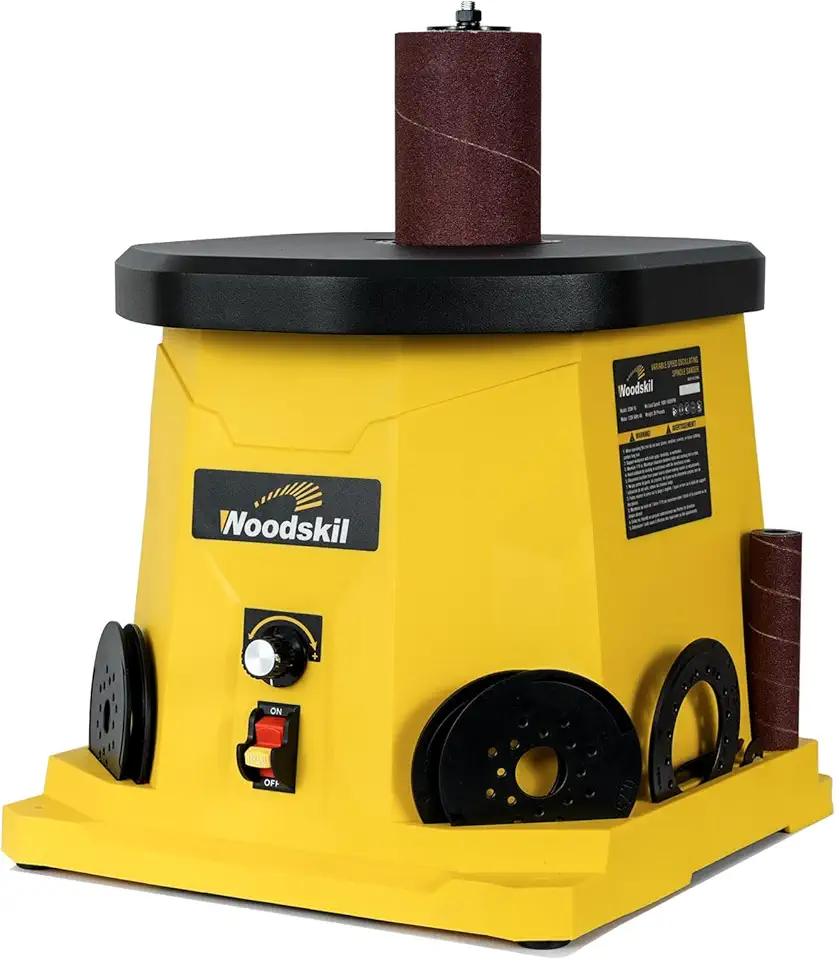
4A Variable-Speed Oscillating Spindle Sander
- Adjustable 1000–1800 RPM for precise material removal
- Compact, space-saving design for small shops
- Multiple sanding sleeves included for varied contours
- Oscillating motion reduces heat and marks
- Integrated dust collection for cleaner sanding
WEN AT6535 spindle sander with large table
A larger table pays off when you sand bigger templates, wide arcs, or bevels that need stable support to stay consistent. If your parts feel “tippy” on smaller sanders, upgrading table area often fixes the issue faster than adding jigs.

WEN AT6535 3.5A Spindle Sander with Large Table
- Extra-large beveling table supports angled and larger workpieces
- 3.5 amp motor balances power and portability
- Oscillating spindle reduces marks and improves surface finish
- Quick sleeve changes speed up workflow
- Dust port helps control debris and keep the bench clean
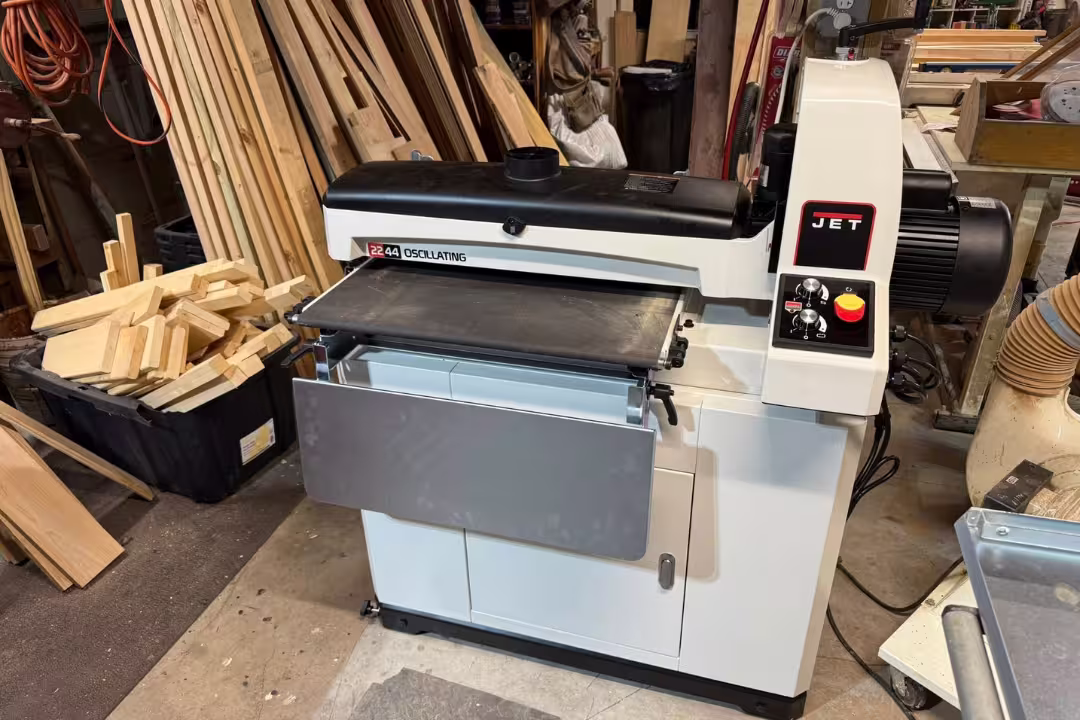
JET JBOS-5 benchtop oscillating spindle sander
This benchtop machine fits builders who want shop durability for repeat sanding sessions and steady performance under load. If you make furniture parts weekly, a sturdier build plus a larger table can reduce vibration, which often means less chatter on edges and less touch-up sanding.

JET JBOS-5 Benchtop Oscillating Spindle Sander
- Sturdy benchtop build made for workshop durability
- 1/2 HP motor provides steady sanding performance
- Oscillating spindle action produces smooth, consistent contours
- Large table with tilt options for angled sanding
- Dust port connection keeps the area cleaner
How to Use a Spindle Sander for Fast Results
Match sleeve to curve
Pick a drum diameter that matches the curve radius, because the right fit keeps the shape true and reduces accidental flats. Tight inside corners need smaller spindles (like 1/2 inch), while broad arcs sand faster and more evenly on larger spindles (2 to 3 inches).
Set RPM by material
Start with a lower speed on hardwood, plywood edges, and plastics, then raise RPM only if the sleeve still cuts cleanly without heat. If you smell burning or see dark marks, slow down first, then lighten pressure, and check dust collection before blaming the grit.
Feed direction and control
Keep the work supported on the table and feed against the drum rotation so the piece doesn’t get pulled from your hands. Use two hands, keep the part moving, and avoid “parking” one spot on the sleeve, since that’s the fastest way to dish a curve or burn an edge.
Progress grit steps
Move through grit stages instead of trying to force one sleeve to do everything, because coarse grits remove the machining marks and fine grits remove the coarse scratches. A simple workflow that stays fast is 80 grit to shape, 120 grit to refine, then 180–240 grit to prep for finish.
Table tilt for bevels
Use table tilt for a repeatable bevel on curved parts, since setting the angle once is faster than hand-holding a bevel consistently. If your bevel transitions from flat to curve, do the flat section on another tool first, then blend the curve on the spindle for a clean, even line; for flat sanding workflows, see this related guide on a drum sander.
Spindle Sander Setup and Safety
Workholding and stability
Clamp the machine down or bolt it to a bench for stable sanding, since vibration slows you down and can leave chatter on edges. For small parts, use a carrier board or a simple handhold jig so your fingers stay away from the sleeve while you keep steady pressure and smooth movement.
Dust and mask basics
Wear eye protection and a dust mask, then keep the sleeve and table clean so grit doesn’t scratch the work. For a quick shop rule, sand only with active dust collection and replace sleeves once they stop cutting, because pressing harder to “make it work” boosts heat and airborne dust; Black+Decker’s overview What are the different types of sanders and how are they different also helps newer builders pick the right tool for each sanding stage.
Dust port and cleanup speed
Hook a shop vac to the port and keep a short hose run, since long, kinked hoses drop airflow and leave dust on the table. A fast habit is to vacuum the throat plate area and wipe the tabletop between grit changes, which prevents stray coarse grit from scratching your near-finish passes.
Let the sleeve cut at its own pace, keep the work moving, and use dust collection—those three steps prevent most spindle-sander problems.
Shop practice for contour sanding
FAQs
What Is A Spindle Sander?
A spindle sander is a power tool with a rotating cylindrical drum used to smooth and shape curves and contours in wood.
It mounts vertical sanding sleeves on a spindle, letting you sand inside curves, arcs, and edges more accurately than a belt or orbital sander.
How Do You Use A Spindle Sander Safely To Sand Interior Curves Without Burning Or Rounding Over The Edges Too Much?
Use light, even passes while supporting the workpiece and keeping it moving to avoid burning or rounding edges.
Use a backer block or clamp to protect cutlines, take multiple shallow passes, and stop often to inspect the shape. Always wear eye and dust protection and keep fingers away from the rotating sleeve.
How Do You Change The Sanding Sleeves, Choose The Right Sleeve Diameter, And Pick The Correct Grit For Different Jobs?
Change sleeves by locking the spindle or loosening the chuck, sliding off the worn sleeve and steel drum, then installing the new drum and sleeve to the manufacturer’s fit.
Match sleeve diameter to the curve radius (larger drums for broad curves, smaller for tight corners) and pick grit by task: 60–80 for heavy removal, 100–150 for shaping, 180–220 for finishing.
Should I Buy A Benchtop Or Floor Model Spindle Sander For My Woodworking Shop And What Features Matter Most?
Choose a benchtop model for limited space and lighter hobby use, or a floor model for heavy-duty work, larger projects, and increased stability.
Look for variable speed, a selection of spindle diameters, easy sleeve changes, a dust collection port, and a sturdy table—these features improve control, finish quality, and safety.