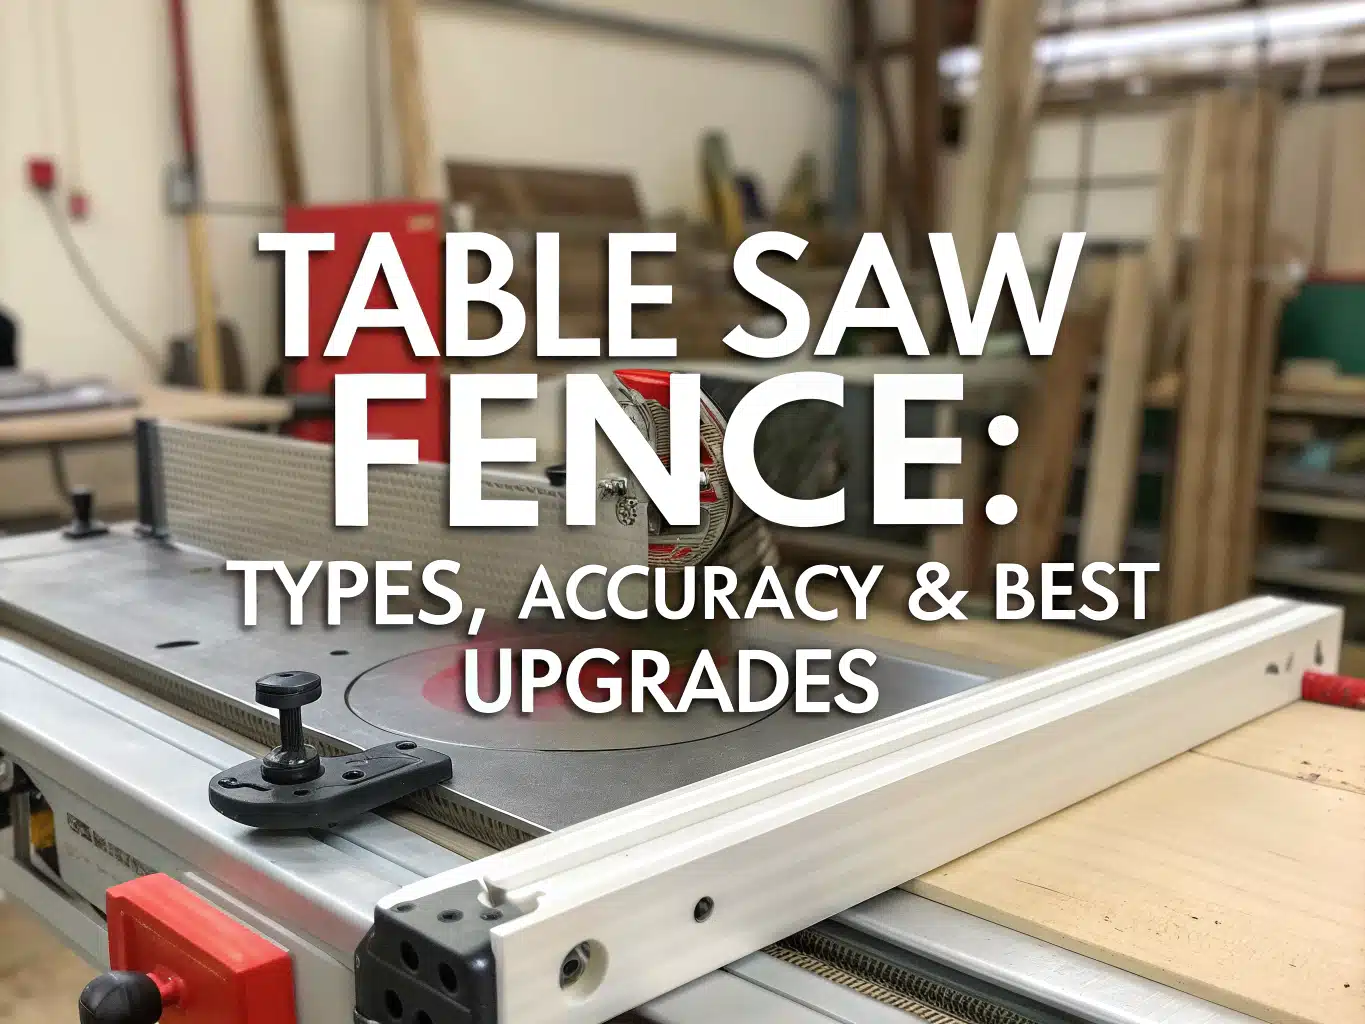
Table Saw Fence: Types, Accuracy & Best Upgrades
Tired of wobbly rip cuts and wasted wood? A good table saw fence gives straight, repeatable cuts and makes your work safer. This guide breaks down common fence types, simple ways to check accuracy, and practical upgrades you can fit to most saws.
Table of Contents
A table saw fence controls how wood moves past the blade, so your rip cuts come out straight, repeatable, and safer. This guide explains how fences work, how to test accuracy, and when a table saw fence upgrade makes more sense than endless adjustments.
Table Saw Fence Overview
What a table saw fence does
A table saw fence (sometimes written as a fence saw table setup) acts like a straight guide you lock parallel to the blade, so the board’s edge stays consistent from start to finish. A stable fence reduces sideways drift that causes burning, tapered rips, and higher kickback risk because the wood can pinch the blade.
Good fences also speed up work: once the cursor/scale is set, you can repeat the same width cut without measuring every piece. If you’re comparing saws, this is why fence quality matters as much as motor power—see our best table saw guide for what to look for across jobsite and cabinet models.
Rip fence basics
A table saw rip fence should lock down so it doesn’t toe in under feed pressure, and it should slide smoothly so you can set widths without “bumping” it into place. Most fences index off the front rail, then clamp at the front (and sometimes the rear) to keep the body aligned during a cut.
For clean rips, set the fence face flat to the workpiece and feed at a steady pace; pushing too hard can flex lightweight fences and change your cut width. For narrow stock or slick materials, adding a clamp-on helper (like a featherboard) keeps consistent pressure against the fence and improves edge quality.
Rails and rip capacity
Rails determine how far the fence can travel and how much rip capacity you get to the right of the blade; many common setups use rails around 30–48 inches long and deliver up to about 26-inch rips on typical contractor and cabinet saw configurations. Longer rails help with sheet goods, but they also need solid mounting so the fence reads accurately along the full travel.
Before buying an upgrade, measure your front rail style, bolt pattern, and available space to the right of the saw. A fence that overhangs your outfeed without support can sag, so pair big rip capacity with a stable outfeed or a flat bench (ideas in our woodworking workbenches guide).
Table Saw Fence Types
T-square fences
T-square fences are popular on cabinet and contractor saws because the “T” head registers solidly on the front rail and locks in a way that resists skew. With a good T-square, you can set a width once and trust repeatable alignment across multiple boards, which is perfect for cabinetry or batch parts.
Look for a stiff body, a smooth glide, and a scale/cursor you can calibrate after blade changes. A common choice for a straightforward upgrade is the Delta unit below, which focuses on quick locking and steady tracking.

Delta T3 30-inch Fence
- Precise, repeatable alignment for straight cuts
- Quick tool-free locking for fast setup
- Solid construction reduces vibration for smoother cuts
- 30-inch capacity handles larger stock
- Direct fit for Delta T3 upgrades
Sliding fences
Sliding fences are common on portable/jobsite saws because they’re fast to reposition and lighter to carry. Some designs use rack-and-pinion adjustment so the fence stays parallel as you crank it, which helps when you need quick jobsite accuracy without fussing with micro-adjust knobs.
The tradeoff is stiffness: lighter fences can deflect if you push stock sideways or if the fence clamps unevenly at the far end. If your cuts vary by a hair from one piece to the next, that’s often a sign the fence body or rails need tuning—or a fence upgrade that locks more rigidly.
Other fence styles
Other styles include split fences (two faces that can be offset), auxiliary fences for zero-clearance work, and low-friction fences with UHMW faces for sticky woods. Some systems also support add-ons like flip stops and sacrificial faces, which makes them handy for repeat cuts and controlled thin ripping work.
If you already own a router table, you’ll recognize the same idea: a straight reference plus add-ons for dust collection and jigs. Many woodworkers standardize T-track parts between stations; see our router table overview for common accessories that cross over well.
Table Saw Fence Accuracy Standards
Parallel-to-blade tolerance
A practical target is having the fence parallel to the blade within about 0.005–0.010 inch over roughly three feet of travel for clean rips and low burn risk. That range is commonly checked by referencing the miter slot or blade teeth with a dial indicator so you’re measuring alignment, not blade wobble.
If you want a deeper safety angle on why alignment matters (kickback mechanics and safe ripping habits), read Woodworking Tool Safety from the U.S. Consumer Product Safety Commission and treat fence setup as part of your routine, not a one-time fix.
Squareness to table
The fence face should sit at 90° to the table so tall stock doesn’t lean during the cut. Check with a reliable square against the table and fence face, then adjust the face mounts or shims until you get true squareness along the working height of the fence.
Don’t rely on the factory face being perfect after years of bumps; even a minor bow can steer a cut. If your fence accepts a replaceable face, swapping to a straight auxiliary face is often faster than trying to flatten worn plastic.
Rear offset for binding
Many users set a tiny “toe-out” so the back of the fence is a few thousandths farther from the blade than the front. A small rear offset (around 0.005 inch) can reduce binding as the kerf closes behind the blade, which helps limit burn marks on dense woods.
Keep the offset small: too much toe-out can cause wandering on long rips because the board loses guidance near the end. If you see drift on plywood rips, bring the fence back closer to parallel and focus on clean feed pressure and outfeed support.
How to Test Table Saw Fence Accuracy
Dial indicator check
A dial indicator on a miter-slot runner is the fastest way to verify if the fence stays parallel across its travel. Touch the indicator tip to the fence near the front, zero it, then slide the runner to the rear and read the change; you’re looking for tiny variation, not perfection.
Do this test with the fence locked and also with light hand pressure applied sideways to mimic real feeding force. If the reading changes a lot under pressure, the fence locks but the body flexes, which points to a fence upgrade or a stiffer auxiliary face.
5-cut method
The 5-cut method amplifies small fence errors into a measurable result by repeating a sequence and checking taper. Rip and crosscut in a consistent pattern five times, then measure the final edge to calculate error per inch; this method reveals cumulative misalignment that “looks fine” on single cuts.
If the taper points to toe-in (back of fence closer than front), adjust the fence so the rear moves away by a hair, then re-test. Take notes after each adjustment so you don’t chase the setting back and forth.
Stack test
The stack test is a fast shop check: set the fence to a 2-inch rip on 3/4-inch stock, cut five pieces, then stack them and measure. If the stack isn’t exactly 10 inches, your fence setting or scale is off; the stack multiplies your width error by 5×, making it easy to spot.
| Test Method | What You Measure | Target Tolerance |
|---|---|---|
| Parallel to Blade | Front-to-back change vs miter slot or blade tooth | About 0.005 inch |
| 5-Cut Method | Taper/error after repeated cuts | < 0.001 inch per inch |
| Stack Test | Five identical rips stacked | Exactly 10 inches (for 2-inch setting) |
Table Saw Fence Upgrade Paths
Budget T-slot add-ons
A budget way to improve a fence saw table setup is adding T-slot extrusion or a clamp-on T-track to your existing fence face. This gives you a place to mount featherboards, stop blocks, and hold-downs without drilling your main fence, and it’s a smart first step before a full replacement.
If you already own good clamps, you can also build a straight auxiliary face from plywood or MDF and attach it with quick clamps for specific jobs like rabbets. For clamp styles that work well at the table saw, review our types of clamps guide.
Auxiliary faces and T-track
Auxiliary faces solve real problems: they add zero-clearance support near the blade, they protect the main fence during bevel cuts, and they let you mount stops for batch work. Pair an auxiliary face with T-track and a flip stop to get fast repeat cuts without measuring each part.
Here are accessory-style options people use to add stops, track, and positioning help:
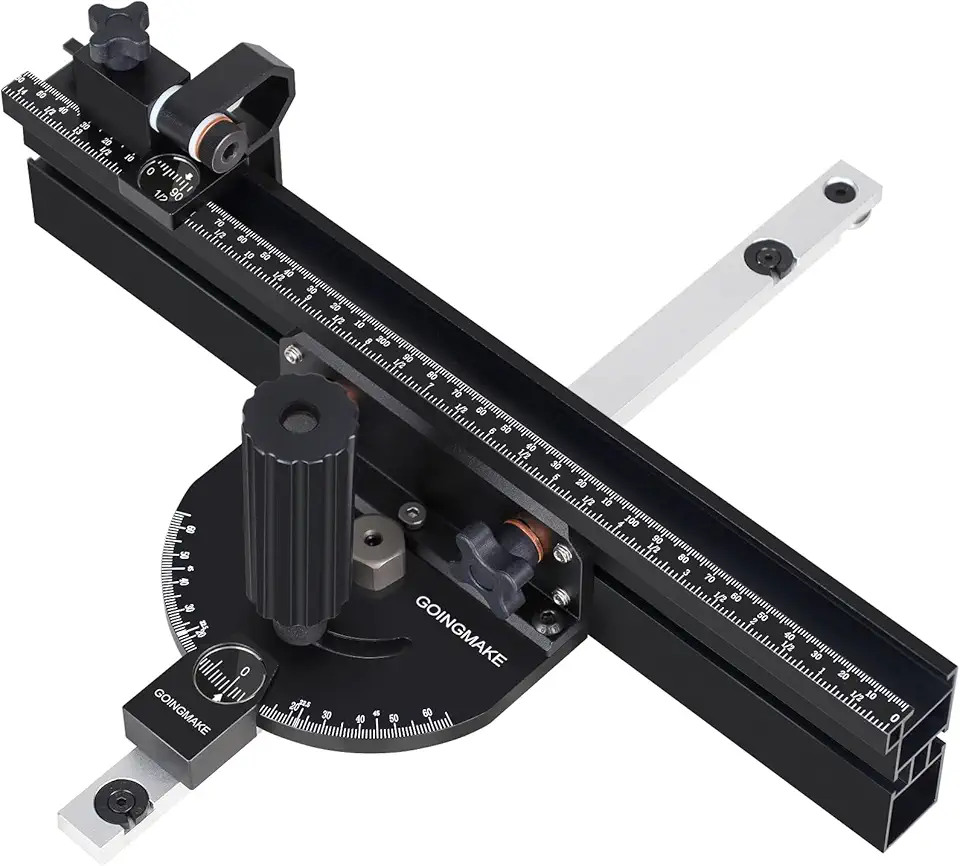
Compact 360mm Miter Gauge
- 360mm fence for accurate crosscuts and fence positioning
- Multifunction flip stop for fast repetitive cuts
- Positive angle stops for common bevels
- Fits standard 3/4 inch by 3/8 inch miter slots
- Sturdy build reduces play for cleaner cuts
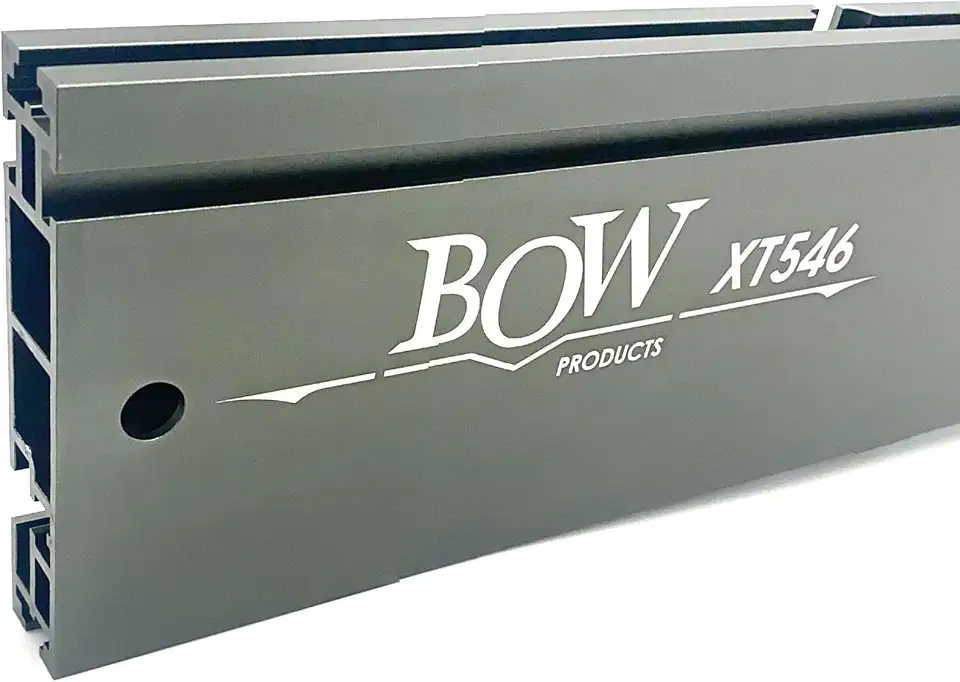
BOW XTENDER 46-inch T-Track Fence
- 46-inch length extends fence capacity for larger stock
- Multiple T-slots accept jigs and accessories
- T-track design enables quick accessory mounting
- Rigid rails suit portable, cabinet, and band saws
- Fence only kit for easy customization and upgrades

VEVOR 18-inch Miter Gauge
- 18-inch scale for precise fence positioning and repeatable cuts
- Fifteen angle stops for common miter settings
- Spring loaded plunger provides secure locking
- Removable disc allows fine angle adjustment
- Aluminum alloy construction is lightweight and durable
Full rip fence replacements
If your stock fence won’t lock consistently, flexes under normal feed pressure, or won’t stay aligned after adjustment, a full rip fence replacement is often the best value. A replacement system usually includes new front/rear rails and a new head/body that improves locking rigidity and scale accuracy.
These are common replacement-style options for wider capacity or a direct fit on popular saws:

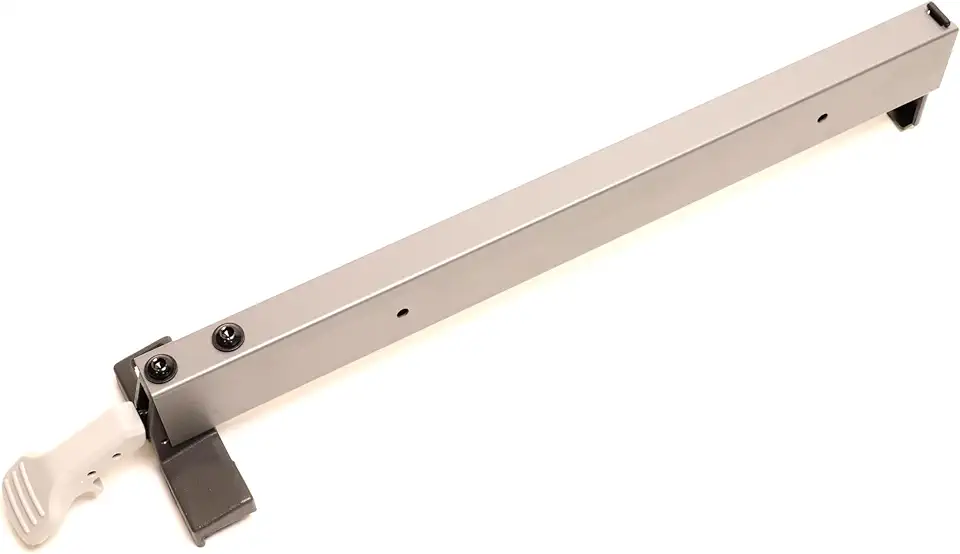
Vega 36-inch Table Saw Fence
- 36-inch fence bar provides wide rip capacity
- 26-inch right reach for extended cutting options
- Solid locking keeps fence aligned under load
- Simple installation on compatible tables
- Enhances accuracy and stability for long cuts
Rip Fence for Ryobi 10-inch Saws
- Direct replacement for Ryobi RTS10G and RTS10NS models
- Designed for 10-inch table saws to improve ripping accuracy
- Robust construction keeps fence square under load
- Simple mounting and adjustment for quick setup
- Enhances repeatability and jobsite safety
Safety and Accessory Upgrades for the Table Saw Rip Fence
Featherboards
Featherboards press stock against the fence and/or table so your hands don’t need to provide side force near the blade. Set the feathers just in front of the blade line so they guide the work into the cut while lowering kickback risk.
A quick habit that helps: after positioning a featherboard, try pulling the board backward; it should resist moving back while still allowing smooth forward feed. If it binds, back it off slightly so you’re not forcing the cut.
Thin rip jigs
Thin rip jigs let you cut narrow strips while keeping the fence set farther from the blade, which gives you more control and keeps offcuts predictable. You set the jig to define the strip width, run the board, then repeat for uniform strips without re-measuring.
For best results, use a push stick and keep consistent pressure against the jig contact point. If the strip shows chatter, check blade sharpness and add an outfeed support so the board doesn’t dip near the end of the cut.
Sacrificial UHMW faces
A sacrificial UHMW face protects your main fence and gives a low-friction surface for sticky woods and plywood glue lines. It also lets you cut into the fence safely for operations like zero-clearance rips, rabbets, and bevel work where you want tight support near the blade.
Here are common fence safety accessories and replaceable faces people add for better control and safer guidance:

Hedgehog Featherboard
- Holds stock firmly against the fence for safer cuts
- Flexible feathers allow smooth feeding without marking stock
- Quick clamp mounting for fast setup and removal
- Improves cut consistency and edge quality
- Durable materials withstand repeated use

Thin Rip Jig Guide
- Makes repetitive narrow strip cuts fast and consistent
- Fits 3/8 inch by 3/4 inch T slots for secure mounting
- Adjustable guide ensures uniform cut width every pass
- Low profile design reduces kickback risk
- Quick setup for table saw, band saw, or router table
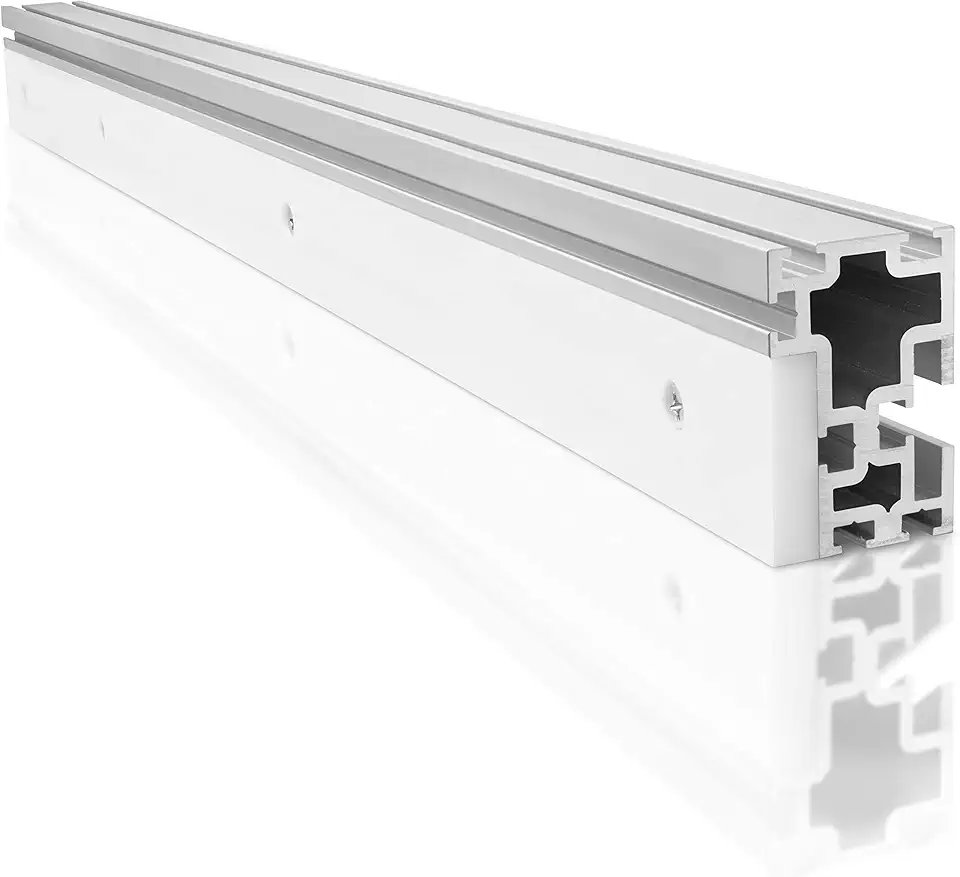
Uni Style 43-inch Fence
- Durable UHMW sacrificial face protects the main fence during cuts
- 43-inch length upgrades older Uni style saws for bigger stock
- Precision machined for consistent guiding and accuracy
- Easy to install and replace sub fence face
- Built with reliable materials for long service life
Related Fence Uses and Alternatives
Fence saw table setups
A “fence saw table” setup often means you’re treating the fence as a mounting platform for jigs: stop blocks for repeat parts, a tall face for vertical panel support, or a sacrificial face for joinery cuts. Keep the add-on straight and stiff, and always re-check the fence’s parallel setting after installing anything that might introduce side load or twist.
- Use a tall auxiliary face for cutting tenon cheeks or guiding vertical work.
- Add a stop block for repeated shoulder locations, but keep it ahead of the blade to avoid trapping offcuts.
- Mount featherboards in a T-slot so pressure stays consistent across multiple rips.
- Build a zero-clearance face for thin strips to reduce tearout at the fence edge.
Band saw rip fences
Band saw rip fences help with straight ripping and resawing, but you often set them with a drift-aware approach based on blade tracking and tension. If you move between saws, keep separate notes for each fence because “parallel to miter slot” on a band saw doesn’t always equal straight cutting the way it does on a table saw; your goal is straight feed with your installed blade.
A compatible band saw fence can upgrade control on smaller saw tables where the stock guide is minimal.
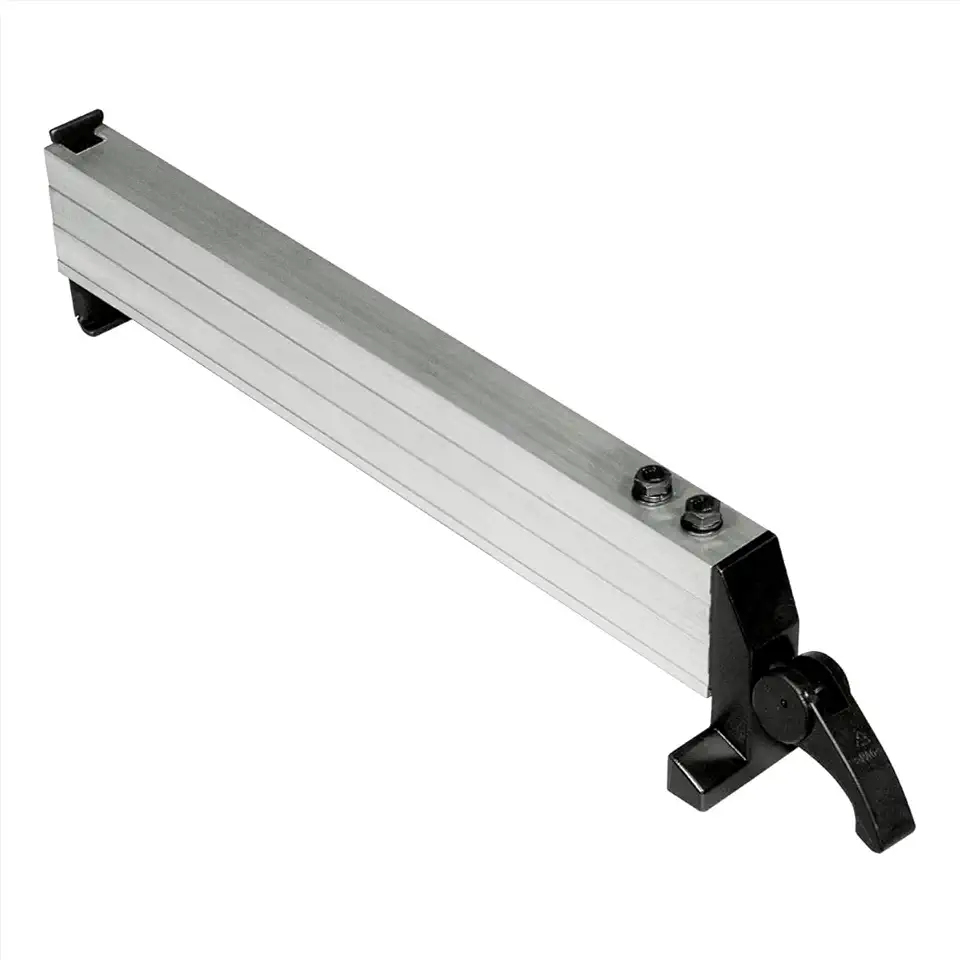
POWERTEC BS900 Rip Fence
- Designed for BS900 and similar band saws with roughly 11 to 12 inch tables
- Easy adjustments and secure locking for accurate rips
- Durable construction for long term use
- Improves cutting accuracy and safety on rip cuts
- Quick installation on the work table
Euro-adjustable fence options
Euro-adjustable fences add flexibility through micro-adjust features, offset faces for joinery, and compatibility with metric rail layouts common on some slider-style shop saws. If you do lots of joinery or sheet-goods processing, this style can be a practical step up because you can dial in fine positioning and keep jigs mounted without constant removal.
Before buying, confirm rail spacing, mounting hole patterns, and whether your saw table can support the added mass without sag. If you want a similar precision mindset on other machines, a tuned jointer also pays off—our jointers guide explains what settings drive straight edges before they ever reach the fence.
FAQs
What Is A Fence On A Table Saw?
A fence on a table saw is a straight, adjustable guide that runs parallel to the blade to control the width and accuracy of rip cuts. It locks to the table to maintain consistent distances and supports stock during cutting. Simple fences act as guide rails while advanced systems add fine adjustment, dust control, and repeatable stops.
How Do I Align My Table Saw Fence To The Blade For Accurate Cuts?
Align the fence by measuring and adjusting it so it is perfectly parallel to the blade from front to back. Use a reliable square or a dial indicator to check parallelism at both the front and rear of the blade. Make small adjustments, lock the fence, and re-check until readings match within a few thousandths of an inch.
Why Does My Table Saw Fence Drift Or Bind When Ripping And How Can I Fix It?
Fence drift or binding occurs when the fence isn’t parallel to the blade or when the rail and locking mechanism have play or excessive friction. Fix it by cleaning and lubricating the rail, tightening or replacing worn parts, and ensuring the locking clamp pulls the fence squarely. Use shims or an alignment tool to correct persistent misalignment.
What Are The Best Fence Systems For A Portable/Tabletop Saw Versus A Cabinet Saw?
Portable/tabletop saws perform best with simple T-square or telescoping fences for portability and repeatability, while cabinet saws benefit from heavy-duty extruded, box-style, or industrial fence systems for maximum rigidity and accuracy. Choose a fence that balances weight, accuracy, and features: portable fences prioritize lightness and quick setup; cabinet fences prioritize precision and long-term stability.
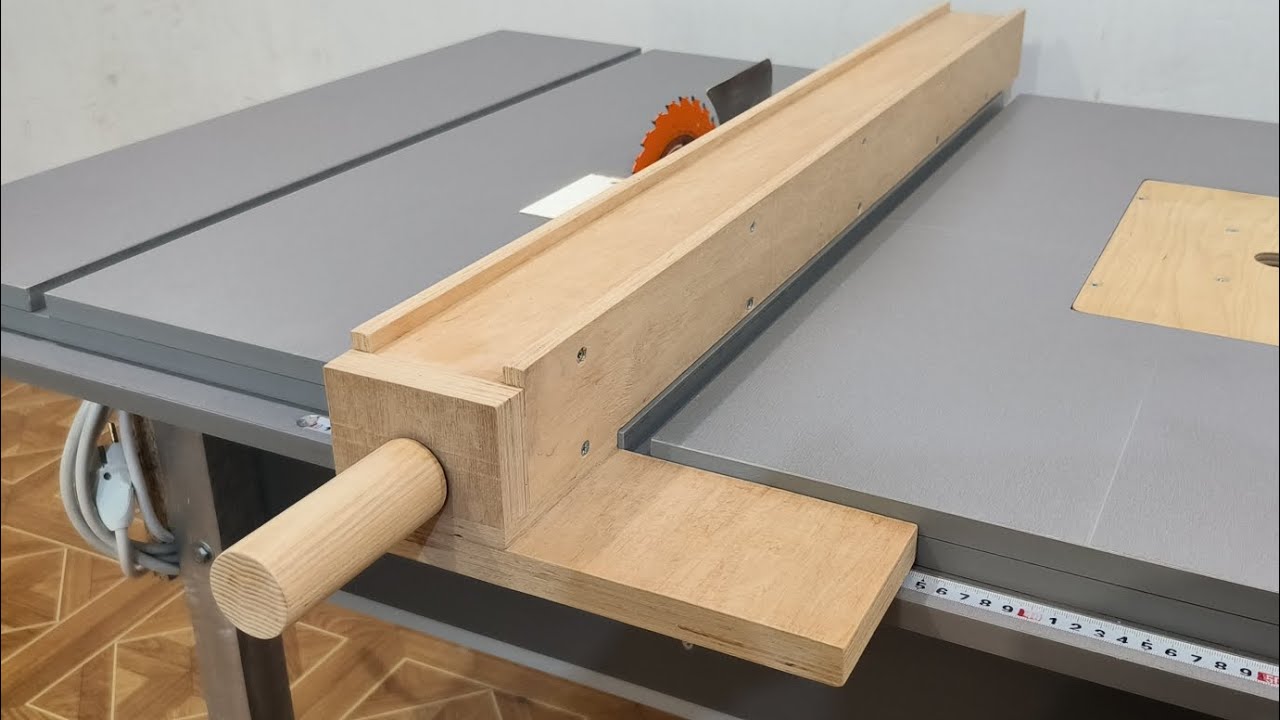
How Can I Build Or Improve A DIY Table Saw Fence To Stay Parallel And Square?
Build or improve a DIY fence by using a straight, stable guide rail, an accurate reference edge, and a robust locking mechanism that pulls the fence square to the table. Use aluminum extrusion or a straight hardwood face with adjustable mounting bolts, add a flip stop for repeat cuts, and verify parallelism with a square or dial indicator; fine-tune with shims if needed.