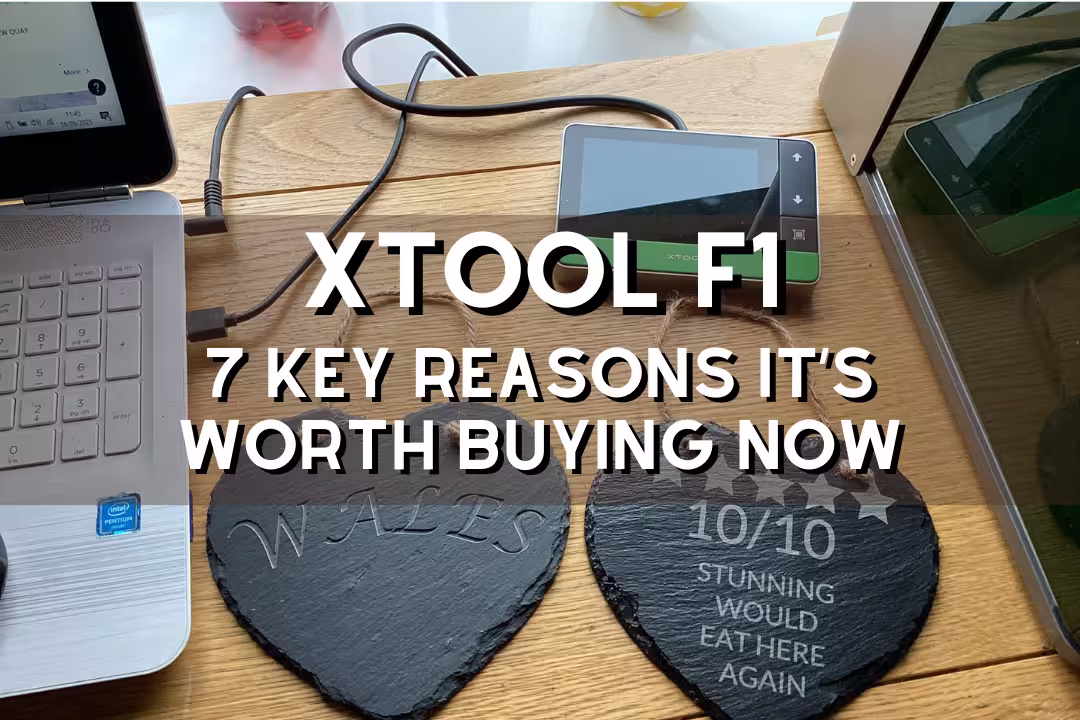
xTool F1: 7 Reasons to Buy This Dual-Laser Portable Engraver
Want one machine that can mark metal and engrave wood with fast, accurate results? The xTool F1 pairs a dual-laser setup with a compact, portable build. That combo gives high speed and tight precision for jewelry, signs, and small production runs. This post breaks down seven clear reasons to consider the xTool F1 and what each feature means for your projects.
Table of Contents
The xTool F1 is a portable dual-laser engraver built for fast, clean marking on both everyday craft materials and real metals. This guide covers its dual-laser versatility, speed, precision, portability, accessories, safety, and who it fits best.
xTool F1 dual-laser material versatility
Dual-laser system
The xTool F1 combines a 455nm diode laser and a 1064nm infrared (IR) laser, so you can engrave a wide spread of materials without changing modules. xTool lists the F1 as covering hundreds of materials, and the key benefit is simple: keep one compact machine for wood crafts and metal tags instead of buying separate tools (xTool F1 product page).
455nm diode performance
The 455nm diode shines on non-metals like wood, leather, paper, some acrylics, coated materials, and many plastics where a blue diode creates high contrast. For best results, run quick material tests, then save presets in XCS so repeat jobs stay consistent across different suppliers and batches.
1064nm IR metal engraving
The 1064nm IR laser is the reason the F1 feels like a “real metal” tool in a small box: it’s aimed at direct marking on metals like stainless steel and aluminum, plus some harder plastics that don’t respond well to blue diode light. In day-to-day work, that means you can engrave serial plates, QR codes, and jewelry pieces with less trial-and-error than diode-only units.
xTool laser engraver comparison
If you’re comparing an xtool laser engraver lineup, the practical difference is coverage: many diode-only machines handle wood and leather well, while the F1’s dual sources open metal marking without swapping heads. If your shop already uses jigs and repeatable setups, pair the F1 with a stable bench and simple fixturing habits you may already use on a types of clamps guide to speed up small-batch personalization.
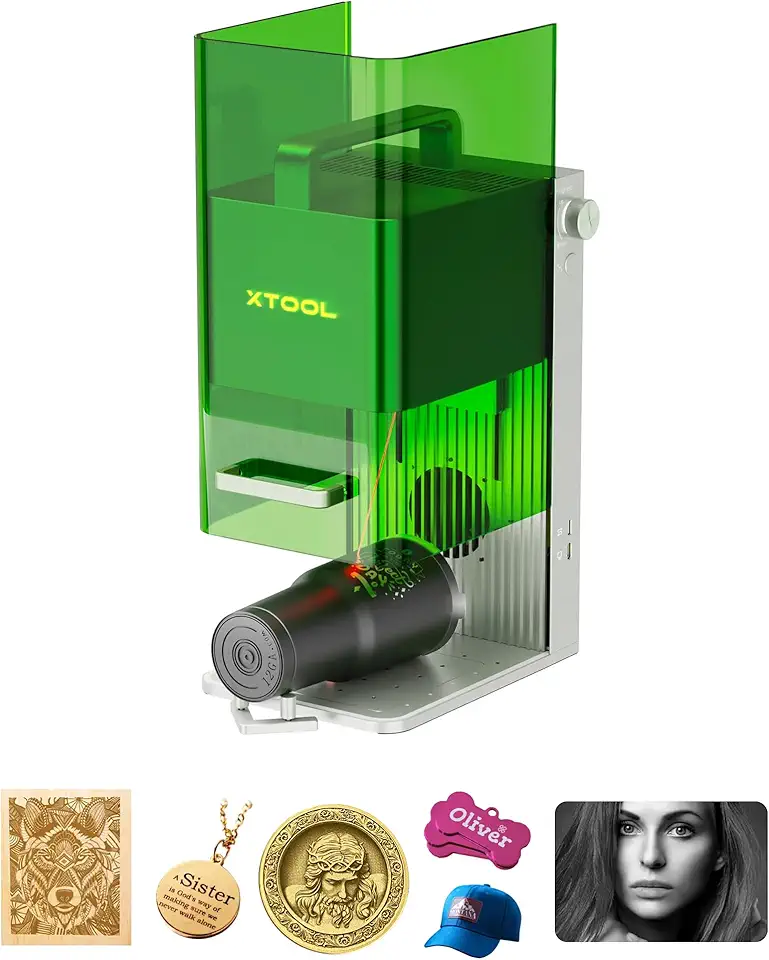
xTool F1 2-in-1 Portable Dual Laser Engraver
- Dual-laser capability for both metal and non-metal materials
- High-speed performance for fast engraving and cutting
- Compact, portable design for easy setup and transport
- Precision engraving ideal for jewelry, wood, leather and small parts
- User-friendly alignment and software for accurate results
xTool F1 engraving speed for rapid output
4000mm/s Galvo speed
The xTool F1 laser uses a Galvo system rated up to 4000mm/s, which is what makes quick personalization realistic at events or in a small shop. Speed alone doesn’t guarantee quality, so treat it like a production dial: raise speed for simple logos and QR codes, then slow down (or increase passes) for filled engraves and deep marks.
Batch production workflow
A simple batch workflow helps you convert the F1’s speed into consistent profit: lock your material position, run a framing preview, then repeat the same job with minimal re-alignment. Use a fence, corner guide, or L-shaped retainer so each item drops into the same “home” spot every time.
- Create a saved preset per material supplier (wood blank A vs wood blank B).
- Use the same start corner and orientation for every piece.
- Engrave a small test grid once per session to confirm focus and contrast.
- Run multiple light passes for metals when you need stronger readability.
xTool F1 Ultra throughput
The xTool F1 Ultra pushes throughput further (often discussed around 10000mm/s class performance) for shops that quote tight turnaround times on metal marking. If you price by the piece, higher throughput usually pays off when you’re doing repeated tags, cards, or jewelry runs where setup is already optimized.
xTool F1 precision for fine-detail engraving
Motion and repeat accuracy
The Galvo design supports strong repeatability for tiny graphics like safety marks, short serials, and jewelry text where alignment errors show fast. For small parts, add a simple fixture and keep your work surface clean so parts sit flat and return to the same position each time.
Laser spot size
The spot size is a big reason fine detail looks crisp: published figures often cite about 0.08 × 0.06mm for the diode and about 0.03 × 0.03mm for the IR beam. In practice, you’ll get cleaner micro-text by using higher DPI only when needed, then reducing fill density to avoid heat buildup on plastics and coated metals.
| Use case | Practical setup tip |
|---|---|
| Micro text on jewelry | Use IR laser, slow slightly, and keep fill spacing wider to limit overheating. |
| High-contrast logos on wood | Use diode laser, test 2–3 speeds, then lock a preset for repeat orders. |
| QR codes on metal tags | Use IR laser, increase contrast with multiple light passes, then verify scan distance. |
Live preview alignment
The live preview framing feature helps you place a design without wasting blanks, since you can see the outline before firing the main laser. Use it like a checklist step: set the part against your stop, frame the job, adjust once, then run the same cycle for every part in the batch.
L-shaped retainer
The L-shaped retainer is a small accessory that solves a big problem: repeat placement. For best consistency, push every piece into the same corner with the same pressure, then avoid touching the part again until the job is finished to prevent tiny shifts.
Portable laser engraver design for on-site work
Compact size and weight
As a portable laser engraver, the F1’s compact footprint and carry-friendly build make it realistic for shows, pop-ups, and back-of-house personalization. For smoother on-site work, pack a small kit: microfiber cloth, masking tape, a few blank test pieces, and a labeled power strip so you set up the same way every time.
Enclosed build stability
The enclosed body helps with stability and keeps stray light contained, which matters when you’re engraving in shared spaces. Place it on a flat bench (a sturdy surface matters more than people think), and if you already keep a dedicated station, a solid woodworking workbenches setup can reduce vibration and speed up repeat jobs.
Smoke and odor control
Good fume control protects your workspace and your results, since smoke residue can stain light materials and fog enclosure windows over time. xTool provides guidance and accessories for extraction and use, and you should still vent outdoors when materials create strong odors or visible smoke (xTool Support).

xTool F1 Desktop Smoke Air Purifier (3-Layer HEPA)
- Three-layer filtration including HEPA for effective fume removal
- Designed specifically for xTool F1 compatibility and fit
- Reduces smoke and odors for a safer workspace
- Replaceable filters for simple maintenance
- Compact, desktop-friendly design for workshop use
xTool F1 work area expansion and accessories
Standard working area
The standard area is sized for tags, wallets, coasters, patches, and small parts, which is where a fast Galvo engraver earns its keep. If you sell personalization, design your products around that footprint so orders stay simple and repeatable.
Slide extension upgrade
A slide extension turns small-format engraving into long-item work, letting you run bigger layouts such as sign strips or multi-position batches in one setup. Treat long runs like CNC indexing: add physical stops, label your positions, and re-frame before the first pass of each index to prevent cumulative drift.
Rotary compatibility
Rotary support is where the F1 can cover drinkware, rings, and cylinders without awkward hand-fixturing. xTool documents rotary modes like roller, chuck, sphere, and ring setups, which helps you pick the right attachment for the product sizes you sell (xTool rotary setup info).
Processing height
The processing height affects which fixtures and blank products fit under the head, especially when you add jigs or a rotary. Measure your tallest item plus your fixture thickness, then build a dedicated “go/no-go” spacer block so you can confirm fit in seconds before taking payment for a custom job.
Jigs and fixtures
Simple jigs turn the F1 into a small production tool by removing alignment guesswork. If you’re doing batch runs, a fence and locator setup will save more time than almost any software tweak because it cuts handling and rework.
These accessories can improve repeatability and speed up setups for common batch jobs.

Laser Engraver Fence & Fixture Kit for xTool F1/F2
- 8-piece fixture and guide set with all necessary hardware and tool included
- Improves repeatability and alignment for batch jobs
- Compatible with xTool F1, F1 Lite and F2 machines
- Quick to install and adjust for different projects
- Durable components for reliable workshop use

Adjustable Self-Centering Locator Jig for xTool F1
- Adjustable diameter from 0.4"
- to 3.15"
- to fit rings and small cylinders
- Self-centering design ensures accurate, repeatable placement
- Speeds up setup and reduces alignment errors
- Sturdy construction for stable engraving
- Great for jewelry, tubes and curved pieces
xTool F1 usability and safety features
Auto and manual focus
Good focus control is the fastest way to reduce failed engraves, since a small focus error can turn crisp text into fuzzy gray. Use auto focus or thickness entry when you’re swapping materials often, then use manual focus checks for curved items or mixed-thickness blanks.
Light-proof enclosure
A light-proof enclosure helps block laser light and keeps the work area contained, which is useful when other people are nearby. Keep the lid window clean and scratch-free, since haze reduces your ability to spot smoke buildup early.
Built-in extraction
Built-in airflow can reduce residue on the part and inside the enclosure, but it works best with a planned exhaust path. If you can’t vent outdoors, run a purifier and schedule filter checks based on hours, not “it smells fine,” since some fumes are hard to detect.
XCS software tools
XCS tools make the dual-laser setup easier because you can switch laser types in software rather than changing parts. Save material presets, keep a small library of proven settings, and export customer proofs so approvals happen before you burn the first blank.
Camera preview (Ultra)
The camera preview on the Ultra models helps with placement and reduces test runs, which matters most when blanks are expensive or hard to rework. If you sell premium metal items, camera-based positioning can cut scrap rates by catching misalignment before the engraving starts.

xTool F1 Ultra 20W Fiber + Diode Dual Laser
- 20W fiber laser for efficient metal marking paired with diode for non-metal work
- Ultra-fast 10000mm/s speeds for high throughput
- 16MP smart camera for precise positioning and previews
- Auto-streamline and 3D engraving capabilities for complex designs
- Built for jewelry, metal, wood and professional prototyping
Who the xTool F1 laser is best for
Small business personalization
The xTool F1 fits small businesses that sell on-the-spot names, dates, logos, and QR codes, since speed and repeat placement drive margins. Build a menu of proven products (keychains, wallet cards, pet tags), then standardize blanks so every job uses the same 2–3 presets.
Jewelry and metal marking
For metal marking, the IR laser is the key value, since it can produce fine, readable details on small surfaces. If you engrave rings and pendants, add a self-centering jig or rotary attachment and keep a set of test coupons in the same metal types you sell.
Hobby and craft projects
For craft work, the diode handles wood, leather patches, paper goods, and coated blanks with simple setup. Pair the engraver with clean cutting and sanding habits—many makers also keep a separate finishing station or tools like a drum sander to prep wood surfaces so burns look even.
Prototyping and small parts
For prototyping, the F1 is strong when you need fast iteration: mark revisions, add part IDs, and test label readability before you commit to larger runs. Create a fixture plate with common part outlines so you can drop pieces in and run consistent marks during product development.
F1 Lite vs xTool F1 Ultra
The F1 Lite makes sense for beginners focused on non-metal engraving, while the standard F1 adds dual-laser flexibility for metals and plastics that need IR. Choose the Ultra when your workload is heavy on metal marking, throughput targets are tight, and you want camera-assisted placement to reduce misfires; check official model specs before buying to match power and features to your products (xTool F1 FAQ).
Maintenance and parts replacements
Basic maintenance keeps engraving quality stable: wipe the viewing window, clean debris from the bed, and check airflow paths so smoke doesn’t stain parts. Plan a simple schedule—daily surface cleanup, weekly deeper wipe-down, and periodic filter swaps—then keep one small box of spares (common switches, wipes, and tape) so a busy week doesn’t stall production.
Speed sells, but repeatability pays the bills—fixtures, focus checks, and saved presets usually beat chasing higher power.
Shop workflow principle
FAQs
Can The XTool F1 Cut And Engrave Stainless Steel And Aluminum, And What Thicknesses Can It Handle?
Yes — The xTool F1 Can Reliably Engrave Stainless Steel And Aluminum, While Cutting Is Limited To Thin Sheets Depending On Laser Power.
Engraving Produces High-Contrast, Durable Marks For Logos, Serial Numbers, And Surface Finishes. Cutting Thin Aluminum Or Stainless Is Possible On Higher-Power Variants Or With Multiple Passes (About 1–2 Mm Typical); Thicker Metal Generally Needs A Higher-Power Fiber Laser Or Alternative Cutting Equipment.
Is The XTool F1 Compatible With LightBurn And What File Formats And Control Options Does It Support?
Yes — The xTool F1 Is Compatible With LightBurn And Accepts Common Vector And Raster File Formats For Design Import.
Typical Supported Formats Include SVG, DXF, AI, PDF, PNG, And JPG, And LightBurn Lets You Arrange, Optimize, And Set Power/Speed Parameters. You Can Control The Machine Via LightBurn Or The Manufacturer’s Software Over USB Or Network Connections, With Device Profiles And Drivers Simplifying Setup.
What Safety Precautions, Ventilation, And PPE Do I Need When Using The XTool F1?
Use Proper Laser Safety: Enclose The Work Area, Wear Certified Laser Safety Glasses Rated For The F1’s Wavelength, And Use Local Exhaust Ventilation Or A Dedicated Fume Extractor.
Keep A Fire Extinguisher Nearby, Avoid Cutting PVC Or Chlorinated Plastics, And Never Leave The Laser Unattended. For Cutting Plastics, Use A Particulate Respirator (N95 Or Better) And Wear Heat-Resistant Gloves When Handling Hot Or Freshly Cut Parts.
How Does The XTool F1 Compare To CO2 Lasers Or Other XTool Models In Terms Of Performance, Materials, And Price?
The xTool F1 Excels At Metal Engraving And Fine Metal Cutting, While CO2 And Diode Lasers Typically Perform Better On Wood, Acrylic, And Thick Non-Metal Materials.
Fiber-Style Lasers Offer Faster Metal Marking, Better Long-Term Metal Performance, And Often Higher Initial Cost; CO2/Diode Machines Are Usually Cheaper And More Versatile For General Maker Projects. Choose Based On Your Material Mix, Desired Cut Depth, Speed Needs, And Budget.