Oscillating Drum Sander: Is It Worth It for Your Shop?
An oscillating drum sander is a drum sander that spins a sanding drum while also moving it side-to-side, so the abrasive never tracks the same line for long. That oscillation reduces heat, cuts down visible scratch lines, and helps abrasive strips last longer than a non-oscillating drum sander.
Table of Contents
If you sand wide panels, tabletops, or doors and you’re tired of burn marks or “tramlines,” an oscillating model is one of the fastest ways to get a flatter, cleaner finish before final hand sanding.
What an oscillating drum sander is
An oscillating drum sander uses a conveyor to feed stock under a spinning drum, while the drum also shifts laterally in a short stroke. That extra motion spreads wear across the abrasive and stops one grit particle from carving the same groove over and over.
On most floor units, the drum is fixed in the head and the table rides up and down for thickness control, so you feel a steady “whoosh” of airflow and a consistent hiss as the abrasive cuts. When it’s dialed in, the board comes out warm—not hot—with a uniform scratch pattern that’s easy to erase with your final grit.
Oscillation vs rotation
Rotation does the cutting: the drum spins and the grit removes material. Rotation alone tends to leave straight, repeating lines because the same part of the wrap keeps contacting the wood in the same place.
Oscillation breaks that pattern by sliding the drum left-right while it spins. IGM Tools describes oscillation around 70 oscillations per minute with about 21 cm of travel on a representative machine, which is exactly the kind of stroke that prevents “hot spots” that scorch resinous woods (Improve Your Finish with Oscillation).
Drum construction
The drum core is usually extruded aluminum (or a balanced steel assembly on heavier machines) because it stays stable at speed and sheds heat better than softer materials. A balanced drum matters more than people expect—if the drum has runout, you’ll “chase thickness” forever and the conveyor will telegraph that vibration into your finish.
Abrasive typically wraps around the drum and locks into spring clips. If the leading edge isn’t seated flat, you’ll hear a rhythmic tick and you’ll see a repeating line every revolution—one of the most common beginner mistakes.
On/off oscillation
Some machines let you switch oscillation on and off. Turning it off can help in odd cases like diagnosing alignment (you can “read” a repeatable line to find taper), but for real finish work I keep oscillation on because it reduces heat and hides tracking marks.
A practical trade-off: oscillation adds moving parts, so if you ignore lubrication or run dust collection poorly, fine grit can pack into slides and you’ll feel a faint shudder in the head. That’s your sign to clean and service before it wears into slop.
Key benefits for woodworking finishes
The big win is finish quality per pass. You still need a grit plan and realistic depth-of-cut, but oscillation makes the scratch pattern more diffuse, so your final sanding steps take less time.
Smoother surfaces
Tramlines happen when the abrasive tracks in straight lines. With oscillation, those lines get broken up, so you’re less likely to see stripes when you wipe on dye or oil, especially on maple and cherry where finish highlights every defect.
A common mistake is jumping grits too fast because the board “looks good” right out of the sander. Under raking light, you’ll still see 80-grit troughs, so I treat the drum sander as a thicknessing and leveling tool, then I step through grits with intention.
Less heat buildup
Heat is the enemy: it loads paper, burns wood, and can soften pitch so it smears. Oscillation spreads friction across more of the wrap, so the drum runs cooler and you smell less “toasted wood” when you’re doing wider passes.
Edge case to watch: oily tropical hardwoods can still heat up because the dust clogs abrasives quickly. In those cases, lighten the cut, slow the feed a bit, and clean the wrap more often.
Longer abrasive life
Abrasive life improves because wear is distributed instead of concentrated in one track. In real shop workflow, that often means fewer mid-project wrap changes and fewer “why is this suddenly burning?” moments.
The hidden limiter is dust collection: if you don’t pull dust away, the wrap loads and acts finer than its grit rating, then overheats. Good airflow matters as much as oscillation for longevity.
Dust collection support
Dust from drum sanders is extremely fine and floats; it’s the kind that tastes like dry plywood if you forget your respirator. A top port (often 4 inches / 100 mm on many machines) works best when the hood seals well and your collector has enough static pressure to keep the drum area clear.
If your shop only has a small collector, run a short hose, avoid tight elbows, and keep the filter clean. A clogged filter reduces airflow and you’ll see dust “printing” back onto the board, which can cause random pigtails and scratches.
Motor and noise
Noise feels different than a planer: more of a steady roar plus a high hiss at the drum. The motor matters because you want stable drum speed under load; if the motor bogs, heat spikes and you get burn marks near the end of a wide board.
One pro workaround is to treat feed speed and depth of cut as a pair: if you slow the conveyor, back off the cut. Beginners often do the opposite (slow feed and take a heavy bite), which makes the wrap cook and glaze.
Common uses and best-fit projects
An oscillating drum sander shines on work that’s wide, flat, and hard to sand consistently by hand. I use it most after glue-ups and before final assembly, when parts are still easy to handle and reference off a flat face.
Wide panels
Panels are where you feel the time savings. Instead of spending an hour with a random orbit sander trying to remove glue creep and level joints, you can take light passes to flatten the surface and then do a quick finish sand.
Watch for panel flex: thin stock can flutter on the conveyor and come out with a washboard feel. A carrier board (flat MDF) under the workpiece fixes this by supporting the full length.
Tabletops and doors
Tabletops and doors benefit because you can level joints without dishing out soft grain the way aggressive hand sanding can. Toolstoday points out drum sanders are commonly used on large flat surfaces like tabletops and panels, which matches how I rely on them for glue-up leveling (Guide to Drum Sanders).
A frequent mistake is sending rails/stiles through after profiling without supporting the profile. Raised areas can compress slightly under the drum and spring back later, leaving shallow low spots you’ll only notice after finish.
Contours and edges
Contours are better handled by oscillating spindle sanders (like a Ridgid oscillating drum sander style unit), but drum sanders still help with gentle curves on jigs or templates if the piece can ride stable and flat. For tight inside curves, I switch to a spindle setup after the drum sander does the flattening work on the faces.
If you’re building a sanding “system,” link your workflow logically: flatten and thickness with the drum sander, shape with a spindle, then refine edges with a handheld sander. Our guide to spindle sander basics fits right after this step.
Hardwood vs softwood
Hardwoods like oak, maple, and cherry handle drum sanding well because the surface fibers resist tearing, so the scratch pattern stays consistent. You’ll still want light passes—especially on figured grain—so you don’t create compression that shows up as blotchy finish.
Softwoods like pine can fuzz and compress. I test on a cutoff first, then I reduce depth of cut and move up grits sooner; trying to erase deep coarse scratches from soft pine often turns into a gummy mess on the wrap.
Pros and cons of an oscillating drum sander
This machine is a finishing accelerator, not a replacement for good stock prep. If your boards are twisted or your glue-up has big steps, you can still fix it—but you’ll spend wraps and time doing work a jointer/planer should’ve handled earlier.
| Aspect | Pros | Cons |
|---|---|---|
| Performance | Smoother finish, fewer sanding marks, less heat buildup, longer abrasive life | Costs more than non-oscillating units; still slow for heavy thickness removal |
| Build & usability | Precise height control; stable frames reduce chatter | Floor models take space; setup/alignment takes patience |
| Versatility | Great for panels and tabletops; oscillation can be switched on/off on some models | Not a contour tool; softwoods can compress and fuzz |
| Maintenance | Oscillation spreads wear; wraps often last longer | Wrap changes and cleaning are regular tasks; dust collection is required for best results |
Performance trade-offs
Stock removal is limited by heat and motor load. If you try to hog off material like a planer, you’ll glaze the abrasive, slow the drum, and get burn streaks—especially across glue lines.
A reliable shop rule: take lighter passes than you think you need, then sneak up on final thickness. You’ll feel the board exit cool and consistent, and you’ll spend less time fixing mistakes later.
Build and usability
Alignment controls everything. A tiny taper between the drum and conveyor shows up as one side sanding more, and then you end up chasing it with repeated passes that overheat the wrap.
I set alignment using a consistent reference board and measure thickness at both edges after a pass. If your machine has a drum height handwheel, get used to making repeatable micro-adjustments instead of “one big crank.”
Versatility limits
Curves aren’t this tool’s job. For edges and profiles, a belt sander or spindle sander is safer and more controllable, since a drum sander wants flat, stable contact against the conveyor.
If you need help choosing the right machine for each sanding stage, our guide to machines for sanding lays out where each tool fits without overlapping purchases.
Maintenance needs
Cleaning is routine, not optional. Dust buildup reduces cut quality, increases heat, and can push abrasive seams up so they print lines into the workpiece.
Common beginner miss: installing wraps with the seam slightly proud. I run a gloved hand lightly across the wrap (machine off, unplugged) to feel any ridge; if I can feel it, the wood will show it.
Benchtop vs floor models
Choosing between benchtop and floor units comes down to capacity, dust control, and how often you sand wide panels. I treat benchtop machines as “shape and refine” tools, while floor drum sanders are for flattening and production-style consistency.
Ridgid benchtop profile
The Ridgid oscillating drum sander most people refer to is a benchtop oscillating spindle sander style machine: the drum spins and moves up/down to reduce burning and visible lines on edges. It’s excellent for chair parts, shaker handles, and template work where you can feel the part register against the table and control the pressure with your hands.
The trade-off is width: it won’t flatten a glued-up tabletop the way a conveyor-fed drum sander will. If your projects are mostly boxes, chairs, and curved parts, Ridgid-style benchtop oscillation is a better match than a big floor machine.
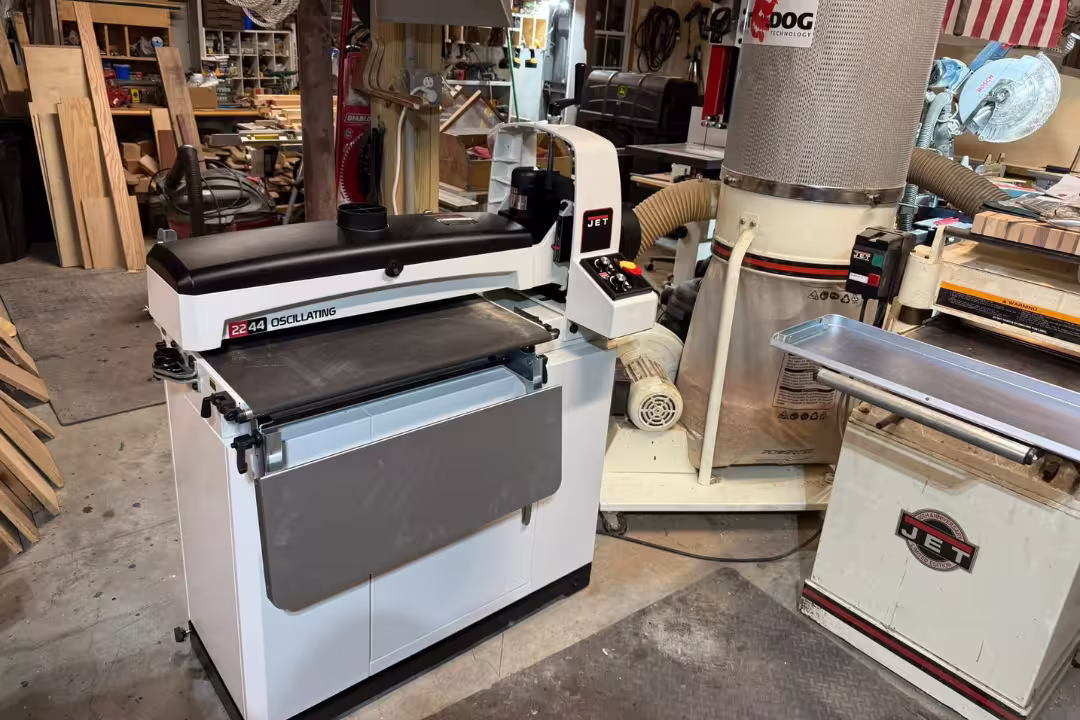
JET and Grizzly floor power
JET and Grizzly floor drum sanders target panel work: stronger motors, wider drums, and conveyors that keep thickness consistent across long boards. That power helps you avoid stall marks and sudden heat spikes when a board has a hard glue line or dense grain.
One real constraint: floor models demand better dust collection. If you can’t move enough air, you’ll fight loading constantly and the machine will feel “underpowered” even when the motor is fine.
Space and budget
Space is more than footprint. You need infeed/outfeed room and a place to stage parts so you’re not juggling boards near a spinning drum.
Budget reality: plan for abrasives, a decent hose, and maybe a stronger dust collector. The sander alone won’t deliver “perfect” work if the airflow and wrap management aren’t part of the purchase.
Top oscillating drum sander options to consider
These picks focus on common shop needs: capacity, finish quality, and day-to-day usability. I’m calling out where each fits so you can match the machine to the work you actually build.
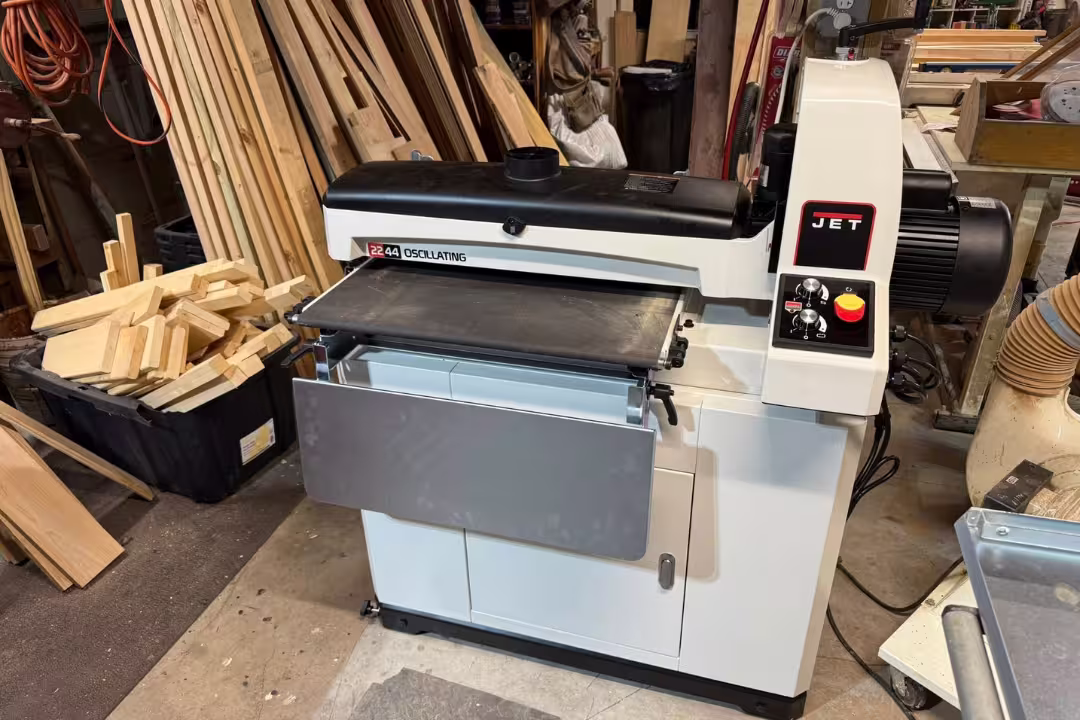
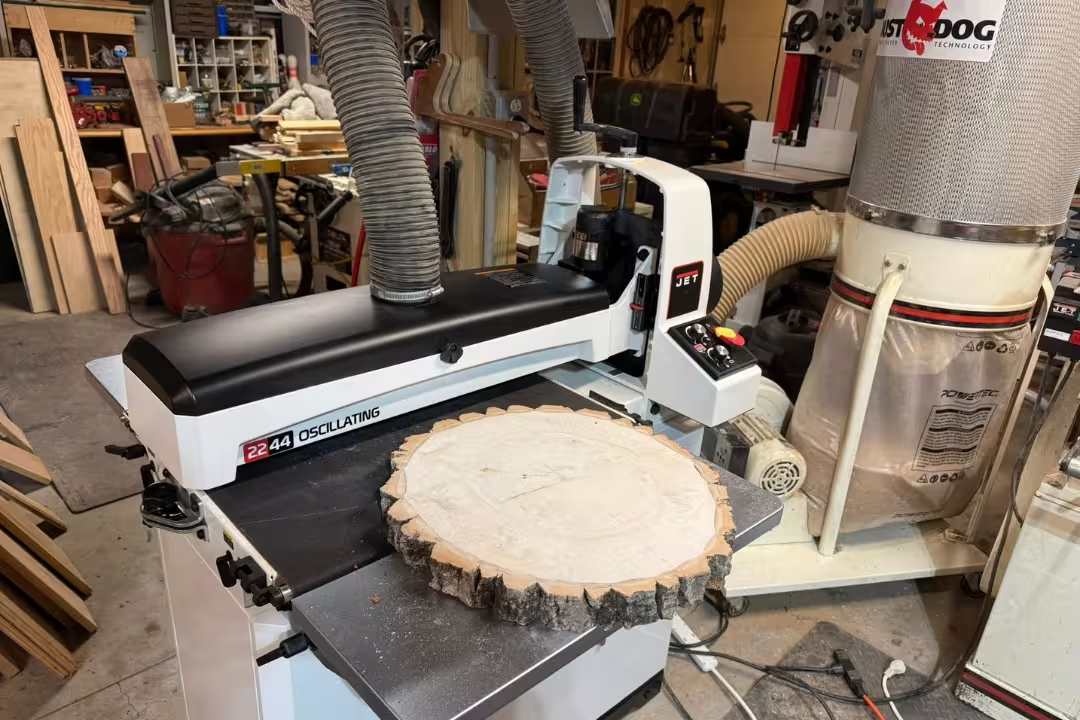
JET oscillating drum sander (22-44OSC)
The JET 22-44OSC is built for wide panels and consistent finishing passes, with oscillation to reduce tracking and heat. It’s also the style of machine where good technique pays off fast: light passes, steady feed, and wrap changes before the abrasive gets shiny.
Ridgid oscillating drum sander
The ridgid oscillating drum sander category is best thought of as benchtop oscillating spindle sanding: great control on curves, predictable results on edges, and fast sleeve swaps. If you build furniture with lots of shaped parts, you’ll feel the difference right away—less burning on end grain and fewer vertical scratches that show up under stain.
A beginner pitfall is sanding too aggressively on one spot, which rounds edges you meant to keep crisp. I keep the work moving and use the table as my reference, then I clean up with a light hand sand so the profile stays true.
Grizzly oscillating drum sander
A grizzly oscillating drum sander is often chosen for shop-duty value: solid frames, practical features, and enough power for routine panel work. For small production runs, that “always ready” feel matters more than fancy options because you’ll run it for short sessions all week.
If you’re comparing models, look closely at conveyor tracking adjustment and ease of wrap changes. Those are the two “daily touch” items that separate a machine you like using from one you tolerate.
JET alternatives list
Here are two JET options to compare for capacity and finishing workflow.

JET 22-inch Oscillating Drum Sander
- Powerful 1-3/4 HP motor for fast stock removal and smooth finishes
- 22-inch drum handles wide boards and large panels with ease
- oscillating action reduces heat and extends abrasive life
- closed stand adds stability and keeps the unit compact on the floor
- easy access for belt changes and routine maintenance

JET 16-inch Drum Sander
- 1-1/2 HP motor delivers steady power for consistent sanding results
- 16-inch drum handles wide boards and tabletops efficiently
- open stand allows easy loading and routine maintenance
- precision feed system produces even thickness and smooth surfaces
- compatible with dust collection for a cleaner shop environment
Oscillating drum sander sleeves and accessories
Oscillating drum sander sleeves (and wraps/strips on large drum sanders) are consumables, so planning your grit kit matters. When you have the right grits on hand, you stop forcing a dull sleeve to do work it can’t do cleanly.
Sleeve grits overview
Grit choice controls heat and scratch depth as much as it controls speed. Coarse grits cut cooler when they’re sharp, but they also leave deeper scratches that can haunt you under stain if you rush the progression.
- 80 grit: fast leveling and glue-line cleanup, but needs follow-up steps
- 120–150 grit: my most-used range for refining after flattening
- 180–240 grit: light finishing passes and prepping for final hand sanding
Swaps and tools
Fast swaps keep you honest with grit progression. If changing a sleeve or wrap is annoying, you’ll “just do one more pass,” which is how you overheat wood and glaze abrasives.
Pro workaround: keep a small brass brush and an abrasive cleaning stick near the machine. Cleaning extends life, but if the sleeve looks shiny or feels slick, replace it—burn marks cost more time than a new sleeve.
Sleeve packs and kits
These sleeve kits cover common diameters and grits for spindle-style oscillating sanders and detail work.

Assorted Spindle Sander Sleeves 18-Pack
- Eighteen sleeves cover multiple diameters for broad compatibility with drums
- three grit levels 80, 150 and 240 offer coarse to fine finishing options
- 4-1/2 inch length provides full drum coverage for even sanding
- tightly bonded abrasive resists tearing for longer life
- value pack keeps you stocked for multiple projects

Spindle Sander Drum Kit with Sleeves
- Assorted drum diameters from 3/4 inch to 2 inch cover a range of curve sizes
- includes 80 grit, 120 grit and 240 grit sleeves for coarse to fine sanding
- quick fit drums and sleeves make changes fast and simple
- durable abrasive sleeves resist tearing and deliver consistent material removal
- perfect for precision edge work and contour sanding
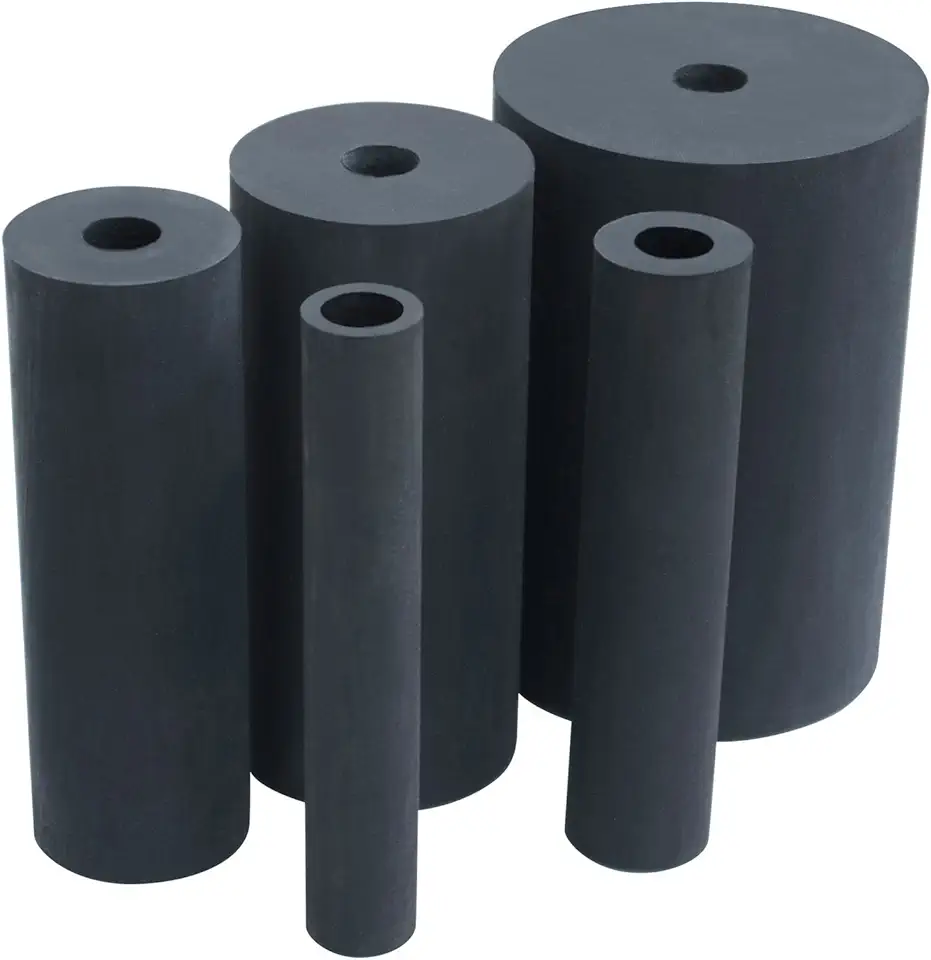
POWERTEC 5-Piece Rubber Drum Set
- Five rubber drum sizes fit drills and drill presses for versatile use
- includes 3/4 inch, 1 inch, 1-1/2 inch, 2 inch and 3 inch diameters for varied contours
- flexible rubber conforms to shapes for smooth, even sanding
- quick to mount and change sleeves for efficient workflow
- ideal for detail work, shaping and finishing edges
Is an oscillating drum sander worth it?
It’s worth it if you need repeatable flatness and cleaner scratch patterns on wide work, and you have dust collection to support it. It’s a poor buy if you mainly build small projects and you’re still learning basic milling and hand sanding control.
Worth it for shops
Small shops get the biggest payoff when they do frequent glue-ups: panels, doors, face frames, and tabletops. One machine can standardize surfaces so finishing gets easier and you waste fewer parts from sanding mistakes.
If you batch parts, the time savings stacks up: set the height, run all matching pieces, then move up a grit. That rhythm is hard to replicate with handheld sanding without introducing variation.
Not worth it for beginners
Beginners often expect a drum sander to replace a planer or fix twist. That leads to heavy cuts, burned boards, and frustration with tracking marks that are really setup and technique issues.
If you’re still building your sanding lineup, start by dialing in fundamentals with simpler tools. Our breakdown of a sanding machine workflow can help you pick a next tool that matches your projects instead of buying on capacity alone.
Time and ROI factors
ROI shows up when you stop reworking surfaces. If oscillation prevents burn marks and reduces visible lines under finish, you save time on resanding, and you waste fewer glued panels that would otherwise need to be remade.
One last reality check: you’ll still hand sand. The win is that hand sanding becomes quick and predictable, instead of a long fight to erase machine marks and heat damage.
Practical Notes From Real-World Use
The biggest surprise for most people is how little pressure you can use. The board should glide on the conveyor with a steady, low “shhh” sound; if you hear the motor pitch change or feel the board come out hot, the pass was too heavy.
Another issue that shows up fast is glue contamination. Tiny squeeze-out beads that look harmless can load a wrap in one pass, leaving shiny streaks you can feel with your fingertips; I scrape glue lines first and run a sacrificial pass on a cheap board if I’m unsure.
Dust collection problems look like random scratches, but the cause is often recirculating grit. When airflow is weak, dust swirls inside the hood and gets dragged under the drum like sandpaper-on-sandpaper, so I shorten hoses, seal leaks, and empty the collector before long sanding sessions.
A final gotcha is conveyor drift. If the belt walks to one side, the workpiece can skew and you’ll chase thickness inconsistency; I mark the tracking knobs and make tiny changes, then let the belt run a minute before deciding if it helped.
FAQs
What Is An Oscillating Drum Sander And How Is It Different From A Regular Drum Or Belt Sander?
An oscillating drum sander is a stationary machine whose sanding drum rotates while oscillating side-to-side to reduce gouging and banding.
Unlike a regular drum or belt sander that only spins, oscillation spreads wear, delivers a smoother finish, and minimizes repeated sanding lines; users can control speed and grit for greater precision.
How Do I Avoid Swirl Marks, Burning, And Tear-Out When Using An Oscillating Drum Sander?
Use a progression of clean, sharp grits, steady feed speed, and light, even passes to avoid swirl marks, burning, and tear-out.
Keep abrasive sleeves free of resin and replace worn sleeves, sand with the grain when possible, and support thin ends to prevent vibration; reduce drum speed or make extra finishing passes for sensitive woods and always test on scrap first.
What Grit Progression And Feed Rates Should I Use For Smoothing Rough Lumber And Prepping For Finish?
Follow a coarse-to-fine sequence—typically 80, 120, 180, then 220 grit—and make multiple light passes instead of heavy cuts to avoid damage.
Use slower, steady feed rates as you move to finer grits; start cautiously on the first pass to remove high spots, then slightly increase feed for finishing passes while testing on scrap to prevent burning.
Can I Use An Oscillating Drum Sander To Remove Planer/Jointer Snipe Or To True Up Warped Or Thick Stock Safely?
Yes — an oscillating drum sander can remove planer or jointer snipe and help true warped or thick stock, but it should be used carefully and incrementally.
Take multiple light passes while supporting ends with a flat caul or jig, use a sled or clamps for short or twisted pieces to prevent chatter, and for large corrections remove most material with a jointer/planer first, then finish with the sander.