Top Baseboard Styles That Will Elevate Your Space

Table of Contents
Introduction to Baseboards
What Are Baseboards?
Baseboards are the unsung heroes of interior design. These trim styles run along the bottom edge of walls, bridging the gap between walls and floors. Their primary purpose is to protect walls from kicks, scuffs, and wear while providing a polished, finished look to a room. But their role goes beyond protection — they add charm, style, and elegance to any space.
Baseboards serve an important purpose. They hide flaws at the bottom of walls. This makes them essential for new buildings and renovation projects. They’re also crucial for creating a seamless design transition between the wall and the floor.
Why Baseboards Matter in Interior Design
Think of baseboards as the “frame” for your room. Just as a picture frame enhances a piece of art, base boards enhance the visual appeal of your walls. They create a sense of continuity and symmetry that makes the entire space feel cohesive.
On a practical level, baseboards offer a layer of protection against dirt, moisture, and impact damage. They’re like armor for your walls, especially in high-traffic areas like hallways and living rooms. Without them, walls would suffer from daily wear and tear, requiring constant touch-ups and maintenance.
Different Types of Baseboards
Classic Baseboard Profiles Overview
When it comes to styles of baseboards, profiles play a big role in the overall look and feel of a space. The “profile” refers to the shape, curve, or edge design of the baseboard. From sleek modern styles to classic, intricate designs, there’s a profile for every aesthetic. These profiles affect the visual impact of the baseboard, making it a key design element in any home.
1. Bullnose Baseboard Description and Features:
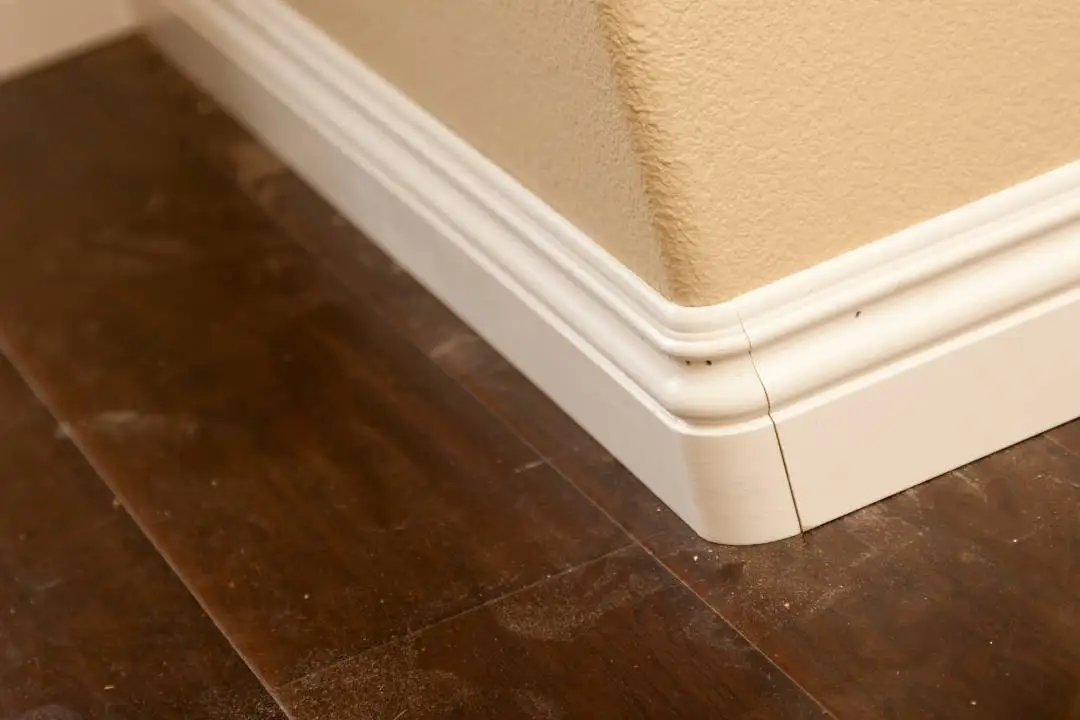
The bullnose baseboard is known for its smooth, rounded edge. This profile is simple, clean, and versatile, fitting seamlessly into both modern and traditional homes. The gentle curve at the top creates a soft, friendly aesthetic that works well in casual, family-oriented spaces.
Where It’s Best Used: Bullnose baseboards are ideal for minimalist and modern interiors where simplicity is key. They’re also popular in children’s rooms due to the absence of sharp edges, making them safer for little ones.
Pros and Cons of Bullnose Baseboards:
Pros
- Child-friendly with no sharp edges
- Versatile design that suits most styles
- Easy to clean due to its smooth shape
Cons
- Limited design detail for more ornate spaces
- May appear too plain for luxury or traditional interiors
2. Eased Edge Baseboard: What Makes Eased Edge Baseboards Unique?
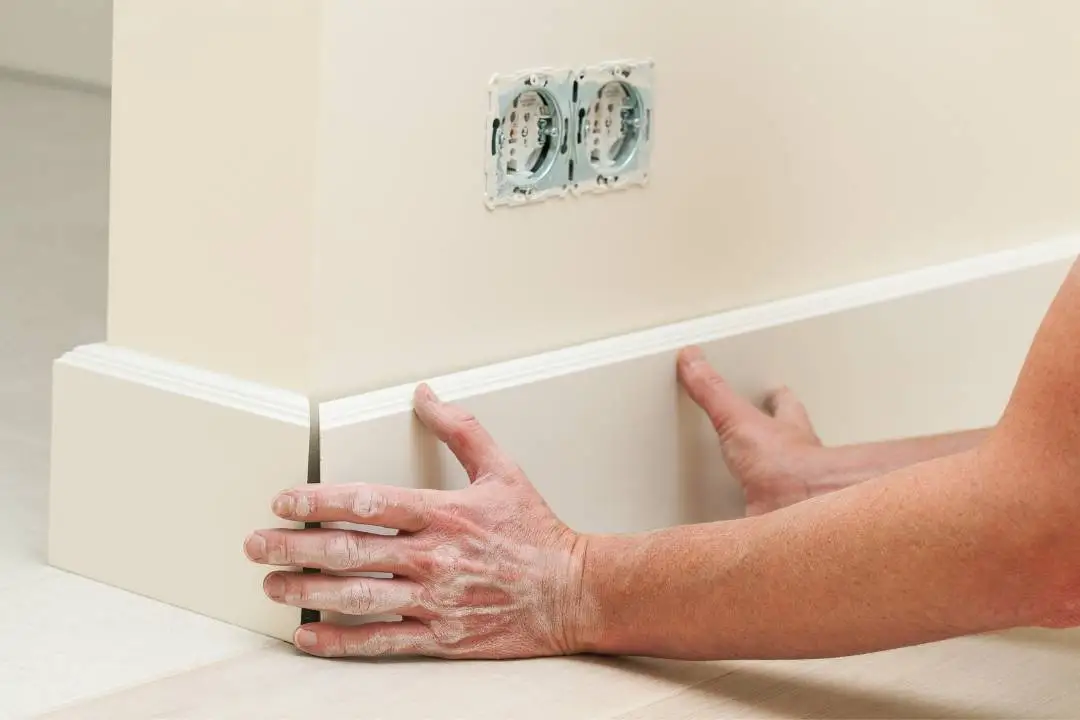
The eased edge baseboard has a subtle beveled edge, offering a more refined look than a basic flat edge. It’s sleek, and modern, and provides a smooth transition between the wall and floor. The slight edge gives it more definition, adding depth and dimension to a room.
Ideal Rooms and Styles: This type of baseboard fits perfectly into modern, transitional, and contemporary spaces. It’s also a great option for homeowners looking for a “middle ground” style that’s neither too plain nor too ornate.
Pros and Cons of Eased Edge Baseboards:
Pros
- Elegant and subtle design that works in modern homes
- Easier to clean than more intricate profiles
- Offers a balance of simplicity and detail
Cons
- May not stand out as much in large, open spaces
- Not as decorative as traditional profiles
3. Modern vs Traditional Baseboard Profiles
Differences Between Modern, Minimalist, and Traditional Profiles:
Modern profiles tend to focus on simplicity and clean lines. They often feature flat, square, or eased edges that create a crisp, minimalist aesthetic. Traditional baseboards are more decorative. They have detailed curves, grooves, and bevels that add elegance to a room.
How to Choose the Right Profile for Your Design Style:
- For Modern Spaces: Choose eased edge or bullnose profiles for a clean, minimalist look.
- For Traditional Spaces: Opt for more intricate profiles with decorative curves and grooves.
- For Transitional Spaces: Look for designs that blend modern simplicity with classic detailing, creating a balanced, timeless appeal.
The choice of baseboard profile can dramatically impact the style of a room, so it’s essential to pick one that aligns with your home’s overall design aesthetic.
Baseboard Materials: Which One Should You Choose?
1. MDF Baseboards
What is MDF (Medium Density Fiberboard)?
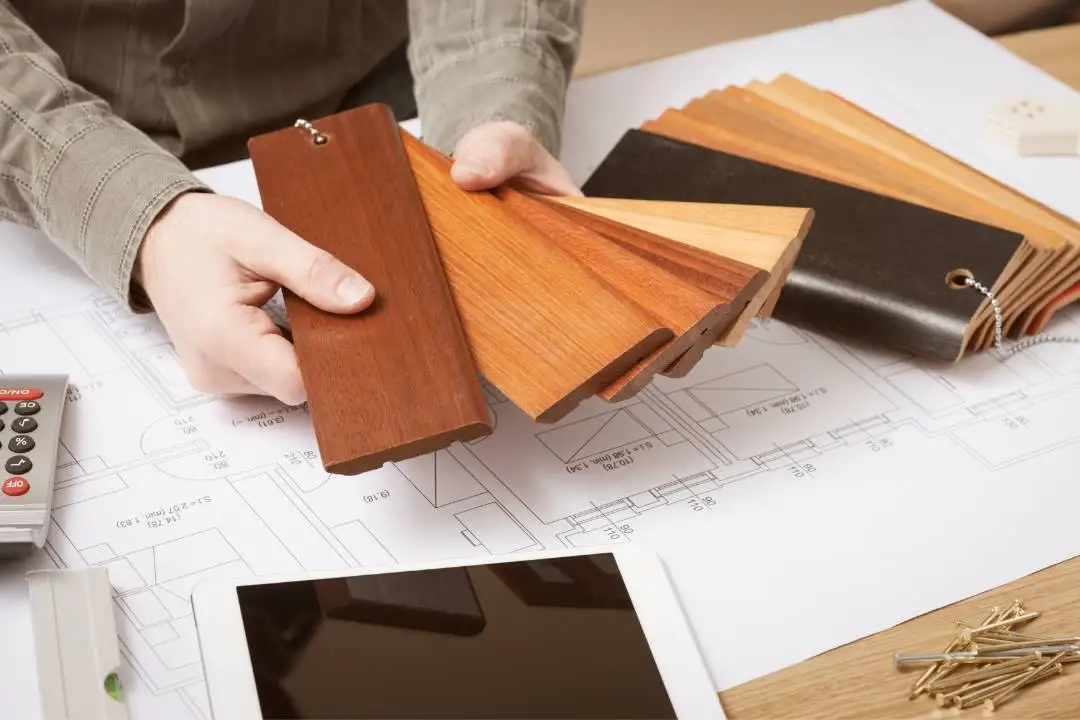
MDF (Medium-Density Fiberboard) is a popular choice for baseboards. It is affordable, has a smooth surface, and is easy to customize. It’s made from wood fibers and resin, compressed into dense sheets that can be cut and shaped into various profiles.
Benefits and Drawbacks of MDF Baseboards
Pros
- Affordable: Cheaper than solid wood
- Smooth Finish: No knots, grain, or rough texture
- Easy to Paint: Absorbs paint well, ideal for custom colors
Cons
- Water Sensitivity: Swells when exposed to moisture
- Less Durable: More prone to damage than hardwood
Cost, Durability, and Where It’s Best Used: MDF baseboards are affordable and cost-effective compared to hardwood. While they’re not as durable as wood, they’re suitable for areas with low moisture exposure, like living rooms and bedrooms.
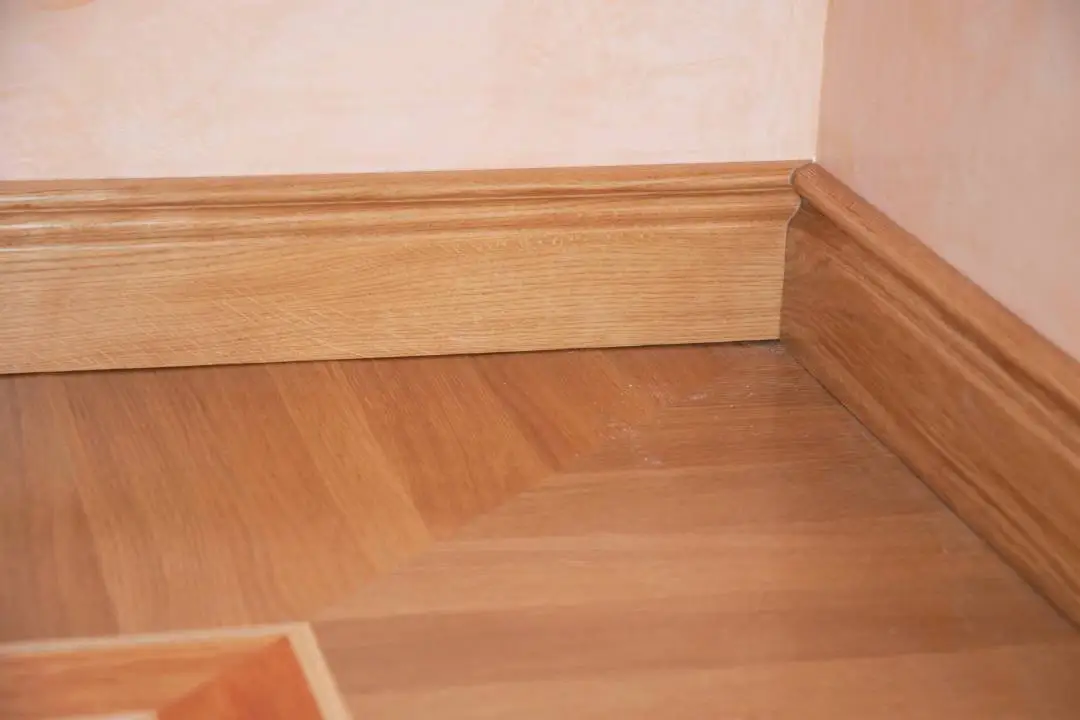
2. Wood Baseboards
Hardwood vs. Softwood Options
Wood baseboards come in two main types: hardwood and softwood. Hardwood choices like oak and maple are stronger but more expensive. Softwood options like pine are cheaper but not as resistant to dents and scratches.
Cost, Maintenance, and Best Uses for Wood Baseboards
| Type | Cost | Maintenance | Best Uses |
| Hardwood | Expensive | Low maintenance | High-traffic areas |
| Softwood | Affordable | Needs frequent care | Low-traffic spaces |
Wood baseboards add natural beauty and warmth to any space. They’re great for living rooms, dining areas, and traditional homes where aesthetics are a priority.
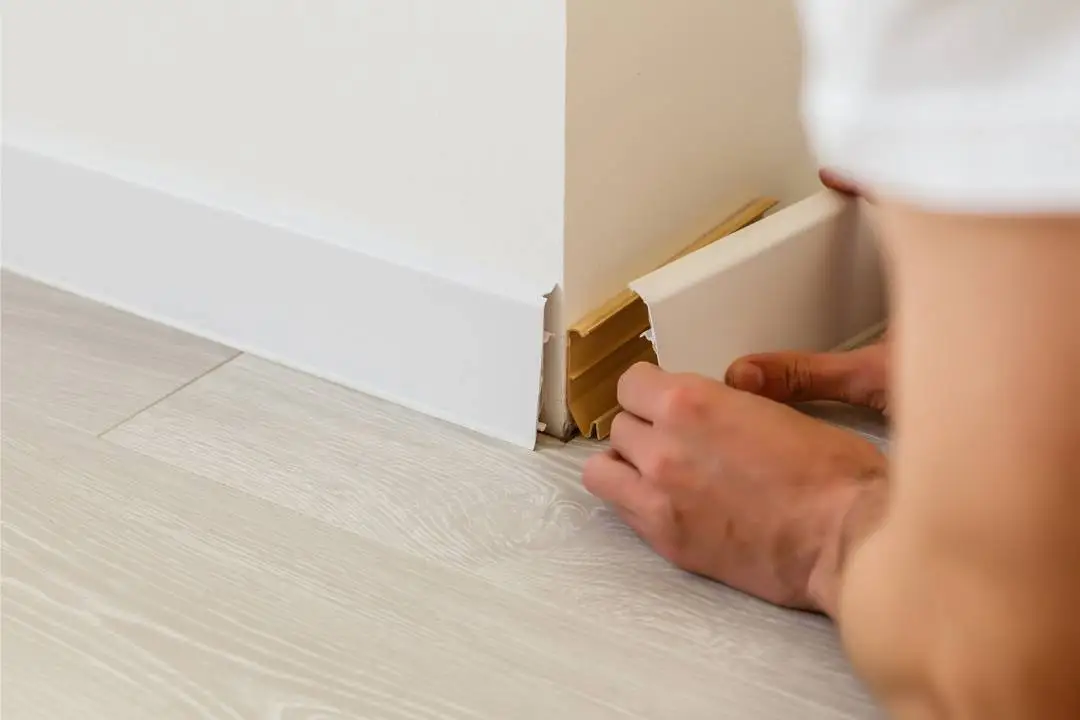
3. PVC and Composite Baseboards
Waterproof and Moisture-Resistant Options
PVC and composite baseboards are made from plastic-based materials, offering excellent resistance to moisture and water. This makes them ideal for kitchens, bathrooms, and basements where humidity is a concern.
When to Choose PVC Over Wood or MDF
PVC baseboards are a smart choice when you’re looking for a maintenance-free, moisture-resistant option. They’re also lightweight and easy to install, but they may lack the warmth and natural appeal of wood.
Choosing the Right Size and Height of Baseboards
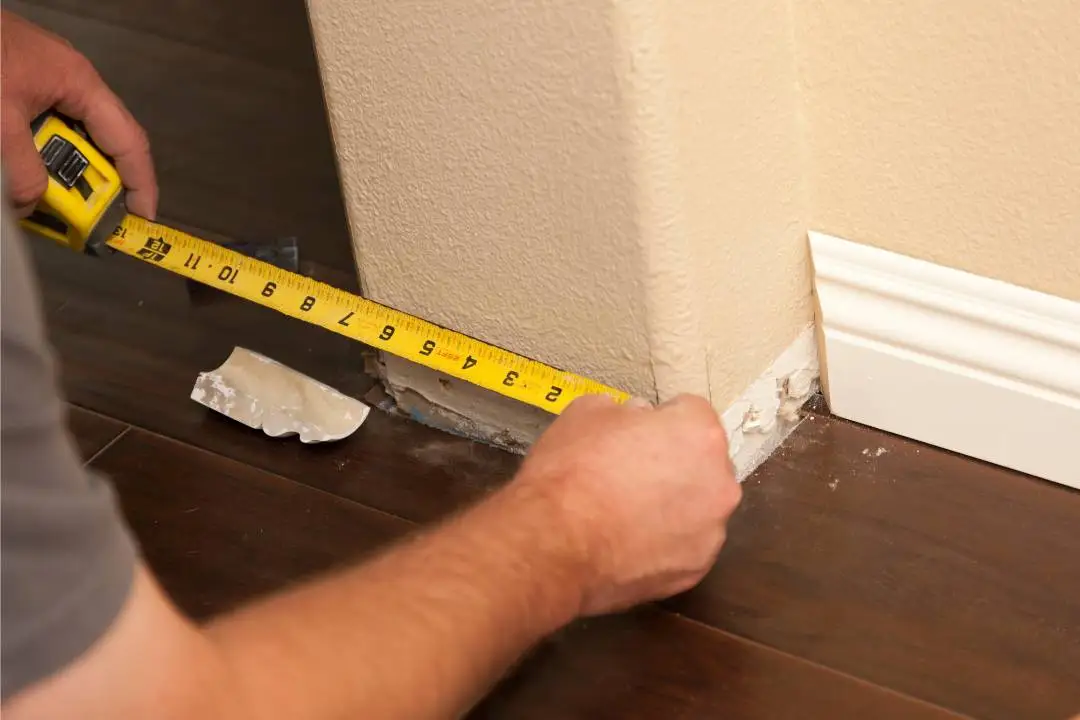
How to Measure for Baseboards
Accurate measurement is essential to ensure a perfect fit. Here’s how to do it:
- Use a tape measure to measure the length of each wall.
- Include allowances for corners, door frames, and uneven surfaces.
- Add an extra 10% to account for waste and cutting errors.
Tools and Techniques for Accurate Measurement
- Measuring Tape: Essential for precise length measurements.
- Angle Finder: Useful for identifying angles in corners.
- Cutting Tools: A miter saw ensures precise cuts at angles.
Recommended Baseboard Heights
How Ceiling Height and Room Size Affect Baseboard Height
The height of your baseboards can dramatically impact the appearance of a room. Taller ceilings need taller baseboards to keep things balanced. Smaller rooms do better with shorter baseboards to avoid feeling cramped.
Standard Height Guidelines for Modern, Traditional, and Minimalist Styles
| Design Style | Baseboard Height | Reason |
| Modern | 3-4 inches | Clean, minimalist look |
| Traditional | 5-8 inches | Adds elegance and visual impact |
| Minimalist | 3-4 inches | Keeps the design simple |
Choosing the right height depends on the room’s dimensions and design preferences. While modern homes lean toward shorter baseboards, traditional homes often use taller, more decorative styles.
Installing Baseboards Like a Pro
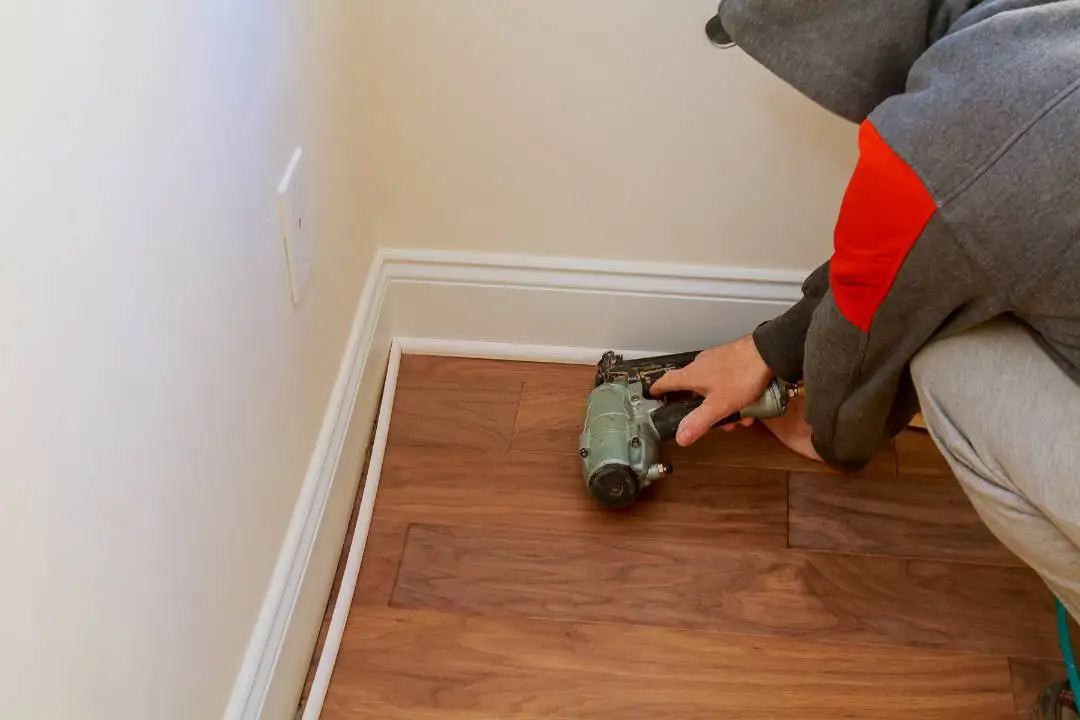
Step-by-Step Installation Guide
Tools and Materials You’ll Need
To get started with baseboard installation, you’ll need the following essential tools and materials:
- Tape Measure: For accurate measurements of walls and baseboards.
- Miter Saw: To make precise angled cuts for corners and joints.
- Nail Gun or Hammer and Nails: To secure the baseboards to the wall.
- Adhesive (Optional): Used for extra support in securing the baseboard.
- Level: To ensure straight alignment.
- Caulking Gun and Caulk: To fill gaps for a seamless finish.
- Putty Knife and Wood Filler: For smoothing out nail holes and imperfections.
DIY vs. Professional Installation
If you have basic carpentry skills and the right tools, you can install baseboards as a DIY project. DIY installation allows you to save money on labor costs, and it can be a satisfying weekend project.
However, professional installation is recommended if:
- You have complex or irregular wall shapes.
- You want flawless, precision cuts and a high-end finish.
- You lack access to specialized tools like miter saws and nail guns.
Common Installation Mistakes to Avoid
Uneven Cuts, Gaps, and Alignment Errors
One of the most common mistakes in baseboard installation is making inaccurate cuts. When baseboards don’t align properly, visible gaps and crooked edges can ruin the aesthetic.
How to Avoid It:
- Measure each wall accurately before cutting.
- Use a miter saw for precise cuts, especially for inside and outside corners.
- Double-check angles and ensure you’re cutting at the correct angle (often 45° for corners).
How to Fix It:
- If the gap is small, fill it with caulk for a seamless finish.
- For larger gaps, consider recutting the baseboard or adding a small filler piece.
Nail Placement Issues
that are placed too close to the edge can split the baseboard, while nails that are too far apart may leave it loose.
How to Avoid It:
- Space nails 16-24 inches apart.
- Nail at an angle to create a stronger hold.
- Use a nail punch to avoid damaging the surface of the baseboard.
Painting and Finishing Baseboards
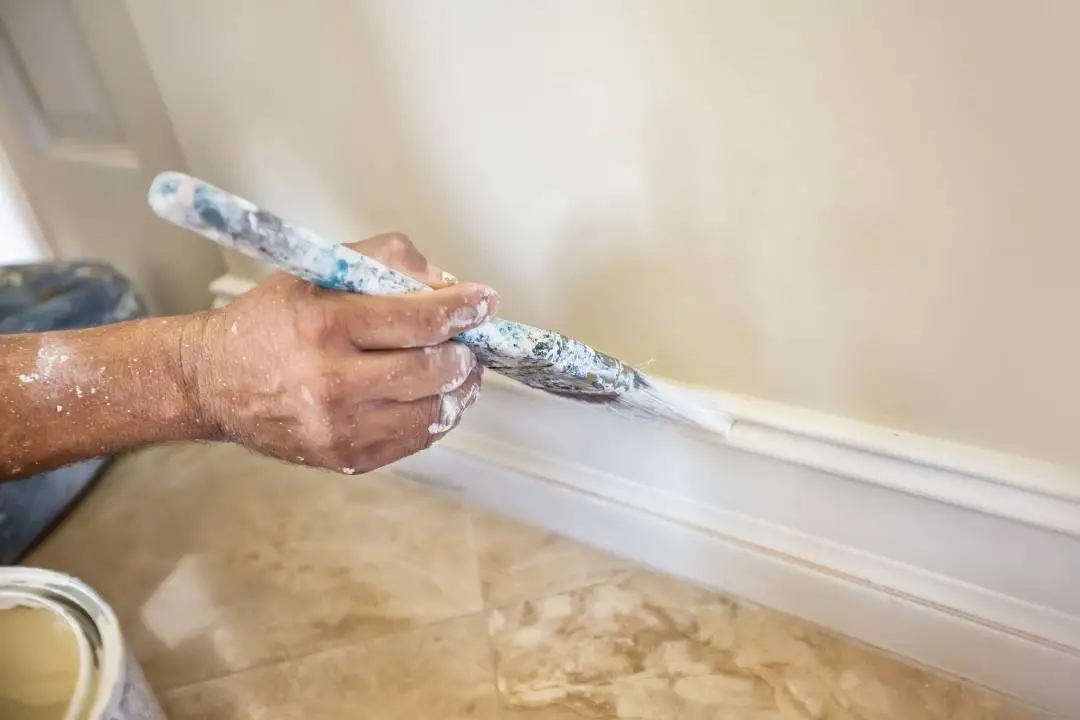
How to Prepare Baseboards for Painting
Proper preparation is essential to ensure a smooth, long-lasting paint finish.
Sanding, Priming, and Cleaning Tips
- Sand the Surface: Use fine-grit sandpaper to smooth out rough areas, imperfections, or old paint.
- Clean the Base boards: Remove dust, dirt, and grease with a damp cloth or mild detergent.
- Apply Primer: Primer helps the paint adhere better and prevents stains from bleeding through. Use a high-quality primer for the best results.
Best Paint Types and Finishes for Base boards
Glossy vs. Matte Finishes
Choosing the right paint finish affects both the appearance and durability of your baseboards.
- Glossy Finish: Offers a sleek, reflective finish that’s easy to clean and more resistant to scuffs. Ideal for high-traffic areas like hallways and living rooms.
- Matte Finish: Provides a more subtle, modern look. However, it’s less resistant to stains and harder to clean, making it better suited for low-traffic spaces.
Paint Color Ideas to Match Walls and Floors
When selecting a paint color for your baseboards, you can choose to match, contrast, or complement your wall and floor colors.
- Matching Colors: For a clean, minimalist look, paint baseboards the same color as the walls.
- Contrasting Colors: Use a white or bright color to create a crisp, modern look that makes the base boards stand out.
- Complementary Colors: Choose a shade from the same color family as your wall paint but in a lighter or darker tone for a balanced, harmonious effect.
Maintenance and Cleaning of Baseboards
How to Clean Baseboards Efficiently
Baseboards are the unsung heroes of our walls. They protect the bottom of the wall from damage while adding a finishing touch to the room. But let’s face it – they can gather dust, dirt, and grime. So, how do you keep your baseboards looking sharp without spending hours on cleaning? Here’s a simple guide to make your baseboards shine like new!
Cleaning Products and Tools You’ll Need
First things first, you don’t need a lot of fancy products to clean your baseboards. A few basic tools will do the trick. You’ll need:
- A microfiber cloth or duster
- A soft-bristled brush (to get into the cracks)
- A mop or vacuum with a soft brush attachment
- A bucket with warm water
- Mild soap or a multi-purpose cleaner
- A magic eraser or non-abrasive sponge for tougher stains
- A toothbrush (for stubborn areas)
Step-by-Step Cleaning Guide to Remove Dust and Stains
Now that you have everything ready, here’s how to clean your baseboards in just a few simple steps:
- Dust First: Start by dusting off the surface of the baseboard using a microfiber cloth or a duster. Dust can build up quickly, so this first step helps prevent dirt from sticking later on.
- Vacuum or Mop: If there’s significant dirt or debris, use a vacuum with a soft-bristle brush attachment or a mop to clean the larger particles.
- Clean with Soapy Water: For most baseboards, a mild soap solution works wonders. Dip your cloth into the soapy water, wring it out well, and wipe down the baseboards. Be gentle – too much water can damage wood.
- Tackle Stubborn Stains: Got a stain or scuff mark? Use a magic eraser to scrub it away. If that doesn’t work, a small amount of vinegar can break down grime without being harsh on the material.
- Final Touch: Wipe the baseboard with a dry microfiber cloth to remove any moisture, leaving it looking fresh and dry.
How to Maintain Baseboards for Longevity
Cleaning your baseboards is important, but maintaining them for long-lasting beauty is just as vital. Let’s go over a few tips to ensure your baseboards stay in great shape over time.
Tips to Avoid Scuffs, Scratches, and Water Damage
Baseboards often face the brunt of foot traffic, furniture, and even pets. Here’s how you can keep them looking great for years:
- Use a Protective Finish: A coat of protective finish can prevent scratches and scuffs. If your baseboards are wood, applying a layer of varnish or polyurethane will shield them from damage.
- Avoid Excess Water: Baseboards, especially wooden ones, don’t mix well with excess moisture. Wipe up spills quickly to prevent water damage and warping. When cleaning, use only slightly damp cloths.
- Touch Up Paint: Over time, baseboards can lose their luster or get chipped. Keeping a small can of touch-up paint nearby can help you quickly restore their look without a full re-paint.
- Use Furniture Pads: To prevent scuff marks from furniture, attach felt pads to the legs of chairs or tables. It’s a small step that can make a big difference in preserving your baseboards.
- Regular Dusting: Dust is one of the main culprits that make baseboards look dull. Regularly dust your baseboards to prevent the buildup of grime and to keep them looking fresh.
Cost of Baseboards: Budgeting and Expenses
Thinking about upgrading or replacing your baseboards? One of the first things you’ll likely want to know is: how much is it going to cost? The cost of baseboards depends on a few factors. These include the material, how they are installed, and the size of the area. Let’s break it down!
Material Costs (MDF, Wood, PVC)
The price of baseboards can vary greatly based on the material you choose. Here’s a quick comparison of the most common options:
- MDF (Medium-Density Fiberboard): Typically, the most affordable option, MDF is a popular choice for homeowners on a budget. Prices range from $0.50 to $2 per linear foot, depending on the style and profile.
- Wood: Natural wood baseboards are more expensive but offer a timeless, elegant look. Expect to pay between $2 and $8 per linear foot for solid wood, depending on the type (e.g., pine, oak, or cherry).
- PVC (Polyvinyl Chloride): PVC baseboards are a great alternative if you’re looking for something durable and moisture-resistant. They cost about $1.50 to $4 for each linear foot. Their long life can make them a good value in humid places like bathrooms.
Choosing the right material depends on your budget and the aesthetic you’re going for, so think about long-term durability and maintenance needs.
Installation Costs: DIY vs. Professional
Once you’ve selected your baseboards, it’s time to think about installation costs. Should you go the DIY route or hire a professional?
Cost of Tools, Time, and Labor for DIY Projects
Installing baseboards yourself can save you a lot of money, but it also requires time, effort, and the right tools. Here’s what you’ll need to get the job done:
- Tools: A saw, hammer, nails or brad nails, a level, and a caulk gun (for filling gaps). The total cost for these tools might range from $50 to $200 if you don’t already have them.
- Time: DIY installation can take several hours to a day, depending on the room size and complexity of the cuts.
While you’re saving on labor, you’ll need to factor in the time it takes to measure, cut, and install. It’s a great weekend project but be prepared for some elbow grease.
Cost of Hiring Professionals for Baseboard Installation
If you want to hire a pro, it can cost $2 to $6 per linear foot. The price depends on how complex the job is and where you live. This price includes both materials and labor. Hiring a pro is a good option if you don’t have the tools or if you want a flawless installation with minimal hassle.
Ultimately, the decision between DIY and professional installation depends on your skills, time availability, and budget. If you’re handy, DIY can be a rewarding (and budget-friendly) experience. But if you want precision and convenience, hiring a professional may be worth the investment.
In conclusion, keeping your baseboards clean and well-maintained doesn’t have to be a daunting task. With the right tools, materials, and a little bit of effort, your baseboards can stay looking great for years. Whether you decide to install them yourself or hire a pro, knowing your costs upfront can help you plan and budget accordingly.
Conclusion
- Styles, Profiles, and Materials Overview: We have looked at different styles and profiles of baseboards. These range from modern bullnose to classic eased edge designs. Each style offers unique aesthetic benefits and functionality for different room types.
- Design, Installation, and Maintenance Takeaways: Choosing the right baseboard involves considering design preferences, room style, and durability. Proper installation ensures a polished look, and regular maintenance keeps your baseboards looking fresh and clean.


