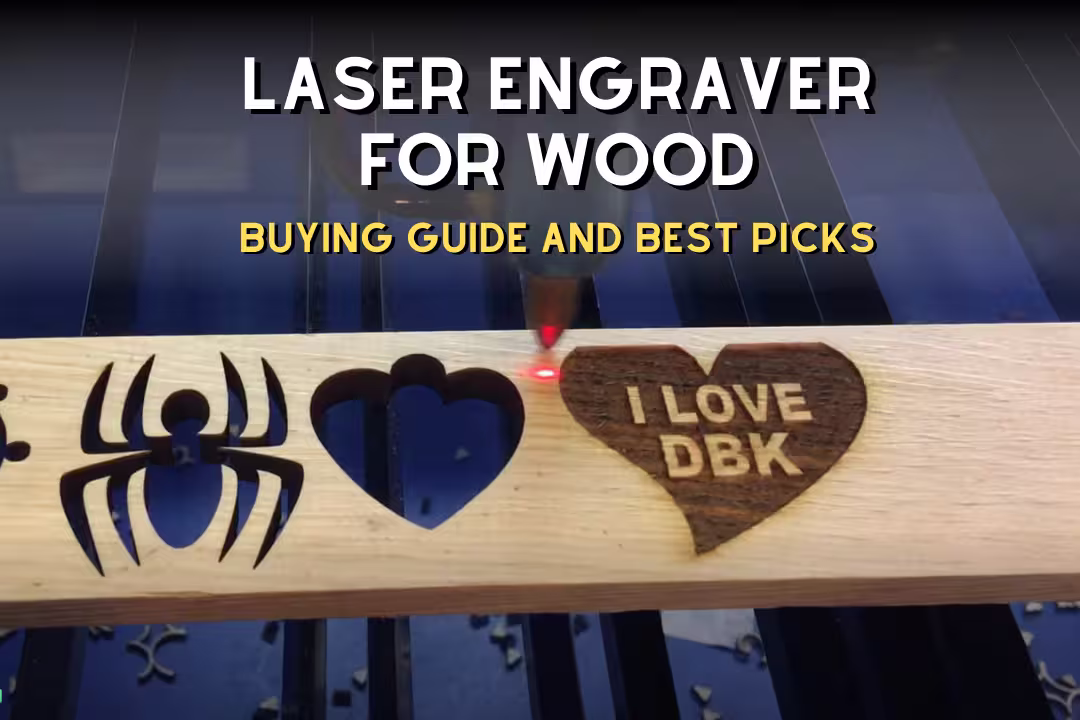
Laser Engraver for Wood: Buying Guide and Best Picks
A laser engraver for wood is a machine that burns or vaporizes the wood’s surface with a focused laser beam to create text, images, and cutouts with repeatable precision. The right pick depends on laser type, wattage, spot size, bed size, software, and safety features, plus how your chosen wood behaves under heat.
Table of Contents
How to choose a laser engraver for wood
When I’m picking a wood engraving machine, I start with the end product: photo engraving needs tiny spot size, signs need a bigger bed, and thick cutting pushes you into higher power or a CO2 system. If you match the tool to the job, you’ll avoid the common beginner trap of buying “more watts” and still getting smoky edges, shallow depth, or slow production.
Diode vs CO2
Diode lasers (most desktop open-frame units) shine for fine engraving because their spot can be extremely small, so tiny serif text and line art look crisp. A co2 laser engraver for wood cuts faster and handles thicker stock more cleanly, but many CO2 machines trade a bit of hairline detail for throughput and cleaner cutting on sheet goods.
In practice, diode units struggle most on resin-heavy softwoods where the beam triggers quick scorching; you’ll smell sharp pine sap and see glossy, dark “tar” streaks along the grain. CO2 is more forgiving on adhesives and thicker plywood, but you’ll still need airflow and extraction to keep the cut from re-depositing soot back onto the surface; redsaillaser.com/archives/5053.html covers common CO2 wood processing use cases.
Power tiers
Optical output matters more than marketing “module power.” For wood, 2.5W–5W is fine for coasters and labels, 5W–10W speeds up engraving and can cut thin stock, and 10W+ is where cutting becomes less painful for small-batch work—yet you still hit limits on thick hardwood without going CO2.
One edge case: a higher-power diode can create more scorching on light woods if you don’t raise speed or add air assist, because you’re dumping heat faster than the wood can char-cleanly. Beginners often “crank power” to get darker marks and end up with fuzzy edges; the workaround is multiple light passes and a small test grid on an offcut.
Spot size precision
Spot size controls how sharp your engraving looks, especially on fine-grain woods. If you want photo engravings or small text (think 6–10pt on a gift tag), prioritize a tight spot like 0.04–0.08mm and a frame that doesn’t wobble during fast direction changes.
A real limitation shows up on porous earlywood bands in softwoods: the same line can look lighter in one band and darker in the next because the beam hits different density. When I want consistent shading, I switch to a denser species (like maple) or reduce line interval and use a lower-power multi-pass so the mark builds evenly instead of “pitting.”
Work area size
Bed size decides what you can sell or batch. A 130×130mm workspace fits ornaments and coasters, while 400×400mm is where signage and batching names on keychains becomes efficient because you can fixture multiple parts at once without constant re-zeroing.
Watch for a common mistake: buying a large open-frame unit and then realizing you can’t easily vent smoke in a small room. If you can’t duct outside, plan on an enclosure plus filtration or keep the bed smaller so a compact enclosure stays practical.
Speed efficiency
Speed isn’t just the max number on the spec sheet; it’s how fast you can run before corners round off and fills show banding. For production, smooth acceleration and a rigid gantry matter because wood engraving is lots of short moves that punish loose belts and flexy frames.
I also plan time for cleanup: faster engraving can increase soot, which feels like fine charcoal dust on your fingertips when you wipe the panel. If you’re selling finished goods, faster isn’t “better” if it adds 5 minutes of sanding that softens engraved detail.
Software connectivity
LightBurn support is a big deal for wood because it makes test grids, jig layouts, and batch fills simple. Offline options (SD/USB and touchscreens) help when you’re running a small shop bench where you don’t want a laptop sitting in smoke and dust.
If you’re comparing tool types, it helps to know what else you might already own: a desktop CNC is still better for deep 3D carving, while a laser wins for fast surface marking and intricate cutouts. Mixing both can reduce waste: CNC for pockets, laser for labeling and inlays.
Safety build
Wood burning makes real flame risk, and open-frame diodes can expose your eyes to reflections. I look for Class 1-rated enclosures when possible, plus interlocks, a visible emergency stop, and a stable metal frame that doesn’t drift out of square after a few weeks of vibration.
Beginner mistake: trusting “it’ll be fine” and walking away mid-job. Wood can flare up fast, so keep a spray bottle or proper extinguisher nearby, and avoid oily woods or oily finishes until you’ve proven safe settings on raw stock; Thunder Laser’s wood guide also notes how species choice affects burn behavior.
Laser power tiers for wood projects
Power tiers decide what’s realistic: engraving on most wood for laser engraving works at low wattage, but cutting thickness climbs fast with density, glue layers, and moisture. I keep expectations tight: thin cuts are doable on diode, thick hardwood cuts belong to CO2 if you want clean edges and sane cycle times.
| Tier | Best for | Realistic wood results | Common beginner mistake |
|---|---|---|---|
| 2.5W–5W | Names, logos, coasters | Clean surface engraving; cuts only very thin stock | Trying to cut 6mm plywood in one pass |
| 5W–10W | Gifts, small signs, light cutting | Faster engraving; thin plywood cutting with multiple passes | Overpowering and burning edges instead of speeding up |
| 10W+ diode | Small-batch work | Deeper engraving; improved cutting on softwoods | Skipping air assist and getting heavy soot |
| 40W–60W+ CO2 | Production cutting | Cleaner cuts on thicker stock; better throughput | Weak exhaust leading to stained surfaces |
Entry-level 2.5W–5W
This tier is where you learn focus, test grids, and how different grain patterns react to heat without wasting pricey material. You’ll get sharp markings on basswood and alder, and you’ll quickly feel the limits when trying to cut—your piece gets hot, the smoke smells sweet and heavy, and the kerf turns dark before it breaks through.
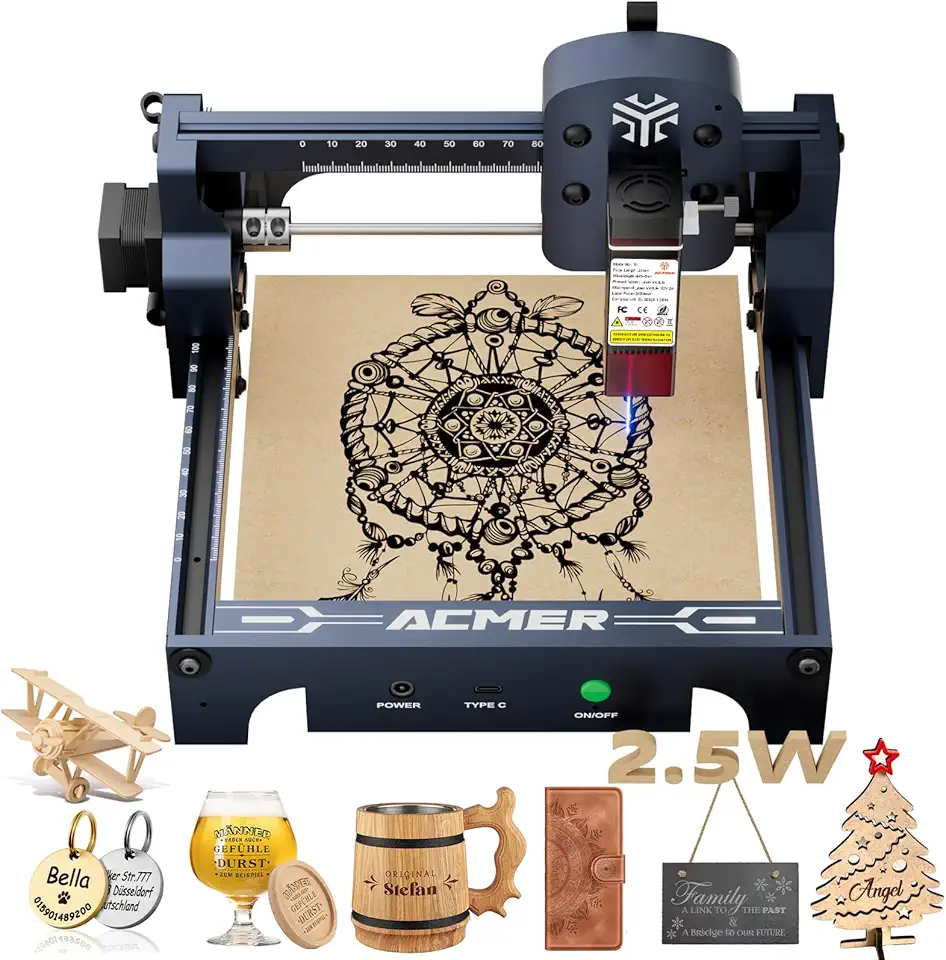
ACMER S1 2500mW Beginner Engraver
- 2500mW laser ideal for safe beginner engraving and light cutting
- 130x130mm workspace fits hobby projects and small parts
- 0.04mm spot size for crisp details and lettering
- Compatible with wood acrylic metal and glass for varied projects
- Compact lightweight design with safety certification for home use
Mid-range 5W–10W
Mid-range diode machines feel “fast enough” for most hobby businesses: batching, deeper fills, and cutting thin plywood without babysitting every second. These are also the models where offline control and larger beds start to matter for workflow, because moving plywood fixtures around without losing origin becomes part of daily use.
Here are several mid-range options worth comparing for wood projects.

Carverall K15 Pro 5W Beginner Friendly
- 5W laser suitable for safe beginner projects and precise engraving
- 200x300mm near A4 bed accommodates small posters and panels
- Portable CNC design for easy transport and workshop use
- High accuracy delivers clean lines and fine detail on small work
- Compatible with wood coated metal acrylic and leather for versatile crafting
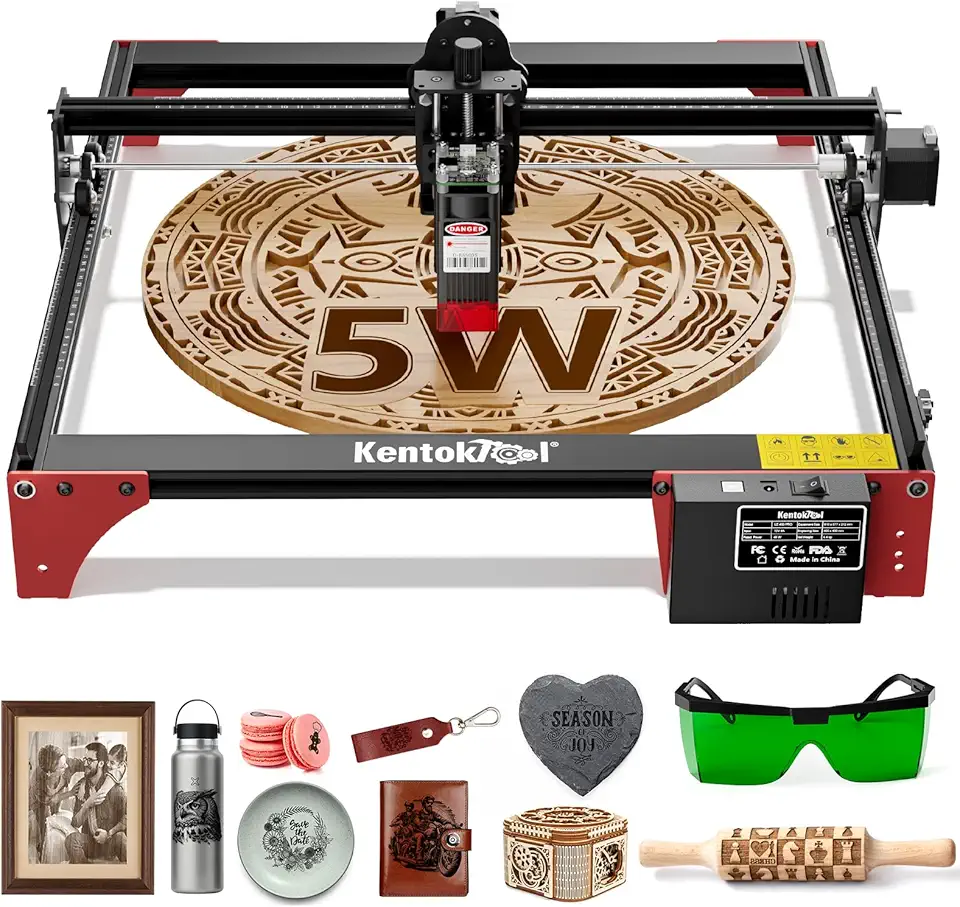
LE400PRO 5.5W Large Bed Engraver
- 5.5W Class 1 output for reliable cutting and safe operation
- 400x400mm large working area for sizable projects and batch work
- High precision optics for fine detail and clean edges
- Designed for wood acrylic and leather with consistent performance
- Beginner friendly setup with stable build for hobbyists and small shops
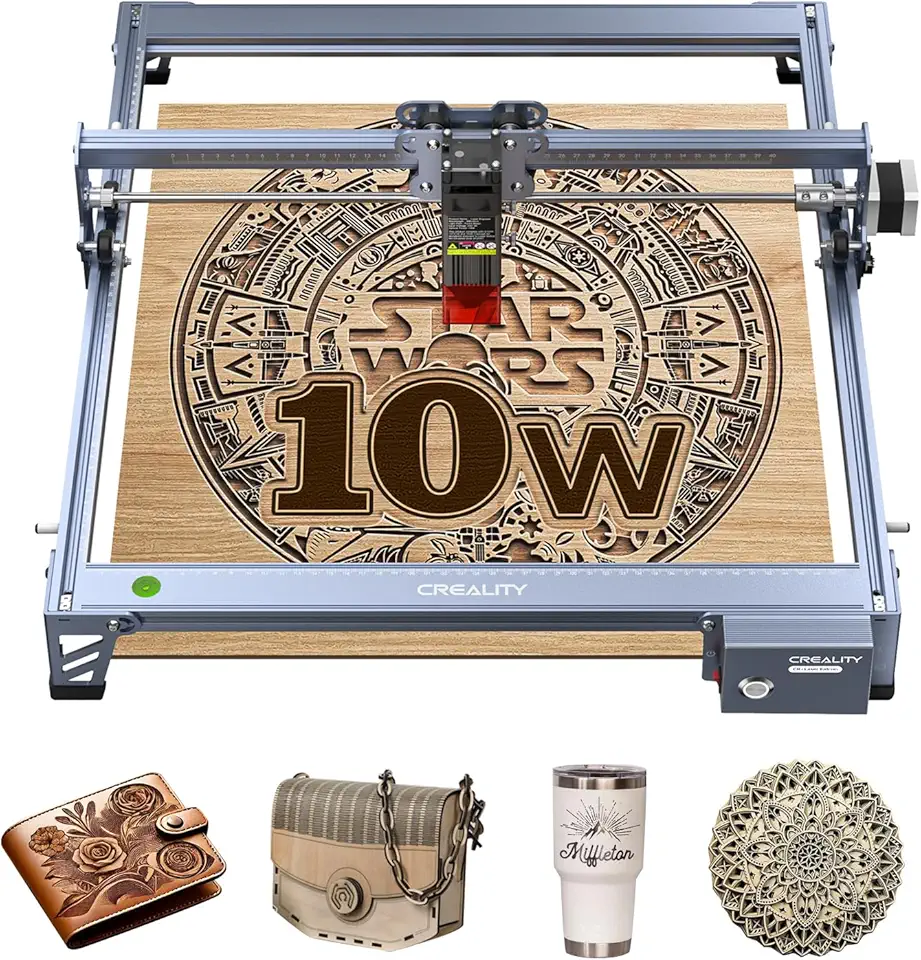
Creality 10W Large Format Laser
- 10W effective output for powerful cutting and deep engraving
- 17 inch by 16 inch large working area for big projects and signage
- 0.06mm high precision for detailed engraving work
- Stable high power supply ensures consistent performance
- Works on wood metal paper acrylic glass and leather for flexible applications
High-power 10W+ and CO2
10W+ diodes are great when you need deeper marks or faster cycle times on common woods, but they still dislike thick hardwood and glue-heavy panels unless you run air assist and multiple passes. If your business depends on cutting 12–20mm stock daily, that’s where a CO2 setup begins to pay off in edge quality and time saved.
Here are higher-power options to compare based on speed, bed size, and portability.

ACMER 7000mW Pro Engraver
- 7000mW high power for fast professional cutting and engraving
- 0.01mm precision for ultra fine detail and crisp edges
- 300x300mm large working area for bigger projects
- Up to 10000mm per minute speed for efficient production
- Robust build ideal for DIY makers education and small workshops
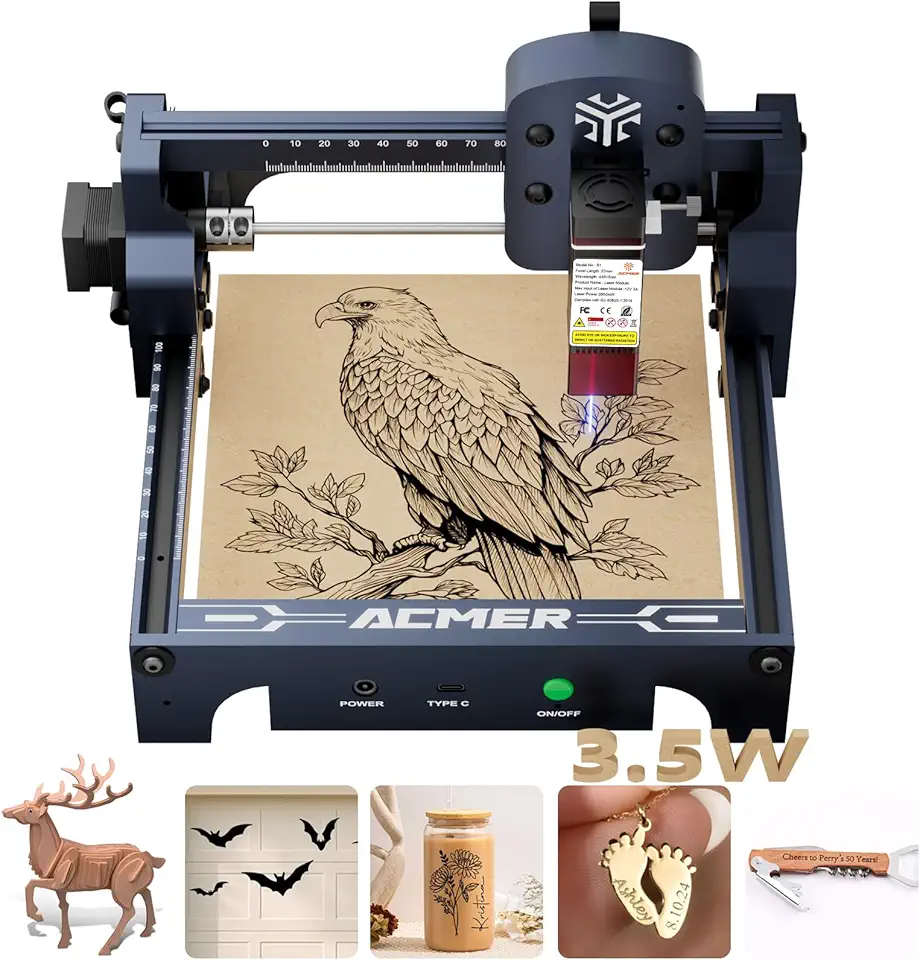
ACMER S1 3500mW Compact Engraver
- 3500mW laser balanced for everyday engraving and light cutting
- 130x130mm compact bed ideal for small projects and gifts
- 0.04mm laser spot delivers fine detail and sharp text
- Works with wood acrylic metal and glass for versatile crafting
- Safety certified with user friendly setup for beginners

T1 3000mW Foldable Engraver
- 3000mW laser for reliable cutting and engraving
- Foldable compact frame for easy storage and transport
- 200x150mm working area for small to medium projects
- Simple DIY controls for beginners and hobbyists
- Compatible with wood acrylic and coated metal for versatile use
Best wood for laser engraving
The best wood for laser engraving has fine grain, low resin, and a predictable surface so your lines don’t “bleed” into soft pores. Picking the right board can save more time than upgrading wattage, because clean engraving reduces sanding and rescues small text from turning fuzzy.
Best softwoods
Basswood engraves fast, smells mild, and gives clean contrast without sticky soot, which is why I use it for ornaments and small prototypes. If you want a deeper read on basswood’s grain and workability, see our basswood guide.
Alder is another go-to because it behaves consistently across a panel, so filled areas don’t show weird zebra banding. Resin-heavy boards (common construction softwoods) can spit dark sap bubbles that harden into glossy bumps you can feel under your fingertip after engraving.
Best hardwoods
Maple holds detail well and stays sharp at small font sizes, which is great for kitchen labels or engraved rulers. If you’re choosing between species, our maple wood breakdown helps you estimate burn behavior based on density.
Walnut gives a premium look, but contrast can be trickier because the base color is already dark, so shallow engraving can disappear under finish. This is where deeper engraving or masking (to keep soot off the surface) makes a visible difference; you can compare grain and density notes in our walnut wood guide.
Plywood and MDF
Cabinet-grade plywood can engrave and cut cleanly if the core is consistent, but glue layers raise smoke and can leave darker stripes on the cut edge. If your plywood “cuts fine on one corner and fails on the other,” that’s usually core gaps or uneven glue, not your settings—our cabinet-grade plywood article helps you spot better sheets.
MDF engraves evenly and makes bold dark marks, yet it creates very fine brown dust and strong odor during cutting. Black MDF can look amazing for signage, but the surface can show fingerprints and smudges after handling; see our black MDF guide for finishing and cleanup notes.
Woods to avoid
Avoid high-resin softwoods for detail work unless you have strong air assist and you’re fine with extra cleanup. Also skip unknown “mystery boards” that may have oil, wax, or outdoor treatments—those can flare, stink, and leave a sticky residue that clogs honeycomb beds.
Wood species, resin content, and grain uniformity often change engraving quality more than small wattage differences.
Thunder Laser wood selection guidance
Wood engraving settings and tips
Settings are where most new users lose quality: they run too hot, too slow, and then sand away detail to hide scorch. I treat wood engraving like repeatable cooking—make a small test grid per species and thickness, then reuse it so you’re not guessing every time.
Power and speed
Power and speed trade off directly: higher speed with moderate power usually gives cleaner edges than low speed with high power. For light woods, I often raise speed and use two passes to get a dark mark without that toasted halo that feels rough when you rub across the grain.
If your engraving looks “ashy,” you’re overheating the top fibers and re-depositing soot. The fix is simple: increase speed, add air assist, and reduce line interval slightly to build tone with density rather than heat.
Frequency and passes
Multiple passes beat one aggressive pass for detail because wood chars in layers; a hot single pass can blow out tiny features. If your machine exposes frequency, higher frequency can help produce a more consistent burn on fine-grain woods, but you still need to watch for dark edge buildup on plywood glue lines.
A common mistake is changing three things at once and never learning what caused the improvement. Change one variable per test (speed, then power, then passes), label the offcut, and keep it near the machine as a physical reference.
Air assist and scorch
Air assist does two jobs: it pushes smoke away so the beam stays effective, and it cools the cut so edges don’t turn into a sticky black crust. On pine and glue-heavy plywood, air assist can be the difference between a cut edge that wipes clean and one that smears soot across your finish.
Watch an underrated risk: too much air can lift thin parts or flutter a masking sheet, which causes a “double image” ghosting effect. A pro workaround is low-tack tape on corners or a simple fixture frame so airflow doesn’t move the work.
Focus and rotary
Focus is the fastest “free upgrade” you can make: a slightly out-of-focus beam widens the line and lowers power density, which makes text look fuzzy. If your wood is cupped, clamp it flat or adjust focus in the center and lower power a touch so the edges don’t over-burn.
A rotary attachment adds profit options like tumblers and rolling pins, but it exposes setup errors fast: if the part wobbles, your engraving depth pulses around the circumference. The fix is to support long items with a tailstock or simple roller stand and run a low-power outline test before committing.
For more on how material structure affects engraving depth, our guide to wood density helps you predict why one species darkens quickly while another barely marks at the same settings.
Best laser engraver for wood picks
The best laser engraver for wood depends on whether you value fine detail, large panels, portability, or faster cutting. I group picks by how they behave on real wood: stability for crisp text, bed size for batching, and features that reduce setup time like offline control.
Budget compact engravers
Compact units work well for gifts and small product tags, and they’re easier to enclose for smoke control. If you’re working on a desk, compact also means your workholding stays consistent—less time chasing square and more time dialing in settings.
These budget-friendly compact options are worth a look for wood engraving.
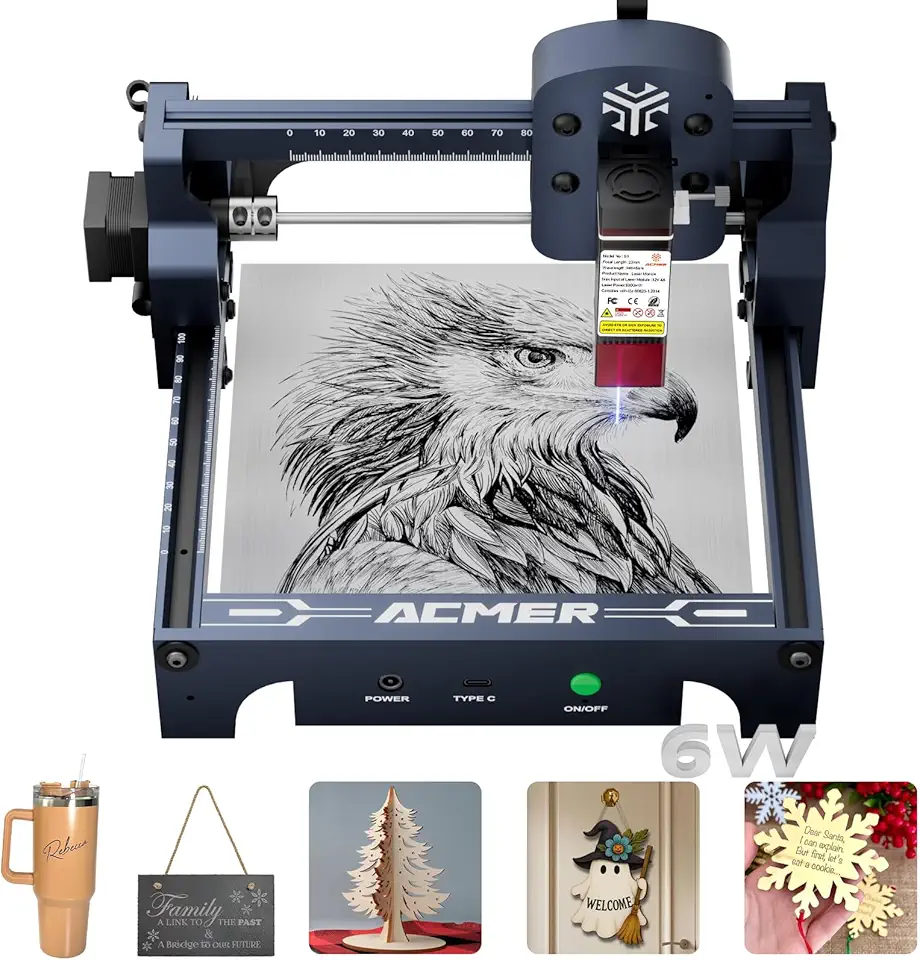
ACMER S1 6000mW Precision Engraver
- 6000mW laser for fast cutting and engraving
- 130x130mm working area fits small projects and parts
- 0.04mm laser spot for fine detail and crisp lines
- Compatible with wood acrylic metal and glass for versatile use
- Compact desktop design with safety certification for home and workshop

LONGER Ray5 5W Touch Laser
- 5W laser power for deeper cuts and faster engraving
- 400x400mm working area handles larger projects and panels
- Built-in 3.5 inch touch screen for easy local control
- Offline operation supports SD card and USB for on the go use
- 0.08mm laser spot for fine detail on wood acrylic and metal

Carverall K15 Pro 10W Portable Engraver
- 10W output for fast precise cutting and deeper engraving
- 7.9 inch by 11.8 inch near A4 working area for medium sized projects
- Portable DIY design ideal for hobbyists and makers
- Offline support for standalone engraving without a PC
- Suitable for wood metal acrylic and stone with Class 1 safety features
Large work area picks
Large beds pay off when you batch nameplates, run jigged coaster sets, or engrave tray-sized boards without tiling. The trade-off is space and smoke management: bigger beds produce more smoke volume, so weak airflow leaves that brown haze on your finish that feels like fine grit when you wipe it.
- Pick a bed size that matches your top-selling product width so you don’t tile designs.
- Use a simple corner jig so you can reload blanks without re-focusing every time.
- Add honeycomb or standoffs to reduce back-burn marks on the underside.
- Plan exhaust early; poor extraction ruins light woods faster than bad settings.
Portable and foldable picks
Portable lasers make sense for craft fairs, classrooms, and small apartments where you need to pack away the machine. The limitation is rigidity: if the frame flexes or the table surface isn’t flat, you’ll see it in filled engravings as faint banding or soft corners.
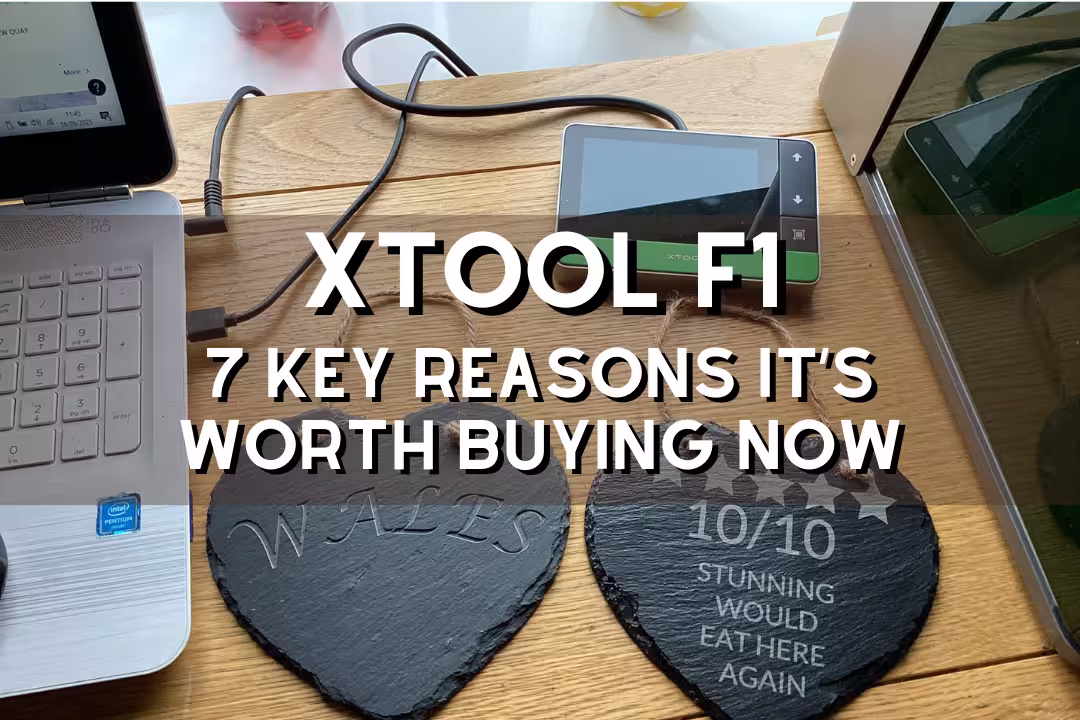
If you want a travel-friendly option for mixed materials, it’s worth comparing a compact diode to a specialized portable unit like the one covered in our xTool F1 review, then choosing based on your wood-only needs versus multi-material marking.
Ultra-precision picks
Ultra-fine detail depends on a small spot, stable motion, and consistent focus across the work. This category is where you can engrave tiny QR codes, delicate line art, and small fonts on tight-grain woods without the edges turning fuzzy.
The big pitfall is overprocessing: ultra-precision systems can still burn a halo if you try to force “darkness” in one pass. The clean workaround is to use tighter line spacing with lower power, then seal with a light clear coat so the contrast pops without sanding off the detail.
Practical Notes From Real-World Use
Smoke staining is the #1 surprise: your engraving can look perfect when the lid opens, then you wipe it and the surrounding area turns gray because soot sat on warm grain. I fix this by masking light woods, improving exhaust, and cleaning with a barely damp cloth followed by quick drying so the grain doesn’t raise.
Warped boards cause uneven focus, which shows up as sections that look crisp next to sections that look soft and shallow. A simple fixture board, painter’s tape tabs, or gentle clamps flatten thin stock; for thicker stock, I reduce depth expectations and keep the job centered where focus is most accurate.
Plywood gaps waste time: you’ll dial in a perfect cut, then one corner won’t release because the core glue and void pattern changed. My workaround is to buy better sheet goods (like Baltic-birch style panels), run a faster first pass to “skin” the surface, then a slower second pass to finish—this reduces edge char while still breaking through inconsistent layers.
Overheating modules happens during long, high-fill engravings where the laser runs near max output for minutes. If I see the mark fading mid-job or detail softening, I pause for cooling, lower power 5–10%, raise speed, and add an extra pass; this keeps output stable and often looks cleaner than forcing a single pass.
Fire drift is real on oily or dusty surfaces: a tiny ember can ride the airflow and catch in a corner. Keep the bed clean, don’t engrave finished/oiled boards until you’ve tested, and stay in the room—wood engraving is one of those tools that punishes unattended operation quickly; 1laser.com’s laser engraving wood overview also highlights practical operating considerations.
FAQs
Is A Diode Or CO2 Laser Engraver Better For Wood?
A CO2 laser is generally better for wood because it cuts cleaner, engraves faster, and produces smoother edges. Diode lasers are more affordable and portable, making them good for light engraving and hobby projects. Choose CO2 for thicker wood or professional finishes, and diode for budget or smaller pieces.
What Wattage Laser Engraver For Wood Do I Need To Cut Plywood?
For cutting plywood, a CO2 laser around 40–60W is a reliable starting point for single-pass cuts on common plywood thicknesses. Thinner or softer plywood can be cut with 30W using multiple passes, while dense hardwood plywood may need 80W or more. Always test settings and ensure proper ventilation and safety when cutting plywood.
What Is The Best Wood For Laser Engraving Without Burning?
Maple, cherry, and birch are among the best woods for laser engraving because they produce clear contrast with minimal burning. Hardwoods with tight, uniform grain and low resin content give the cleanest engraving; maple yields pale, detailed marks, and cherry darkens nicely. Always test a scrap piece and adjust power and speed to reduce burn and get the desired contrast.
Why Does Pine Char So Much When Laser Engraving?
Pine chars more because it contains higher resin and sap, which burns unevenly and creates darker scorch marks. The open grain and volatile resins ignite and trap heat, causing heavy charring and inconsistent color. Reduce power, increase speed, use masking or post-cleaning, or choose a less resinous wood for cleaner results.
What Are Good Starting Settings For Engraving Wood With A Diode Laser?
A good starting point for engraving wood with a diode laser is 200–500 mm/s speed and 20–40% power, depending on your laser’s wattage. Lower-wattage diodes (2–5W) often need slower speeds and multiple passes, while higher-watt (5–10W) units can use higher speeds and lower power. Always test on scrap, use 300–600 DPI for clear detail, and adjust to reduce charring.