

Baseboards are trim pieces fitted where walls meet floors to hide gaps, protect wall surfaces, and create a finished transition. The best baseboard depends on room moisture, traffic, ceiling height, trim style, desired finish, installation method, and total project cost.
Table of Contents
What Baseboards Are and Do
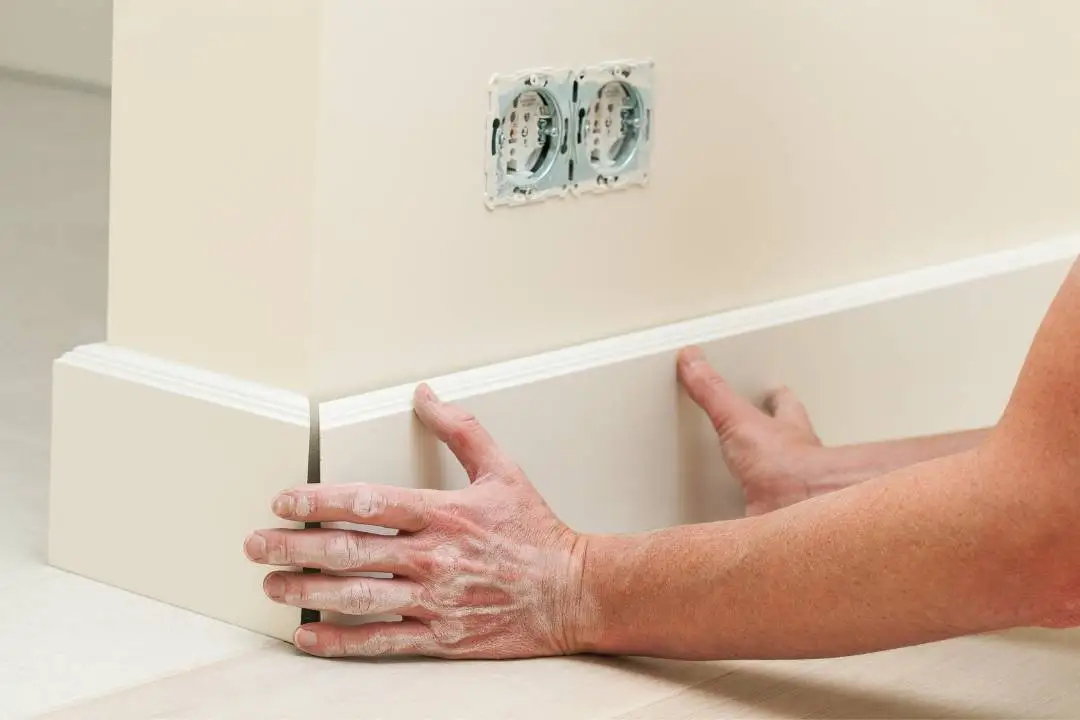
A baseboard, also called base molding, skirting board, floor molding, or baseboard trim, covers the wall-to-floor joint. It protects drywall and plaster from shoes, vacuum heads, furniture, carts, and damp cleaning tools, but it doesn’t provide structural support.
Baseboard Purpose and Wall Base
The main baseboard purpose is practical: hide drywall cuts, flooring expansion spaces, and small variations along the bottom of a wall. It also creates a visual line connecting floors, door casings, window trim, and built-in woodwork.
Wall base often means flexible rubber, vinyl, or thermoplastic trim rather than milled wood or MDF. Cove base has a small toe extending across the floor edge, while toeless wall base ends vertically. Commercial corridors, utility rooms, clinics, and rental units often use these flexible products because they resist scuffs and clean easily.
Rigid baseboard molding and flexible wall base aren’t direct substitutes. A painted living room with detailed door trim usually calls for wood, MDF, or PVC molding; a busy utility corridor may perform better with rubber cove base.
Shoe Molding, Quarter-Round, and Door Casing
Shoe molding is a narrow strip attached near the bottom of a baseboard to cover flooring-edge gaps. Its profile is slimmer and less prominent than quarter-round, so it bends more easily against an uneven floor.
Quarter-round has a true quarter-circle profile. It can cover a larger gap, but its heavier shape projects farther into the room and may look bulky beside thin, modern baseboards. Fasten either molding to the baseboard or wall rather than a floating floor, which needs space to move.
Door casing surrounds doors and windows, while baseboards run along the floor. Their profiles don’t need to match exactly, but the color, thickness, and architectural character should relate. A thick baseboard that sticks past narrow casing needs a plinth block or a deliberate beveled transition.
Chair rails and wainscoting also affect baseboard scale. Rooms with substantial wall paneling or prominent chair rail ideas tend to look more balanced with deeper base and trim rather than a thin builder-grade profile.
Popular Baseboard Styles and Sizes
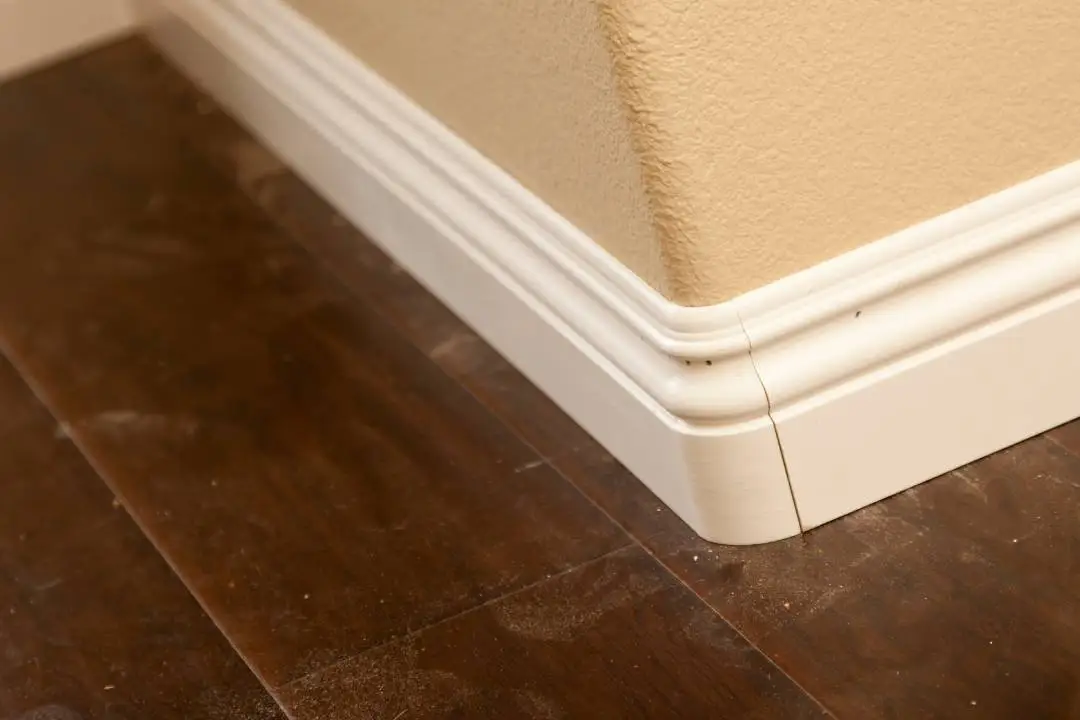
The most popular baseboard style is a simple painted profile with a flat face and eased, rounded, or beveled top. Residential heights commonly range from 3.25 to 5.25 inches, while taller rooms often suit profiles from 5.5 to 8 inches or more.
Popular Styles, Eased Edges, and Flat Boards
An eased-edge baseboard has a lightly rounded upper corner rather than a sharp square edge. The subtle curve feels smooth under a fingertip, sheds dust better than a deeply carved profile, and fits contemporary, transitional, and casual interiors.
A simple board uses square or eased S4S stock with little ornament. Flat boards work well in Craftsman, farmhouse, Scandinavian, and modern rooms. Before using ordinary lumber, check its moisture level, straightness, surface finish, and actual dimensions; trim-grade S4S lumber usually needs less milling than construction stock.
Traditional colonial and ogee profiles use curves, steps, or beads. They complement raised-panel doors, crown molding, and formal millwork, but the small grooves catch gray dust along baseboards and take longer to paint cleanly.
- Flat or square: clean geometry, easy cleaning, simple joints.
- Eased edge: soft upper corner without ornate detailing.
- Beveled: angled top that adds a crisp shadow line.
- Colonial or ogee: curved profile for traditional interiors.
- Craftsman: wide, flat stock paired with substantial casing.
- Built-up base: two or more moldings used in formal or historic rooms.
Standard Height, Proportion, and Actual Dimensions
Baseboard height should relate to the ceiling, casing, furniture, and room scale. A 5 1/4 baseboard often works with eight- or nine-foot ceilings, but it can dominate a tiny room with narrow two-inch casing.
| Ceiling height | Practical starting range | Common visual effect |
|---|---|---|
| 8 feet | 3.25–5.25 inches | Balanced in most standard rooms |
| 9 feet | 4.25–6 inches | More substantial without feeling oversized |
| 10 feet or higher | 5.25–8 inches or taller | Fits larger walls and formal trim packages |
These are design ranges, not universal code rules. Tape a sample to the wall and view it from the doorway. A profile that looks modest in your hand can form a strong horizontal band once it runs around an entire room.
Common baseboard thicknesses fall near 1/2 to 3/4 inch. Compare thickness with the door casing before ordering. If the base projects beyond the casing, use a plinth block, reduce the base thickness, or create a clean return rather than leaving an awkward exposed edge.
Nominal dimensions aren’t always actual dimensions. A product listed as six inches may measure 5 1/2 inches, much like common lumber sizing. Verify every profile with its specification sheet or a tape measure; the distinction is covered further in this guide to lumber dimensions.
Best Baseboard Materials by Room
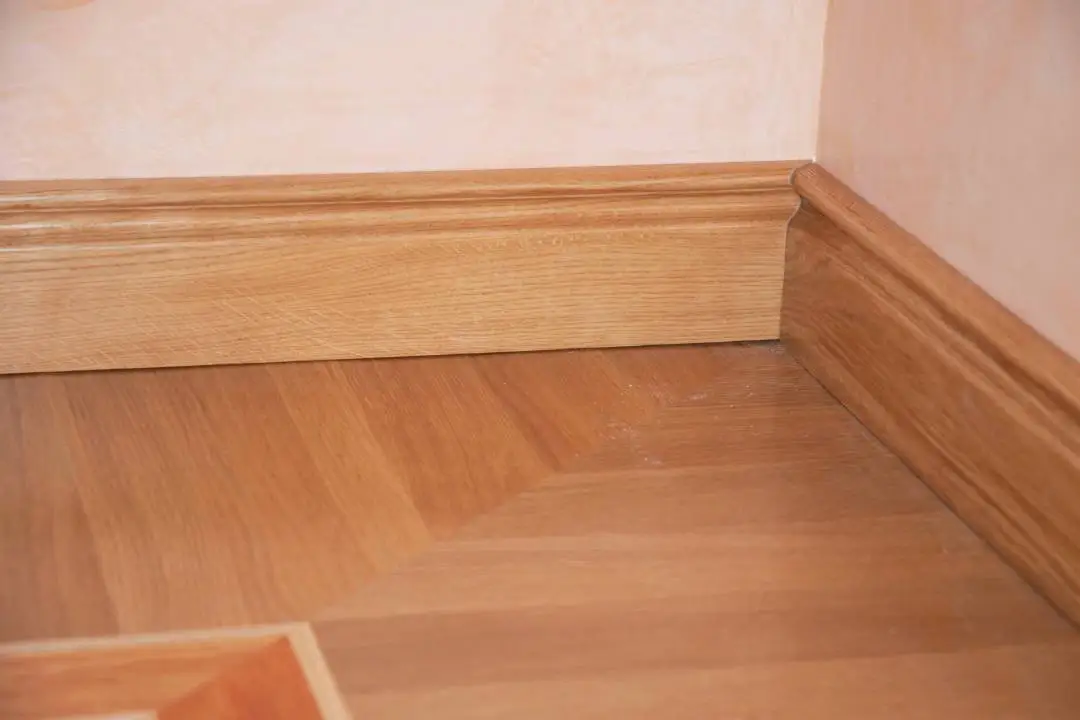
The best baseboard is MDF for economical painted trim in dry rooms, wood for impact resistance or staining, and PVC or moisture-rated wall base near frequent water. Room conditions matter more than finding one material for the whole building.
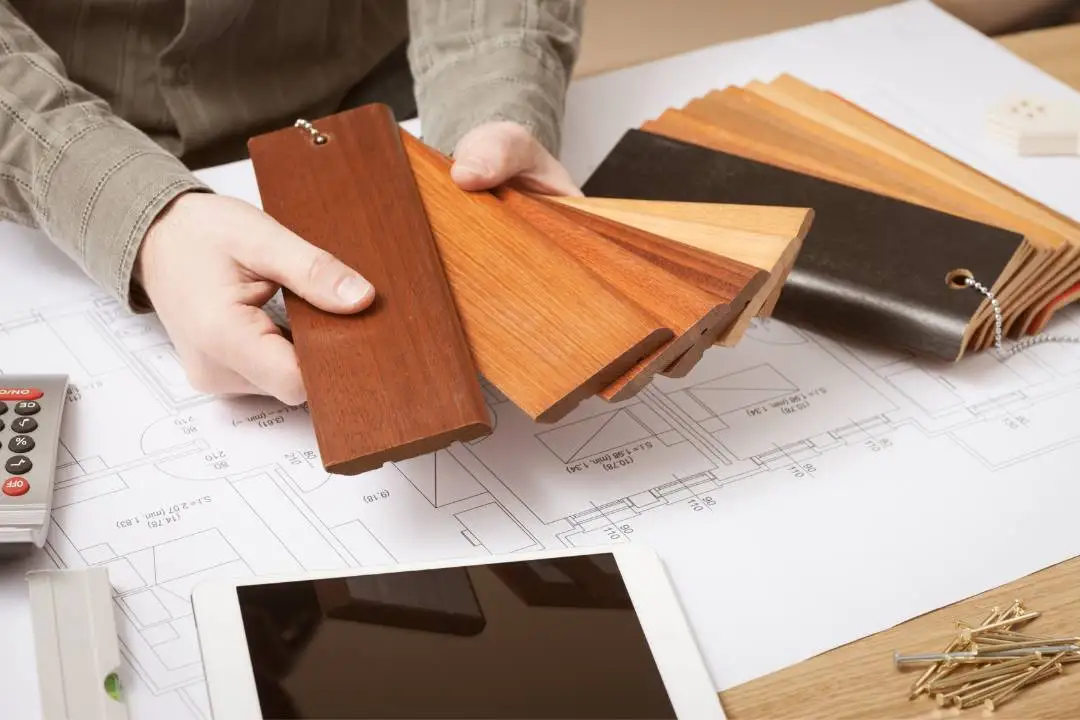
MDF, Wood, Pine, Poplar, and Hardwood
MDF baseboards have smooth faces, consistent profiles, and no knots. They paint well and often cost less than stain-grade wood. The edges feel dense and slightly fuzzy after cutting, so freshly cut ends need light sanding and primer for a crisp finish.
Standard MDF can swell after repeated contact with mop water, leaks, or bathroom splashes. Once the lower edge balloons and turns fibrous, sanding rarely restores a straight profile. Use it in dry bedrooms, living rooms, offices, and upper-floor hallways rather than flood-prone basements.
Cutting MDF produces very fine dust that settles on skin, tools, and nearby shelves like flour. Use saw extraction, ventilation, eye protection, and suitable respiratory protection. Composite trim should also meet the EPA’s TSCA Title VI standards.
A detailed comparison of MDF trim explains why sealed surfaces perform much better than exposed cut ends. Moisture-resistant labeling still doesn’t make fiberboard waterproof.
Finger-jointed pine accepts nails and repairs more easily than MDF. It suits painted trim, though shallow finger-joint lines may appear beneath thin paint. Sand raised primer, fill dents, and apply two finish coats rather than expecting factory primer to serve as the final surface.
Clear pine machines easily but dents under sharp impacts. Poplar has a smooth, close grain and makes excellent paint-grade molding. Learn how poplar wood behaves before choosing it for built-up trim or custom-cut profiles.
Stain-grade hardwood such as oak, maple, cherry, or walnut suits rooms where natural grain connects with flooring or cabinetry. Hardwood costs more, and boards can vary in tone. Test stain and clear finish on offcuts because filler, end grain, and glue residue absorb color differently.
| Material | Best use | Main limitation |
|---|---|---|
| MDF | Painted trim in dry rooms | Swells after prolonged water exposure |
| Finger-jointed pine | Repairable paint-grade trim | Joints may show through weak preparation |
| Poplar | Premium painted profiles | Costs more than basic MDF |
| Hardwood | Stained architectural trim | Higher cost and natural color variation |
| PVC or composite | Bathrooms, laundry rooms, basements | Expansion and paint compatibility vary |
| Rubber or vinyl wall base | Utility and high-traffic spaces | Doesn’t resemble traditional millwork |
Wet Rooms, Basements, High-Traffic Areas, and Curves
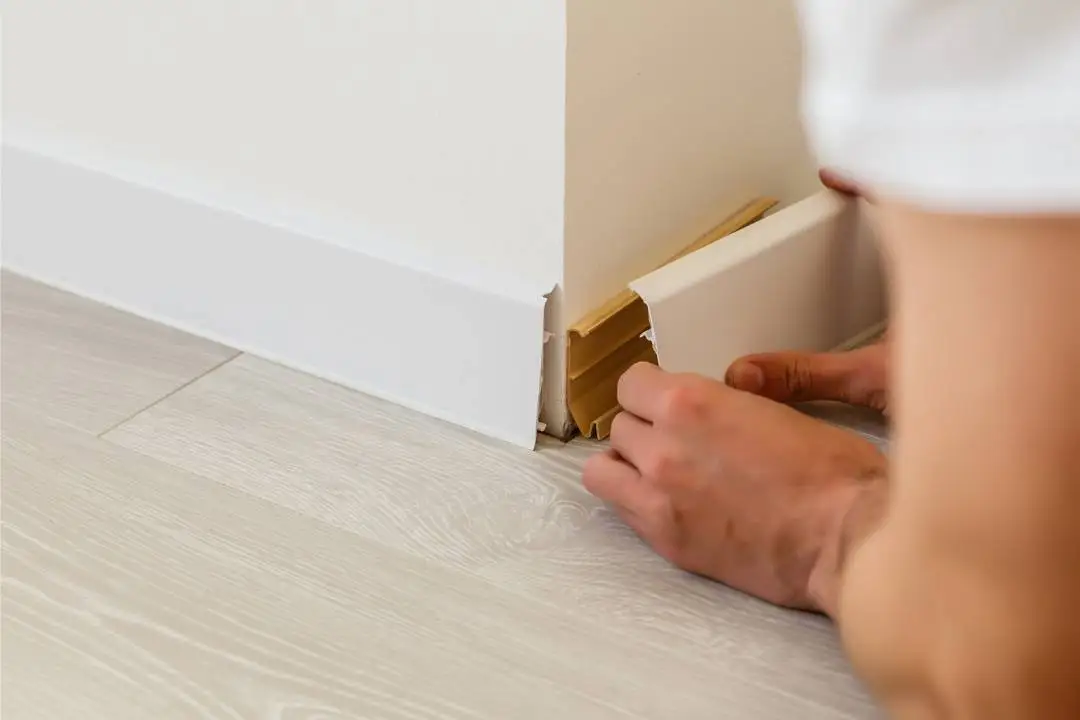
PVC baseboards resist water absorption and rot, making them practical beside bathroom floors, laundry appliances, mudroom tile, and damp basement slabs. PVC still moves with temperature changes, so follow the product’s fastening, joint-gap, adhesive, filler, and paint directions.
Kitchens and bathrooms also accept sealed wood, composite trim, tile base, or moisture-rated vinyl. Don’t trap water behind a fully sealed lower edge. Fix active leaks and wet drywall before covering the joint with trim.
In basements, check for slab moisture, condensation, staining, mold, and past flooding. PVC, composite, rubber, and vinyl tolerate incidental dampness better than MDF, but no baseboard can correct a foundation leak or chronically wet wall.
Hardwood, PVC, high-impact composite, and rubber wall base suit hallways where vacuum wheels, bags, shoes, and carts repeatedly strike the wall. Darker rubber hides black scuffs, while glossy white paint makes each impact easier to see.
Curved walls need flexible polyurethane molding, vinyl wall base, rubber base, or a segmented custom assembly. Check the minimum bend radius before buying. A product that bends around a broad bay may kink around a tight column, especially when cold.
Flexible and Specialty Baseboards
Flexible baseboards fit curved walls, utility spaces, quick repairs, rental updates, and surfaces where rigid boards are difficult to join. They aren’t a universal replacement for stained wood or architectural molding because thin material can reveal bumps, texture, and wall damage beneath it.
When Flexible Trim Fits
Choose flexible trim for long utility-room runs, gentle curves, garage walls, cabinets, rental-safe updates where permitted, and commercial-style interiors. Avoid it on damp, chalky, dusty, heavily textured, peeling, or unstable surfaces.
Flexible polyurethane molding differs from soft wall base. It can reproduce a traditional architectural profile around curved walls or columns and often requires adhesive plus mechanical fasteners. Confirm bend radius, paint compatibility, indoor rating, and acclimation instructions.
Peel-and-Stick, Cove Base, and Cable-Management Options
The Duzzy product is a four-inch flexible base supplied in a 20-foot roll. It suits clean, simple runs where a soft cove-style finish is acceptable. Dry-fit the roll first so it can relax from its coiled shape before the release liner comes off.

Duzzy Flexible Peel and Stick Baseboard
- Flexible rubber molding conforms to walls
- Four-inch height creates clean wall coverage
- Twenty-foot roll suits larger repair projects
- Self-adhesive backing simplifies installation
- Vinyl cove base offers a finished edge
 Buy on Amazon
A vinyl baseboard with a built-in toe covers the wall joint and turns slightly across the floor. Forming corners is the difficult part: learn whether the manufacturer calls for notching, wrapping, heat, or preformed corner pieces before removing the backing.

Flexible Vinyl Baseboard with Toe
- Flexible vinyl design follows wall contours
- Built-in toe provides a neat floor transition
- Stick-on installation avoids complicated fitting
- Sixteen point four foot length covers long runs
- Suitable for wall base trim updates
Buy on Amazon
White peel-and-stick PVC can work around garage walls, bathroom cabinets, utility areas, and simple floor edges. The words peel and stick don’t remove the need for preparation: adhesive bonds poorly to dust, grease, uncured paint, loose wallpaper, or damp plaster.

White PVC Peel and Stick Baseboard
- Flexible PVC molding fits walls and floor edges
- Four-inch height provides broad coverage
- Twenty-foot roll works for rooms and repairs
- Self-adhesive backing supports fast application
- Suitable for garages bathrooms cabinets and walls
Buy on Amazon
An LED duct baseboard combines trim with a low-voltage cable channel. Plan power supplies, corners, heat release, access panels, and future cable replacement before fastening sections. Don’t place line-voltage conductors inside a channel that lacks the required electrical listing.

LED Duct Baseboard Molding Set
- Integrated duct keeps LED lighting neatly routed
- Eight-piece set supports multi-section installations
- White finish offers a clean modern appearance
- Forty-seven point two inch pieces simplify planning
- Baseboard profile combines trim and cable management
Buy on Amazon
For substrate compatibility, clean a test area and attach a short offcut for the manufacturer’s recommended waiting period. Press it with a hand roller rather than fingertips. If paint transfers to the adhesive, the coating—not the baseboard—is failing.
Measuring and Buying Baseboards
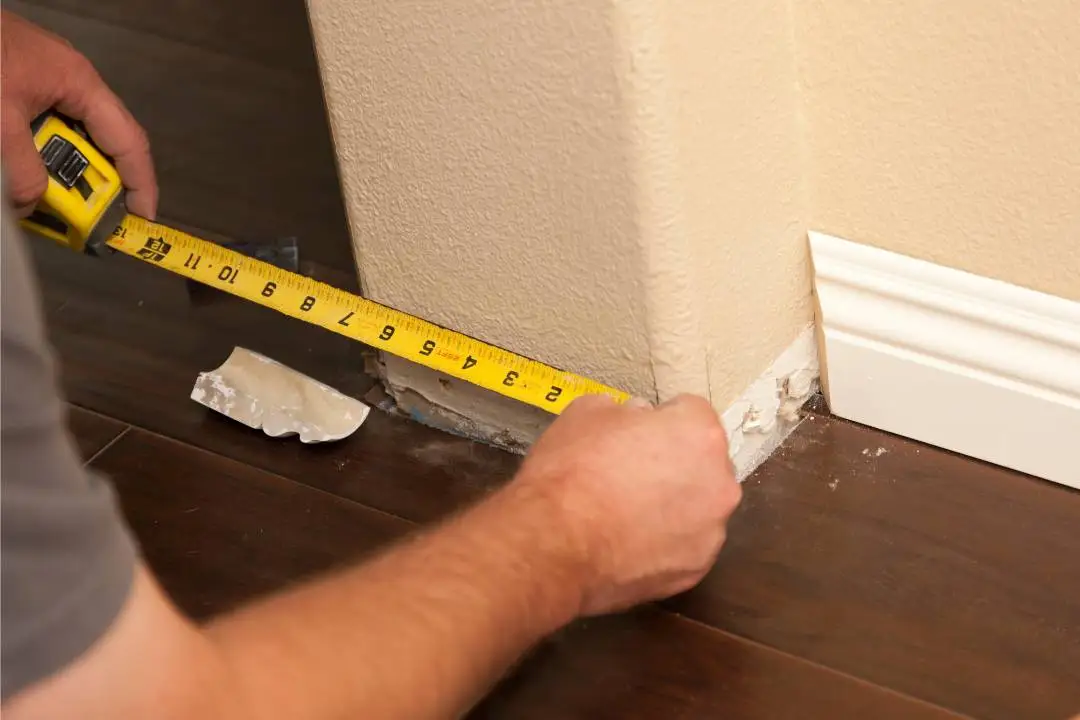
To calculate how much baseboard you need, add every wall run, subtract openings without trim, and add 10% waste for a simple room or at least 15% for many corners, damaged walls, or inexperienced cutting.
Measure Linear Feet and Use a Waste Allowance
The formula is required linear feet = total wall length − excluded openings + waste allowance. Measure each run separately rather than relying only on room dimensions; closets, alcoves, chimney breasts, and door returns can add surprising length.
A 12-by-14-foot room has a 52-foot perimeter: 12 + 14 + 12 + 14. Subtract one three-foot doorway to reach 49 feet, then multiply by 1.10 for 10% waste. The result is 53.9 feet, so buy at least 54 linear feet while accounting for stock lengths.
| Measurement worksheet | Example entry |
|---|---|
| Total measured wall runs | 52 feet |
| Openings without baseboard | −3 feet |
| Net installed length | 49 feet |
| Waste percentage | 10% |
| Purchase quantity | 53.9 feet, rounded up by stock length |
A useful baseboard calculator also records the length of every individual wall. Sixty total feet could require four 16-foot boards or a larger number of eight-foot pieces, yet the shorter option may leave visible joints in the longest walls.
Plan Stock Lengths and Inspect Before Buying
Assign a stock board to each wall before cutting. Reserve the straightest, longest pieces for prominent runs and place scarf joints behind furniture or away from the main doorway. Short offcuts can cover closet walls and spaces beside casing.
- Look along each board for bowing and twisting.
- Check profiled edges for chips and compressed corners.
- Inspect factory primer for runs, rough fibers, and bare patches.
- Compare wood grain and color before buying stain-grade molding.
- Confirm actual height, thickness, and length with a tape measure.
- Check matching corner blocks, returns, plinths, and touch-up products.
- Reject flexible rolls with crushed toes or badly distorted edges.
Pickup versus delivery depends on length and quantity. Sixteen-foot molding can flex, snap, or scrape the road when carried in a short vehicle. Delivery may cost more, but it can prevent broken boards and poor scarf-joint placement caused by buying shorter stock.
Baseboard Costs and Budgeting
Baseboard material costs often run from about $1 per linear foot for basic MDF or wall base to $15 or more for stain-grade hardwood. Installed cost also includes waste, removal, wall repair, consumables, finishing, delivery, and labor.
Price by Material and Total Project Cost
| Material | Broad planning range per linear foot | Cost driver |
|---|---|---|
| MDF | $1–$4 | Height and profile detail |
| Finger-jointed pine | $1.50–$5 | Primer quality and length |
| Solid pine or poplar | $2–$7 | Grade, width, and machining |
| Stain-grade hardwood | $4–$15+ | Species, matching, and finishing |
| PVC or composite | $2–$10 | Profile and product system |
| Vinyl or rubber wall base | $1–$5 | Thickness, toe, corners, and adhesive |
| Flexible architectural molding | Often above rigid trim | Bend radius and profile detail |
These are planning figures, not store quotes. Region, species, dimensions, stock length, finish, order quantity, and availability change the final baseboard price per foot.
Calculate the material total by multiplying purchase length by price per foot. Then include adhesive or nails, caulk, filler, primer, paint, blades, delivery, disposal, repairs, and labor. Long molding may carry delivery charges that outweigh savings from a lower shelf price.
Hidden costs include damaged drywall, flooring repairs, preformed wall-base corners, furniture moving, paint-line coverage, lead-safe containment, saw rental, and contractor minimum charges. A low-priced profile can become expensive if it needs three coats or fails after repeated moisture exposure.
DIY, Professional Quotes, and Cost-Saving Strategies
DIY installation can save labor in square rooms with painted trim. Professional installation becomes more attractive with stain-grade hardwood, curved walls, uneven plaster, large built-up profiles, many outside corners, or occupied rooms requiring careful dust control.
Compare contractor quotes using the same written scope. Ask whether the price includes removal, disposal, wall repair, material delivery, coping, scarf joints, caulk, nail filling, primer, finish coats, furniture moving, and final cleanup.
- Choose stocked profiles rather than custom knife-cut molding.
- Prepaint boards, then fill, caulk, and touch up after installation.
- Use long stock on visible walls and offcuts in closets.
- Reuse sound trim only if removal won’t destroy its edges.
- Buy the correct room-rated material rather than replacing swollen trim later.
Installing Baseboards Correctly
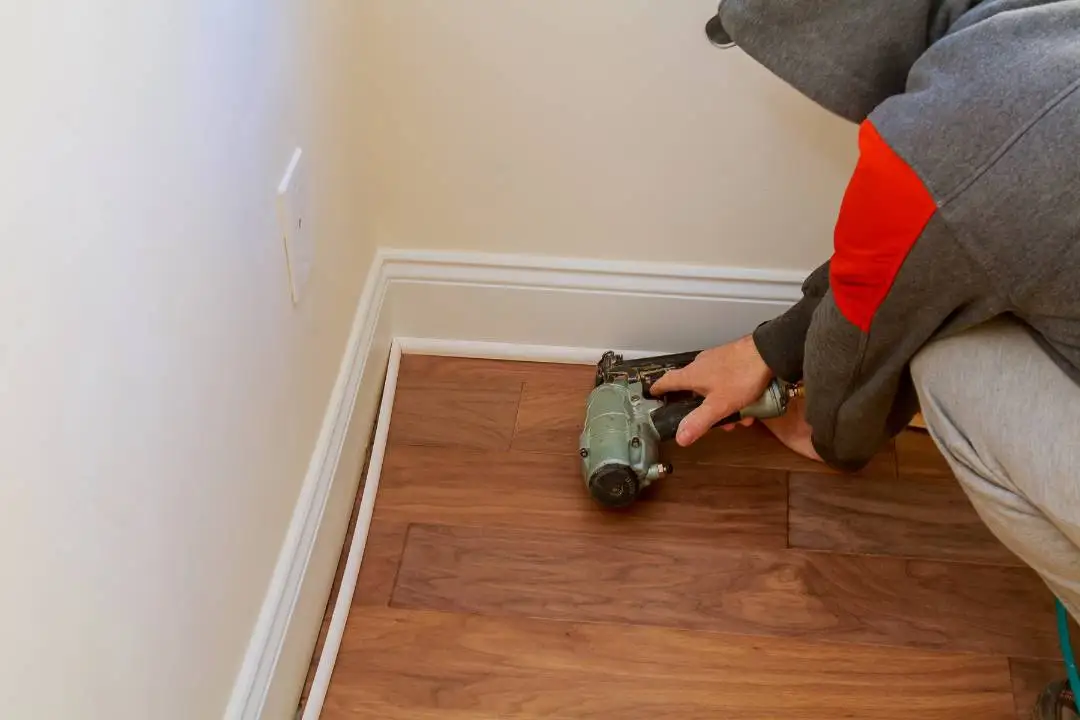
Correct baseboard installation starts with repaired walls, acclimated material, planned joints, and the proper flooring sequence. Cope imperfect inside corners, test outside miters with scraps, fasten into safe backing, and use filler and caulk only for small finish gaps.
Tools, Preparation, and Flooring Installation Order
Basic tools include a tape measure, pencil, stud finder, miter saw or miter box, coping saw, finish nailer or hammer, nail set, straightedge, caulk gun, sandpaper, filler, primer, paint, and personal protective equipment.
Remove old trim by scoring the paint and caulk seam. Place a wide putty knife behind the pry bar to spread pressure, then pry close to each fastener. Pulling from the middle of a long span often tears drywall paper or snaps reusable wood.
Hardwood, laminate, and other hard flooring commonly go down before baseboards so the trim covers the perimeter space. Never pin a floating floor against the wall. Follow the flooring maker’s expansion-gap instructions, and attach shoe molding to the baseboard rather than the floor.
Carpet installers may ask for a small gap beneath the base so carpet edges can tuck cleanly. Tile floors can use wood, PVC, tile base, or cove tile. Agree on the sequence with the flooring installer before setting baseboard height.
Corners, Joints, Fastening, Finishing, and Safety
For an inside corner, install the first board square against the wall. Miter the joining piece to reveal its profile, then remove the exposed face with a coping saw. A slightly back-cut cope closes tightly at the visible edge and tolerates out-of-square walls better than two 45-degree miters.
Outside corners that appear square often measure 88, 91, or 93 degrees. Divide the actual corner angle between the two boards and test the setting on scraps. The dry fit should close with light finger pressure; forcing it stores tension that can reopen the joint.
Join long runs with a 30- to 45-degree scarf rather than a blunt butt joint. Place the joint over a stud or solid backing and orient the overlap away from the primary viewing direction. Glue compatible wood joints where the product permits it.
Fifteen- and 16-gauge finish nailers suit many rigid profiles. Small brads may not hold thick or bowed trim. Nail into studs, plates, or suitable backing, and keep fasteners away from likely plumbing and electrical routes near outlets, fixtures, and wall penetrations.
Adhesive helps on masonry or difficult substrates, but it can complicate future removal and tear wall surfaces. Some PVC, polyurethane, rubber, and vinyl products require particular adhesives. Test compatibility rather than assuming a general construction adhesive will bond.
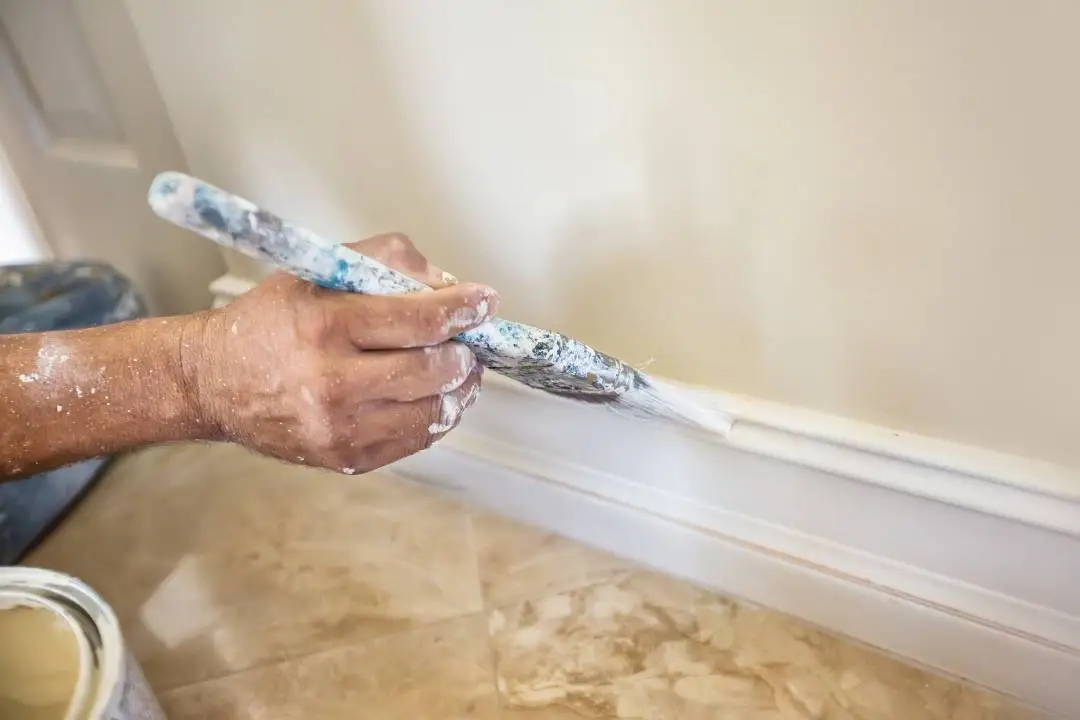
Fill nail holes with a compound matched to the material and finish. Apply a narrow bead of paintable acrylic caulk along small wall gaps, smooth it with minimal pressure, and respect its cure time. Large caulk beads look wavy and tend to crack.
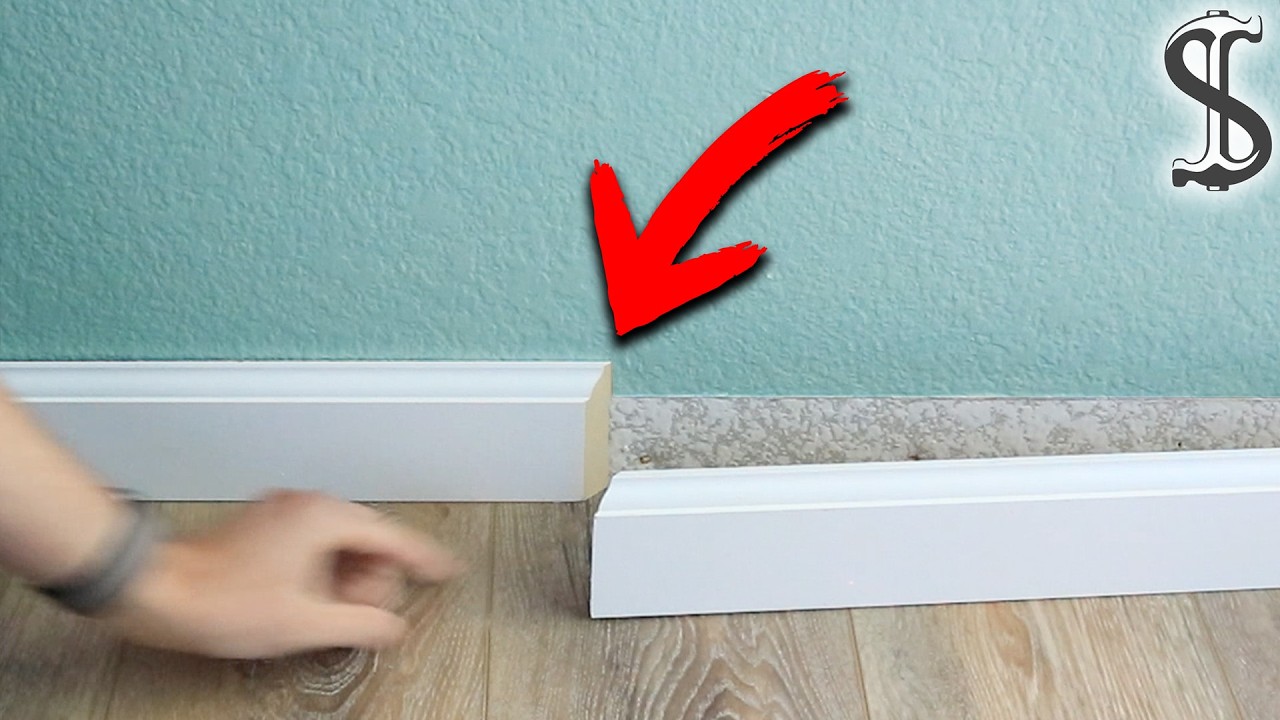
The following demonstration gives useful visual context for measuring, cutting, and fitting baseboards. Watch how each piece is tested before permanent fastening rather than treating the first saw setting as final.
Painted trim in homes built before 1978 may contain lead. Cutting, sanding, or prying it can release hazardous dust and chips. Review the EPA’s Renovation, Repair and Painting Program before disturbing suspect coatings.
Control cutting dust with extraction, ventilation, eye protection, and suitable respiratory protection. Choose compatible low-VOC coatings where indoor air quality matters, and keep cutting stations away from occupied rooms and return-air vents.
Preventing Common Baseboard Failures
Most baseboard failures come from the wrong material, poor surface preparation, inaccurate corner cuts, uncontrolled moisture, weak fastening, or oversized caulk joints. Correct the cause before patching the visible damage, or the same defect will return.
MDF Swelling, Gaps, Wavy Walls, and Lifting Base
MDF swelling signals water exposure from wet mopping, plumbing leaks, bathroom splashes, condensation, or damp slabs. Replace badly distorted sections with PVC or another suitable product after fixing the moisture source. Seal vulnerable cuts, especially near tubs, exterior doors, and appliances.
Open outside miters often result from wrong angles, warped stock, weak fastening, or seasonal wood movement. Recut severe errors; don’t pack a wide joint with caulk. For small wood joints, use compatible glue, secure the corner, and fill only the fine finish line.
Visible inside-corner gaps commonly come from joining two assumed 45-degree cuts in a corner that isn’t 90 degrees. A coped joint hides small angular errors and remains visually tighter as the wall and wood move.
Wavy trim creates alternating light and dark shadows along the top edge. Repair severe wall humps before installation, scribe rigid trim where practical, or choose flexible molding. Caulk can close a narrow irregular line, but it shouldn’t bridge major plaster defects.
Adhesive wall base lifts when installed over dust, dampness, glossy incompatible paint, loose wallpaper, or cold substrates. Excessive tension at corners also pulls material away. Follow adhesive temperature and open-time directions, then roll the full face with firm, even pressure.
Cracked caulk can indicate movement, dirty surfaces, premature painting, or a gap too wide for a normal bead. Repair large voids with wall compound or backer rod instead of building a thick ridge of caulk.
Practical Notes From Real-World Use and Final Buying Checklist
Sample pieces reveal problems that catalog photos hide. Place the profile beside the actual door casing and floor, then view it in morning and evening light. A glossy white board can show every wall wave, while a softer sheen makes minor defects less obvious.
Run your palm over primed trim before buying. A smooth face should feel consistent; gritty primer, raised fibers, compressed corners, and shallow dents become more visible after the final coat. Sight down rigid boards at eye level to catch twisting.
During dry fitting, listen for a sharp rocking sound against a hard floor. It often marks a high spot beneath the board. Scribing or relieving that point produces a cleaner top line than forcing the trim down with extra nails.
Baseboard replacement can expose torn drywall paper and old paint lines. Pick a new profile tall enough to cover minor damage, but don’t hide loose plaster or damp drywall. A thinner replacement may also uncover flooring gaps previously concealed by thick molding.
- Match the material to moisture, impacts, and cleaning methods.
- Confirm the actual height and thickness, not just the nominal label.
- Compare baseboard thickness with door casing and plinth blocks.
- Measure every wall and subtract only openings without trim.
- Add 10% waste for simple rooms or 15% and above for complex layouts.
- Map stock lengths to walls before placing the order.
- Inspect rigid molding for bows, chips, dents, and primer flaws.
- Check flexible products for adhesive and substrate compatibility.
- Include removal, repairs, delivery, finishing, and disposal in the budget.
- Respect flooring expansion gaps and hidden utility locations.
- Use PVC, composite, tile, or rated wall base where regular water exposure exists.
- Test stains, paints, adhesives, fillers, and caulks on an offcut.
A well-chosen baseboard should look proportional, survive the room’s moisture and traffic, and connect cleanly with nearby casing. Material before profile is the safest buying rule: choose what can survive the room, then select the height, style, finish, and installation system.
FAQs
What Type Of Baseboard Is Best For Each Room?
The best baseboard depends on the room’s moisture level, traffic, and style. Moisture-resistant PVC or composite works well in bathrooms, laundry rooms, and basements, while MDF suits dry, low-impact spaces. Painted wood is a durable, attractive choice for living areas, bedrooms, and hallways, especially when you want a higher-end finish.
How Tall Should Baseboards Be With An 8-Foot Ceiling?
For an 8-foot ceiling, baseboards between 3 1/2 and 5 1/4 inches tall usually look balanced. A simple 3 1/2-inch profile fits modest rooms and modern designs, while 4 1/4 to 5 1/4 inches adds more presence. Choose a taller profile when the room is large or has substantial door and window trim.
Is MDF Or Wood Better For Baseboards?
MDF is usually better for painted baseboards in dry rooms, while wood is better where extra durability or stain is needed. MDF is smooth, affordable, and easy to paint, but it can swell if exposed to moisture. Wood handles impacts and humidity better, making it a stronger option for entryways, kitchens, and custom trim work.
How Much Extra Baseboard Should I Buy?
Buy 10 percent extra baseboard for a simple rectangular room, or 15 percent extra for many corners, closets, and angled cuts. The allowance covers measuring mistakes, damaged pieces, and waste from miter cuts. For long walls, purchase lengths that minimize joints and keep one extra piece if you may need future repairs.
Do Baseboards Go In Before Or After Flooring?
Baseboards are usually installed after the finished flooring is in place. This lets the trim cover the flooring expansion gap and sit at the correct height. For carpet, installers may fit baseboards first and tuck carpet beneath them, but leaving a planned gap is important. Follow the flooring manufacturer’s requirements for floating floors.
Affiliate Disclosure: Some links in this post are affiliate links. If you make a purchase through these links, we may earn a small commission at no extra cost to you. We only recommend products we genuinely believe in.

