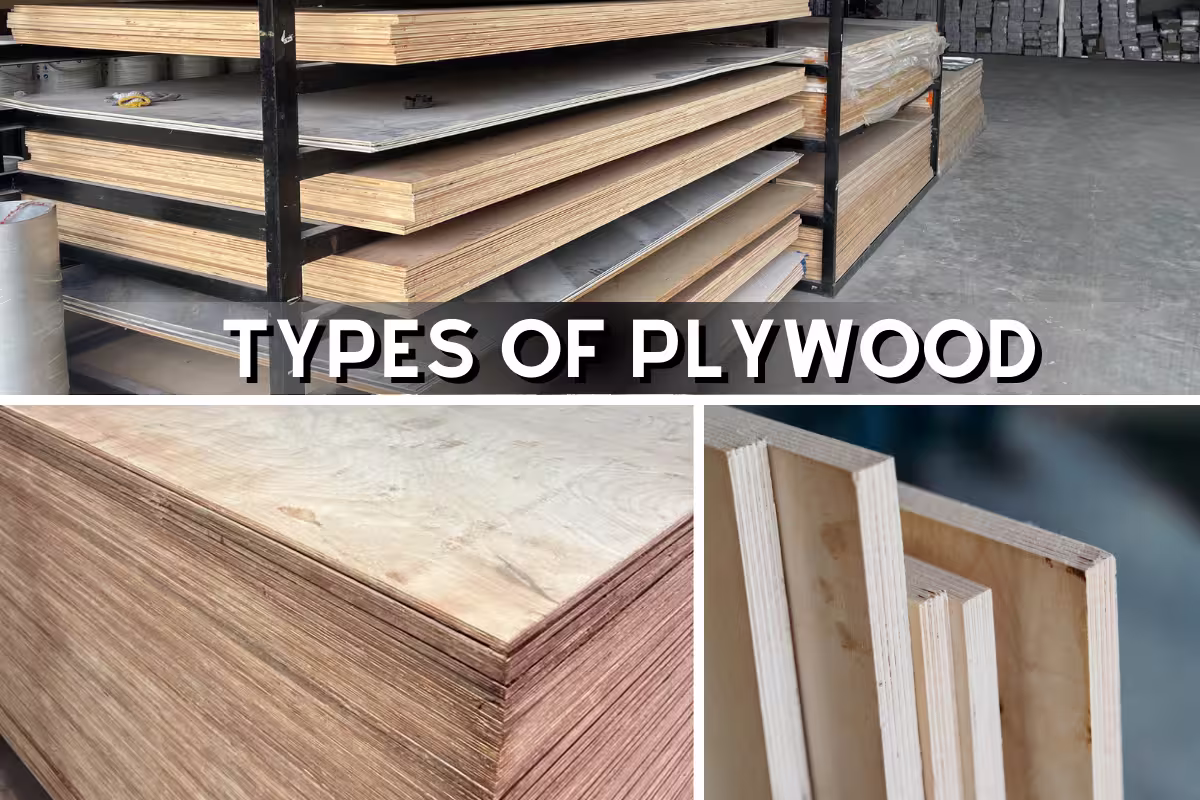
Types of Plywood: The Ultimate Guide to Sheets, Grades, and Uses
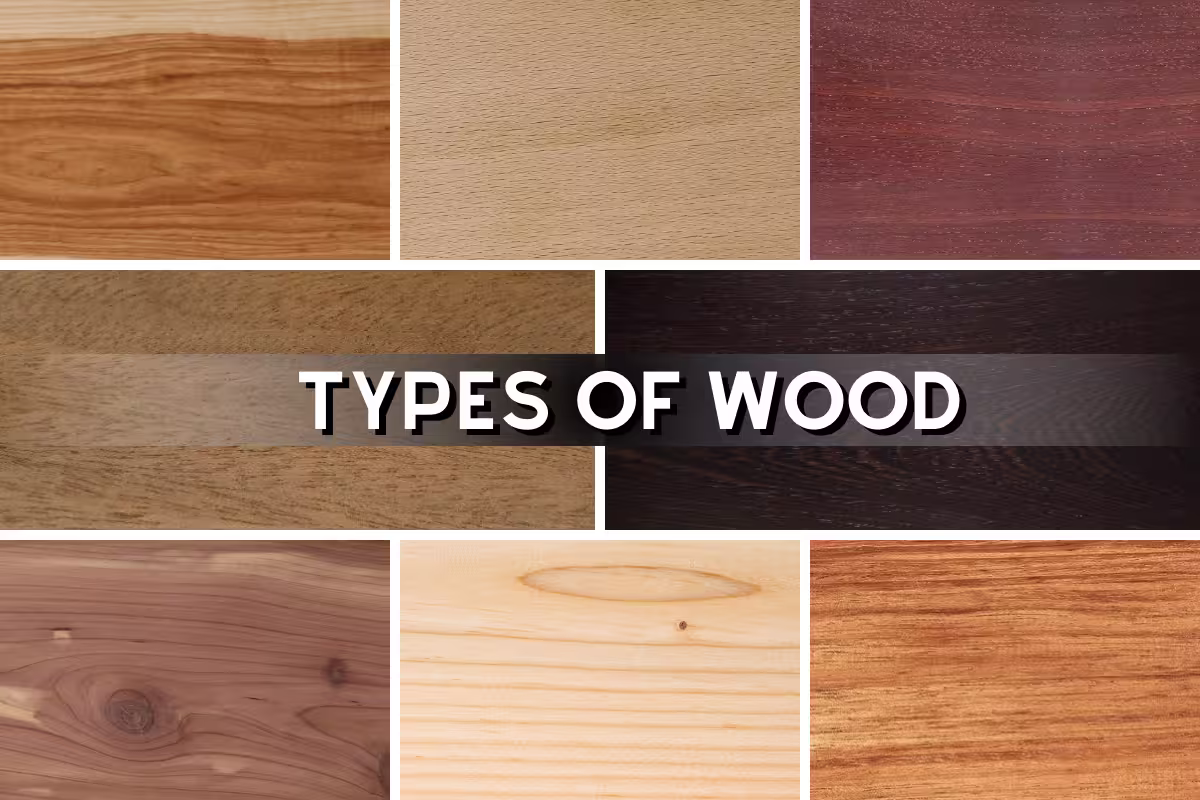
Types of plywood are categories of plywood sheets grouped by grade, wood species, core construction, ply count, and intended use (structural vs decorative, interior vs exterior). Plywood is an engineered wood panel made from thin veneers glued in alternating grain directions to increase strength and reduce warping.
Table of Contents
If you learn how grades, cores, and exposure ratings work, picking the right ply becomes a quick checklist instead of guesswork—and you’ll avoid the common “looks fine in-store, fails on-site” mistakes.
Types of plywood: quick definition
Key takeaways: Plywood types aren’t one label—they’re a stack of choices (grade, species, core, ply count, exposure). Cross-grain is the reason plywood behaves more predictably than solid wood in big sheets.
- Plywood “type” usually combines surface grade + core + exposure rating.
- Cross-grain plies reduce cupping and seasonal movement.
- Choosing the wrong type often shows up as edge swelling, fastener blowout, or visible face defects.
What plywood is
Plywood is a flat panel built from stacked wood veneers (plies) bonded into a single sheet with heat and pressure. Compared with a single wide board, plywood stays flatter because its layers fight each other’s grain movement, which is why it’s used for sheathing, cabinets, furniture, and roofs.
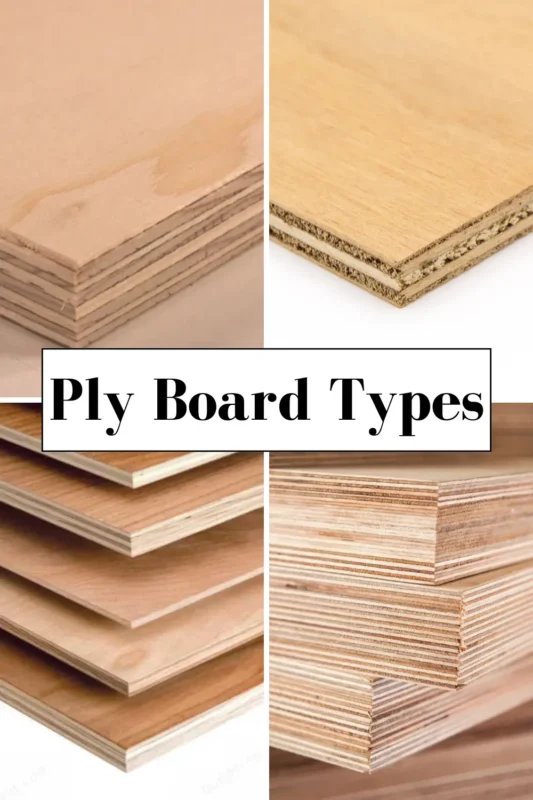
If you want a fast map of names people use online—“ply board types,” “types of plywood sheets,” and “different types of plywood”—they’re usually pointing to the same decision buckets you’ll see below: grade, wood species, core, ply count, and exposure rating.
How plywood is made
Logs are peeled into thin veneers, dried, glued, stacked with alternating grain direction, then pressed until the adhesive cures. The result is a sheet that cuts with that familiar sweet wood smell and a faint warm resin note when you hit fresh edges on a saw—sensory clues you’re cutting real veneer layers, not a fiber panel.
Most consumer-grade panels are pressed quickly for volume, so small internal voids and uneven veneer density happen in budget sheets. That’s why two panels labeled similarly can feel different in your hands: one feels dead-flat and stiff; the other feels springy with a subtle “hollow” sound when you rap it.
Why cross-grain matters
Wood expands and shrinks more across the grain than along it. Cross-grain construction alternates grain direction per layer, so movement is balanced, which reduces twist and cup over time.
Edge case: cross-grain helps, but it can’t fix a sheet stored badly. Panels left leaning against a wall in a humid garage often pick up a permanent bend; once that set happens, you’ll fight it with fasteners forever. Store sheets flat with stickers, especially thin panels.
How plywood is made and why it’s strong
Key takeaways: Strength comes from veneer alignment, glue quality, and press consistency. Warping resistance is real, but core voids and moisture are the usual failure triggers.
- More uniform veneers usually mean more predictable stiffness.
- Adhesive type and cure affect delamination risk.
- Moisture exposure attacks edges first, then internal plies.
Veneer layers
Each veneer layer adds strength in one direction while supporting the opposite direction via the adjacent cross layer. That’s why plywood feels stiff even when it’s thinner than solid wood—loads spread across multiple bond lines instead of concentrating in one grain direction.
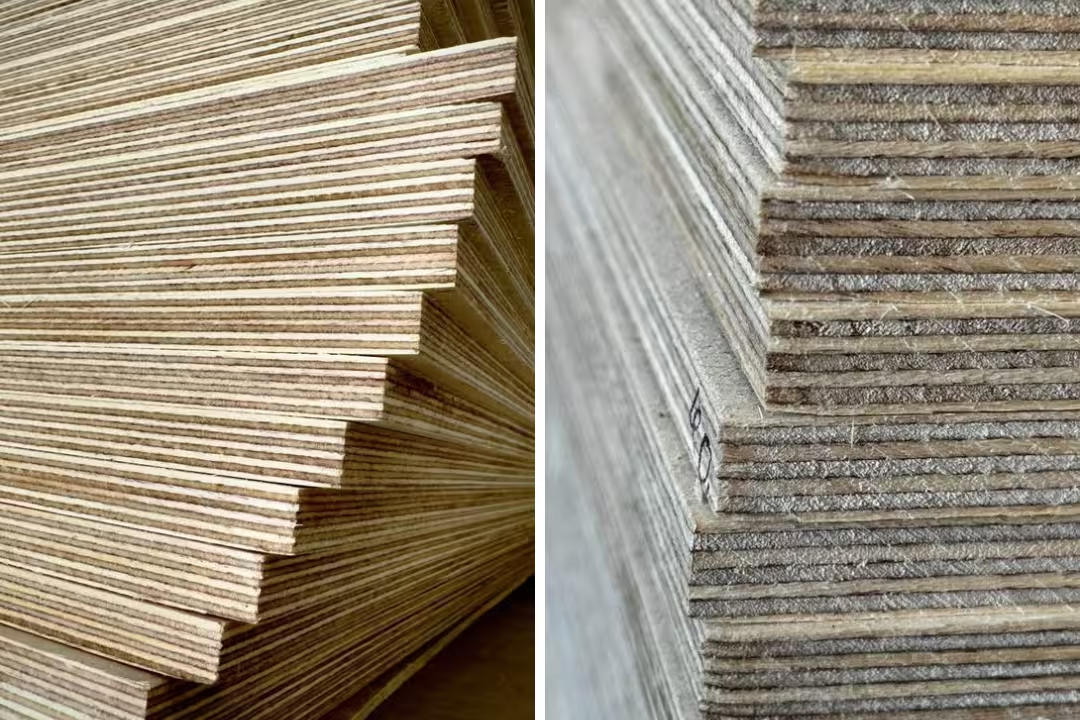
Watch for voids on the edge of cheaper sheets. If you see gaps, you’ll also see problems later: routers can “drop” into a void, edges can crumble, and screws can strip because they bite into air pockets instead of wood.
Adhesive bonding
Adhesives are what turn stacked veneers into a single structural panel. The sheet is pressed under heat so glue flows into veneer pores and cures, locking layers together into a panel that resists shear and racking.
If you’re working in wet or high-humidity areas, adhesive quality becomes the difference between a panel that lasts and one that develops bubbling faces. An easy field check: lightly mist a cutoff edge and wait; weak bonds sometimes show early edge telegraphing as faint ripples.
Warping resistance
Plywood resists warping because alternating grain directions counteract movement. Still, warping shows up when one face takes on moisture faster than the other—like an unsealed shop cabinet side sitting against a damp slab. You’ll feel the panel get slightly cool and clammy on the wet side before it visibly bows.
Workaround: seal both faces and edges when moisture swings are expected, even for “interior” panels. Beginners often seal only the visible face, which creates a moisture imbalance and makes the sheet curl.
Plywood grades and quality standards
Key takeaways: Grades mostly describe face appearance, not raw strength. CDX is common for construction, while cabinet-grade faces (A/B) are meant to be seen.
- Grade letters describe face veneer quality, not the core.
- A-grade sands and paints cleaner; lower grades hide under roofing felt or drywall.
- Common mistake: assuming “A” automatically means stronger.
| Grade / term | What it usually means in practice | Where it’s commonly used |
|---|---|---|
| A | Smooth face with minimal repairs; best for visible surfaces | Painted panels, high-visibility furniture parts |
| B | Solid face with small repaired defects; sands well | Cabinet boxes, built-ins with light finishing |
| C | Knots and defects allowed; “utility” look | Shop fixtures, hidden panels |
| D | More open defects and knots; rougher face | Temporary bracing, hidden construction layers |
| CDX | C face + D back; “X” signals exterior-type glue | Roof/wall sheathing under coverings |
Industry grading can vary by product line and region, so always read the stamp and inspect edges. For a deeper walkthrough, see plywood grades, plus references like Types of Plywood (This Old House).
Grade A plywood
Grade A is picked for its clean face. It takes paint with less fuzzing and fewer pinholes, so your roller doesn’t “chatter” over knot patches. Choose A when the surface will be inspected at arm’s length under raking light—like built-ins near a window.
Mistake: using A-grade for hidden structural layers and paying for appearance you’ll never see. Put your budget into the correct thickness, exposure rating, and a better core where it actually matters.
Grade B plywood
Grade B has minor defects and patches but stays finish-friendly. It’s a sweet spot for cabinet interiors, closet organizers, and shop jigs where you still want a respectable face without paying for perfection.
Workaround: if you’re staining, test a cutoff first. Patches can absorb stain differently and show as slightly dull areas, especially on softwood faces.
Grade C plywood
Grade C allows knots and visible repairs. It’s common in utility builds, drawer bottoms that won’t be seen, and structural layers where finish isn’t the goal.
Risk: knots can loosen and fall out when you run a router close to an edge. If you must machine it, leave extra margin and trim to final size after profiling.
Grade D plywood
Grade D is rougher with more open defects. It’s often fine under roofing underlayment or as temporary site work, but it’s a poor choice for any edge you’ll expose or any panel that needs crisp joinery.
Pro trick: if you must use D-grade for a jig, seal the face with a thin coat of shellac to reduce splinters and keep layout lines from bleeding when humidity climbs.
CDX grade plywood
CDX plywood is built for construction, where the sheet will be covered. The C face is “better” than the D back, and the “X” signals an exterior-type glue line, which helps with short-term moisture exposure during builds.
Common misunderstanding: CDX isn’t “waterproof.” Rain during framing is one thing; sitting wet for weeks is another. Edges can swell and faces can check, which later telegraphs through shingles or underlayment if the roof assembly traps moisture.
Sanded pine plywood
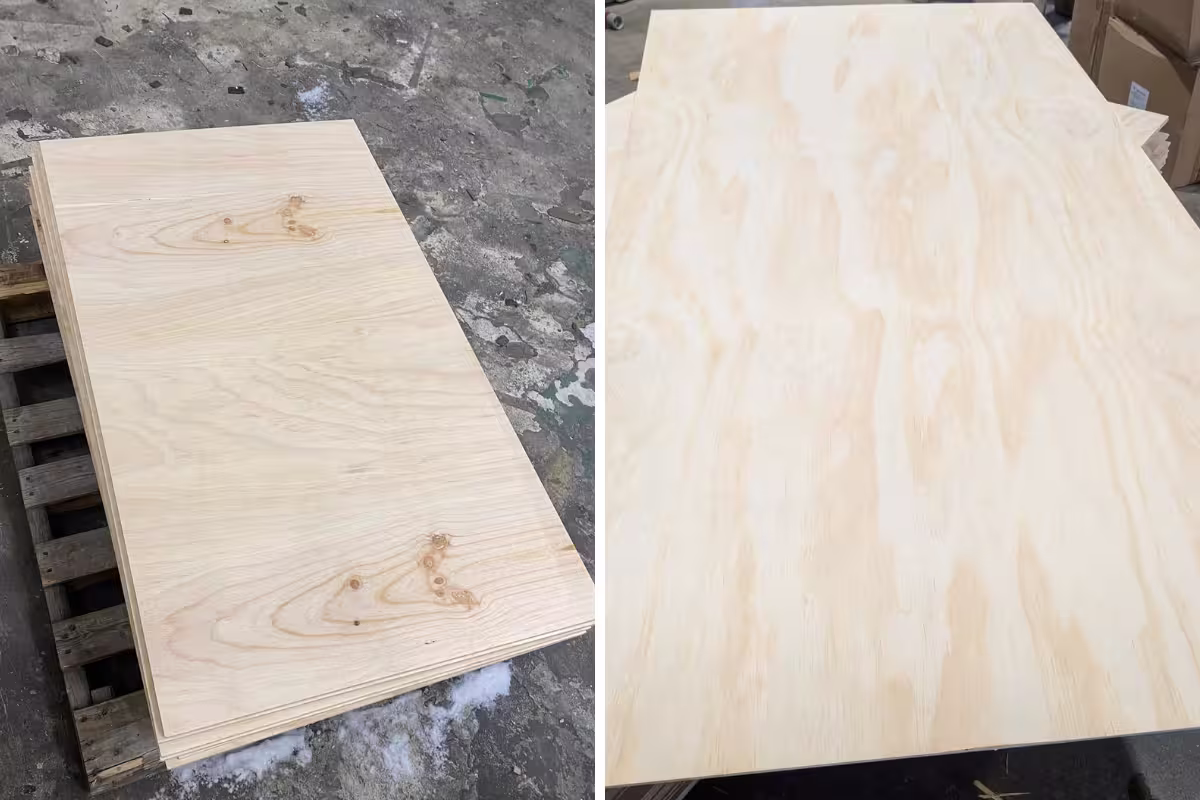
Sanded pine (often labeled BC or similar) is popular for shop cabinets, painted projects, and budget-friendly furniture parts. It cuts smoothly and holds screws well, especially when you pre-drill near edges to avoid face splintering.
If you want a related read focused on this product family, see sande plywood (often compared in the same “sanded” shopping set).
Baltic birch plywood
Baltic birch is loved for its clean faces and strong, void-minimized core. When you sand the edge, it feels dense and uniform under your fingertips, which is why exposed-edge drawers and modern plywood furniture often specify it.
For a deeper material profile, see Baltic birch. Also cross-check buying guidance from plywood buying guide (Lowes) since retail labels can differ by store line.
Softwood vs hardwood plywood
Key takeaways: Softwood plywood dominates construction; hardwood plywood dominates finished interiors. Weight, dent resistance, and surface appearance are the big separators.
- Softwood panels are cost-effective for sheathing and subfloors.
- Hardwood faces resist dents and finish better for visible work.
- Beginner pitfall: choosing by species name and ignoring core quality.
Softwood plywood species
Softwood plywood typically uses pine, fir, spruce, cedar, or redwood faces/plies. Fir and pine show up constantly in roof and wall sheathing because they hit a practical balance of cost, stiffness, and availability.
If you need a panel with natural decay resistance for certain exterior details, cedar-faced panels can make sense, but you still need the correct exposure rating and edge sealing. See cedar plywood for use cases and constraints.
Hardwood plywood species
Hardwood plywood is faced with species like oak, maple, walnut, birch, hickory, or poplar. These faces feel harder under a fingernail test and resist the “soft dent” you get on pine when you bump a corner during install.
Maple is a common cabinet and shop standard because it finishes predictably and stays bright. If that’s your target, see maple plywood.
Strength and weight
Softwood plywood often provides strong structural performance at a manageable weight for jobsite handling. Hardwood-faced panels can be heavier and feel more “solid” when carried, which matters when you’re wrestling a full 4×8 onto a table saw or into upper cabinets.
If you need planning numbers for moving and installing sheets safely, see plywood weight. Risk: underestimating sheet weight leads to bent corners, cracked veneers, and back injuries—especially with thick cores.
Appearance and finish
Hardwood plywood wins when grain and color matter. Softwood faces can blotch under stain and show pitch pockets that bleed through paint unless you prime correctly; you’ll smell a sharp resin note when you sand into those areas.
Workaround: for paint-grade softwood, use a stain-blocking primer and sand lightly between coats to knock down raised grain. For stain-grade, pick a hardwood face or test conditioners on offcuts.
Typical applications
Softwood plywood is common for walls, roofs, and subfloors. Hardwood plywood is common for cabinetry, furniture, and finished wall panels. Cabinet-focused selection cues are covered in cabinet grade plywood.
Edge case: a “hardwood” face doesn’t guarantee a great sheet. Some low-cost imports have pretty faces over weak cores, which show up as sagging shelves and stripped screws.
Plywood core types explained
Key takeaways: Core type controls flatness, weight, screw holding, and long-span deflection. Beginners often choose by face veneer and ignore the core, then wonder why shelves bow.
- Veneer core: great screw holding and strength-to-weight.
- MDF core: very flat and smooth but hates edge moisture.
- Lumber core: excellent for long spans with low deflection.
Veneer core plywood
Veneer core plywood uses wood veneers throughout. It’s the common “do-most-things” choice because it’s relatively light, strong, and holds screws well. When you drive a screw, it tends to bite and tighten with a clean torque feel instead of the mushy spin you get in weaker fiber cores.
Risk: voids. If your shelf standards or hinge screws land in a void, you’ll get a false-tight feel and then a sudden strip. Workaround: pre-drill, use confirmat-style fasteners where appropriate, and avoid placing critical screws near sheet edges where voids are more common.
MDF core plywood
MDF core plywood sandwiches an MDF center with veneer faces. It’s popular for painted doors or panels because it’s dead flat, uniform, and the face sands smooth without the grain chatter you can get on some softwood veneers.
Risk: edge swelling from moisture. One small leak can turn an MDF-core edge fuzzy and raised, and it never fully returns to flat. Seal edges aggressively and avoid MDF core anywhere near sinks, entryways, or damp basements.
Lumber core plywood
Lumber core uses solid wood strips inside, skinned with veneers. It’s a go-to for wide shelves and long spans because it stays straighter and deflects less under load when built well.
Trade-off: quality varies a lot. If the internal strips aren’t tight and consistent, you can hit glue gaps while machining. Inspect edges if possible, and plan to band or cap edges for finished work.
Screw-holding and deflection
Screw-holding matters for cabinets, hinges, and anything you’ll service later. Deflection matters for shelves and roofs because a small sag today turns into a permanent set after months of load.
| Core type | Screw-holding | Flatness | Long-span sag resistance | Best-fit use |
|---|---|---|---|---|
| Veneer core | High | Good | Good | General cabinets, furniture frames, structural panels |
| MDF core | Medium (weaker at edges) | Very high | Medium | Painted door panels, flat decorative panels |
| Lumber core | High | High (if quality is good) | Very high | Long shelves, tabletops, spans |
If you’re comparing engineered cores more broadly, laminated panel behavior overlaps with this topic; see laminated wood for related construction logic.
Plywood by layer count (ply configuration)
Key takeaways: Ply count affects stiffness, screw bite depth, and durability, but thickness and core quality still matter more than marketing. Multi-ply tends to machine cleaner on edges and holds up better in rough handling.
- 3-ply: common in thinner panels; can be more decorative.
- 5-ply: versatile balance of rigidity and weight.
- Multi-ply (7+): best for durability and many structural needs.
3-ply plywood
3-ply plywood is often used in thinner sheets where flexibility can be useful. It can look better on the face in some products, but thin 3-ply can also feel “drummy” and resonate if you use it for large unsupported panels.
Risk: edge blowout. With fewer, thicker veneers, a dado or rabbet can chip if your blade is dull. Use a sharp, high-tooth-count blade and blue tape on the cut line to reduce splintering.
5-ply plywood
5-ply plywood is a common workhorse for general builds. The extra layers help it feel stiffer and more stable across the sheet, which is noticeable when you lift one corner—good sheets don’t “flop” as much.
This is often a safer default for jigs, shop cabinetry, and medium-duty panels where you want fewer surprises from seasonal humidity.
Multi-ply plywood
Multi-ply plywood (7+ layers) is built for higher durability and is common in exterior and structural contexts. Edges usually look like tight stripes, and they sand into a clean, crisp corner that accepts edge banding or clear finishes nicely.
Trade-off: it can be heavier and harder on blades. Plan for slower feed rates and dust collection because fine veneer dust gets airborne fast and feels dry and scratchy in your throat without a respirator.
Ply count vs durability
Ply count supports durability, but glue quality, veneer species, and storage conditions can matter more. A high-ply sheet stored damp can still delaminate, while a mid-ply sheet kept dry and sealed can last decades indoors.
Use ply count as a clue, then confirm with sheet flatness, edge quality, stamp info, and the planned exposure level.
Structural vs decorative plywood
Key takeaways: Structural plywood is chosen for load and racking resistance; decorative plywood is chosen for faces and finishing. Cabinet-grade cues often show up in core consistency and face repair style.
- Structural panels prioritize strength and rated performance.
- Decorative panels prioritize surface finish and machining.
- Beginner pitfall: using decorative panels where ratings are needed.
Structural plywood basics
Structural plywood is built for construction loads: roofs, walls, floors, and bracing. You’ll usually see grade stamps and exposure classifications because building assemblies behave like systems—one weak panel can create squeaks, soft spots, or movement that cracks finishes.
If you want background on how plywood fits into framing and sheet goods choices, see construction wood.
Decorative plywood basics
Decorative plywood focuses on the face veneer and how it finishes. It’s used for panels you’ll see and touch—cabinet ends, wall panels, furniture sides—where a smooth sanded face and consistent veneer color matter.
Risk: thin face veneers. Many decorative sheets have very thin faces that sand through fast, especially on corners. Workaround: stop sanding earlier than you think, and switch to scraping or a fine finishing pad to avoid burning through.
Cabinet-grade plywood cues
Cabinet-grade plywood usually has better faces and fewer core voids, plus more consistent thickness for joinery. When you cut dados, the fit feels more predictable—less of that annoying “one end tight, other end loose” behavior.
For a deeper explanation of what to look for on labels and at the sheet edge, use cabinet-grade plywood.
Durability: indoor vs outdoor plywood
Key takeaways: “Exterior glue” doesn’t mean a sheet can live unprotected outside. Outdoor durability depends on exposure rating, edge sealing, fastener choice, and whether water can drain and dry.
- Indoor panels fail from humidity swings and poor sealing.
- Outdoor panels fail from edge swell and trapped water.
- Moisture-resistant panels still need design for drainage.
Indoor plywood conditions
Indoor plywood lives in relatively stable conditions, but kitchens, bathrooms, and basements are exceptions. Steam and wet mopping push moisture into edges; you’ll often see the first damage as a slightly raised seam you can feel with your fingertips.
Workaround: finish all faces and edges, and leave small expansion gaps where panels meet walls or tight trim. Tight, caulked-in panels can buckle when humidity spikes.
Exterior plywood exposure
Exterior plywood is made to tolerate wetting cycles better, mainly through adhesive selection and build targets. It still needs protection from constant saturation and UV, which can break down surface fibers and cause checking.
For specialized wet-use panels, see marine plywood and phenolic plywood.
Moisture-resistant needs
Moisture resistance is a system choice: sheet rating, sealing, ventilation, and detailing. A common failure is using a moisture-tolerant sheet but trapping it between non-breathable layers so it never dries, which leads to odor, mold risk, and glue-line stress.
If your project needs a tough overlay surface (trailers, painted exterior panels, concrete form-style reuse), see medium density overlay plywood.
Plywood sizing, thickness, and sheet specs
Key takeaways: Most types of plywood sheets come in standard footprints, but thickness can be “nominal” and slightly off. Always match thickness to load, span, and fastening method.
- Standard sheets are often 4×8, but other formats exist.
- “Nominal thickness” can be undersized.
- Span and fastening method control deflection more than guesswork.
Standard sheet sizes
Many plywood sheets are sold as 4 ft x 8 ft, with other sizes available for specific product lines. Sheet size impacts waste, seams, and how many people you need to move it safely without snapping corners.
For a sizing reference you can keep open while planning cuts, see plywood dimensions.
Thickness options
Thickness options range from thin paneling up to heavy structural panels. The “gotcha” is nominal sizing: a sheet sold as 3/4 in is often slightly thinner, which matters for dado fit, euro hinges, and shelf pin hardware.
Workaround: measure with calipers before cutting joinery, then cut dados to the real thickness, not the printed number. This one habit prevents lots of glue-line gaps later.
Matching thickness to loads
Load matching is about span length, load type (static vs moving), and support spacing. A shelf loaded with books needs better sag resistance than a cabinet side, even if both “feel” stiff when you pick them up.
If you’re building long shelves, consider lumber core or multi-ply, add a front edge band that adds stiffness, or design in intermediate supports. Beginners often overbuild thickness and still get sag because the span is too long and the front edge is unreinforced.
Selecting plywood for specific projects
Key takeaways: Start with exposure (interior/exterior), then structure (span/load), then finish needs. This section answers the high-intent question “what type of plywood for roof” and maps other common builds.
- Roofs need rated sheathing and correct thickness for rafter spacing.
- Subfloors need stiffness to prevent squeaks and cracked tile.
- Cabinetry needs a stable core and reliable screw holding.
- Furniture needs faces that finish well and edges that machine cleanly.
What type of plywood for roof
For most roofs, use structural-rated sheathing such as CDX or rated sheathing panels that match your local code and your rafter/truss spacing. Pick thickness based on span and roof load (snow/wind), and avoid appearance-grade panels because they aren’t sold for structural performance.
Common mistake: treating “exterior” as “waterproof” and leaving stacks uncovered on-site. Roof sheathing that gets soaked can swell at the edges; you’ll feel a raised ridge under underlayment, and that ridge can print through shingles on hot days.
For an installation overview, this video helps visualize sheet selection and jobsite handling:
For retailer terminology and typical sheathing options, compare with types of plywood (Home Depot). Then confirm structural requirements through local building guidance, since roof assemblies are code-sensitive.
Plywood for subfloors
Subfloors want stiffness, consistent thickness, and good fastener holding. Structural-rated panels are typical, and a better panel pays off in fewer squeaks and less floor bounce—especially under tile, where movement can crack grout.
Workaround: glue + screw correctly and stagger seams. A common beginner miss is lining seams up or under-fastening edges, which creates a “click” you’ll hear for years.
Plywood for cabinetry
Cabinetry needs a stable sheet that holds hinge screws and stays square. Veneer core is a common choice for boxes; MDF core can be excellent for dead-flat painted panels if you keep it away from moisture and seal edges.
If you’re building paint-grade door fronts, pair stable material choices with smart surface prep. Also compare with Complete Guide to Choosing Plywood (Columbia Forest Products) for retail-grade terminology.
Plywood for furniture
Furniture benefits from clean faces, minimal voids, and edges that machine well. Baltic birch and quality hardwood-faced panels are common picks for exposed-edge designs, while sanded panels work well for painted builds.
Risk: tear-out and veneer chip-out. Use a zero-clearance insert, score cut lines, and climb-cut carefully with a router only when you can control the tool—climb cuts can grab aggressively and ruin an edge in a split second.

Versatile Baltic Birch Plywood
- 12x12 inches for easy use in crafts
- Ideal thickness for strength and flexibility
- Perfect for DIY and arts projects
- Smooth finish for paint and finish
- Reliable for laser projects.

Craft-Ready Baltic Birch Sheets
- Six 3mm pieces ideal for creativity
- B/BB veneer offers premium quality
- Great for laser cuts and engraving
- Suited for painting and drawing
- Ideal for detailed DIY projects.
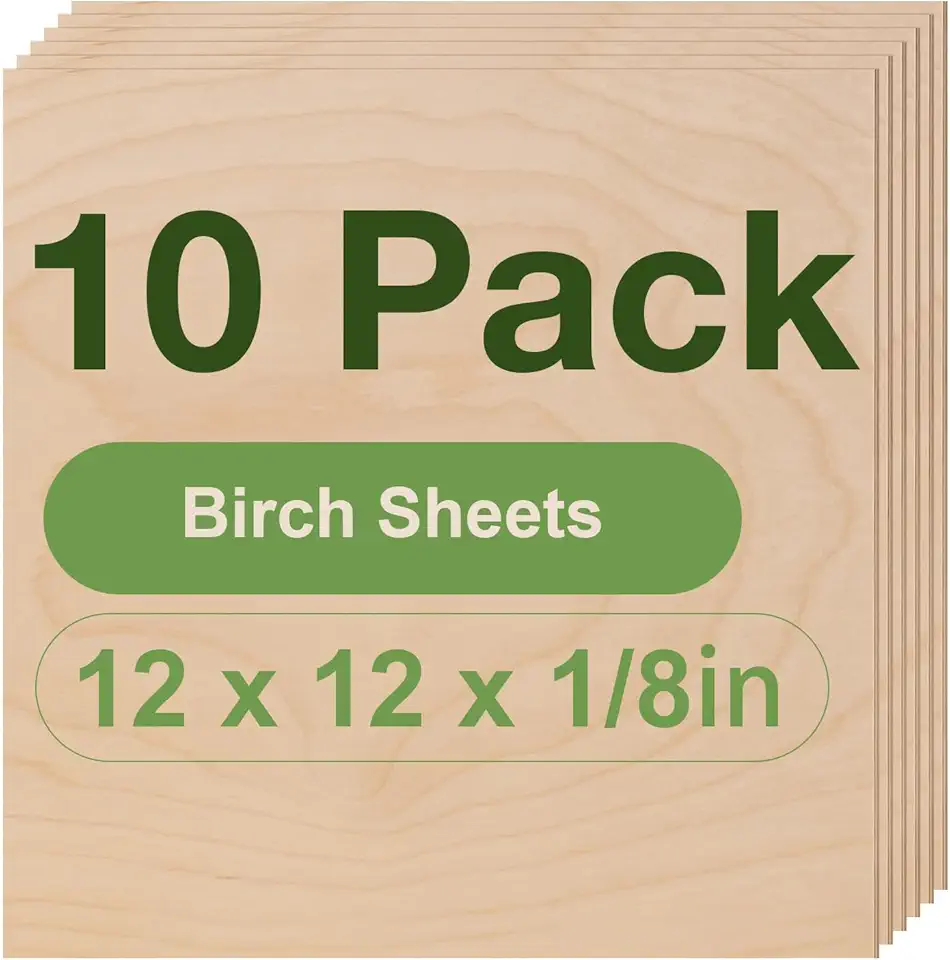
Birch Plywood for Crafts - Set of 10
- Thin 3mm sheets, perfect for models
- Great for laser cutting projects
- Unfinished surface ready for customization
- Durable and warp-resistant design
- Suitable for wood burning techniques.
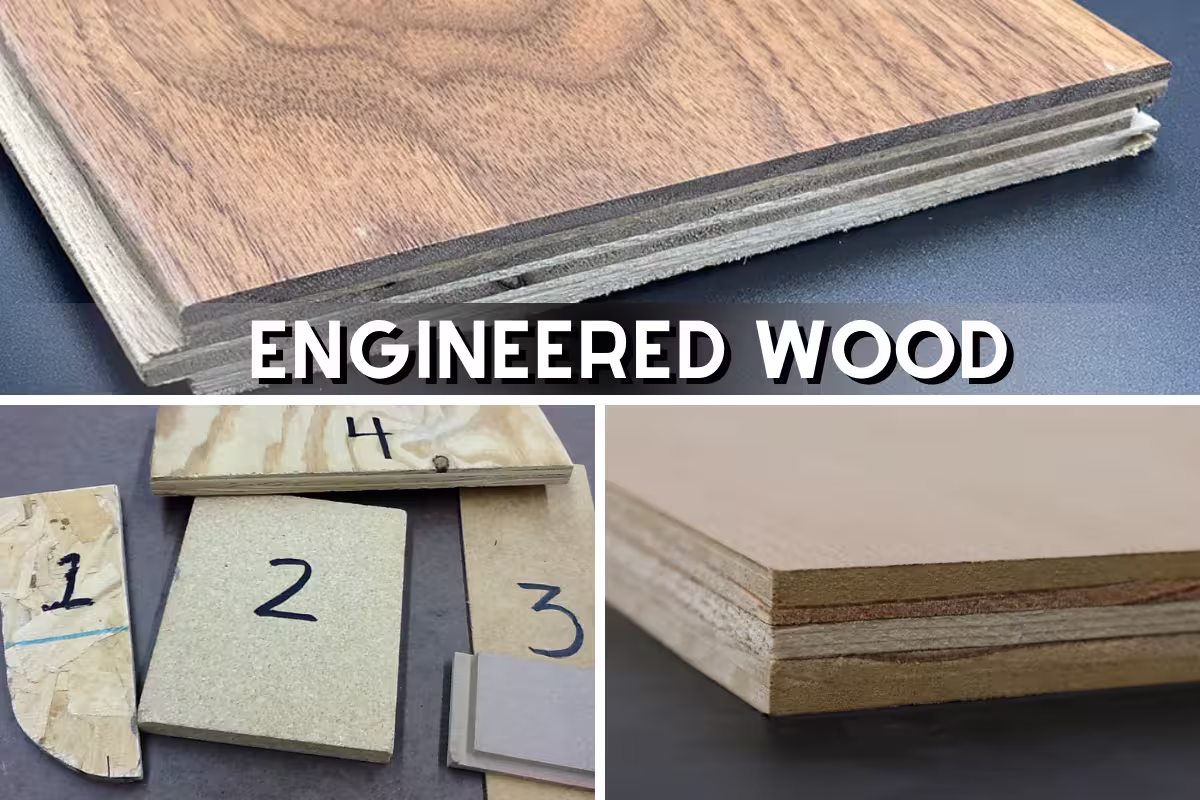
Plywood alternatives compared
Key takeaways: MDF, particleboard, and OSB can beat plywood in specific roles, but they come with trade-offs in moisture tolerance, fastener strength, and weight. Pick the panel based on the failure mode you can’t accept.
- MDF wins for paint-smooth surfaces.
- Particleboard wins for budget interiors with low stress.
- OSB wins for sheathing economics in many builds.
MDF vs plywood
MDF is flat and paints beautifully, but it’s heavy and punishes edges when wet. Plywood is lighter for its strength and usually holds screws better, making it safer for cabinets, shelves, and anything that gets moved or serviced.
Workaround: if you use MDF for doors, use proper edge sealing and avoid exposed bottom edges near mopping or wet shoes. That’s where swelling starts.
Particleboard vs plywood
Particleboard is cheap and uniform, so it’s common in flat-pack furniture. It strips more easily, sags faster, and breaks down quickly with moisture, while plywood tolerates abuse better and holds fasteners with more confidence.
Pro tip: if particleboard is the only option for a budget cabinet interior, use specialty fasteners and avoid over-torquing. Many failures happen at assembly because the screw threads grind the particles into dust.
OSB vs plywood
OSB uses oriented wood strands and adhesive to form a structural panel. It’s common for sheathing and subfloors, and it can perform well structurally, but edges can swell and stay swollen after wet exposure, leaving ridges you can feel under flooring.
Workaround: keep OSB dry on-site, gap per manufacturer guidance, and sand down swollen seams only if the assembly allows it. Sanding can remove surface resin and weaken the top layer if you overdo it.
When alternatives win
Alternatives win when the top requirement is a perfect painted surface (MDF), ultra-low cost for low-stress parts (particleboard), or structural sheathing economics (OSB). Plywood wins when you need a balanced mix of strength, screw holding, and damage tolerance.
| Material | Best at | Weak spot | Common “regret” scenario |
|---|---|---|---|
| Plywood | Strength-to-weight, screw holding | Face veneer can chip; quality varies | Buying pretty-face sheets with weak cores |
| MDF | Paint-smooth flat panels | Edge swelling with moisture | Using it near sinks or entryways |
| Particleboard | Lowest cost, uniform thickness | Strips and sags; hates water | Shelf failures in book storage |
| OSB | Structural sheathing value | Edge swell and texture | Leaving it exposed to rain too long |
Common misconceptions and mistakes
Key takeaways: Grades don’t equal strength, “exterior” doesn’t mean waterproof, and core choice often matters more than face veneer. Most plywood problems come from moisture timing, poor storage, and wrong fasteners.
- Grades describe appearance more than structure.
- Exterior ratings reduce delamination risk, not total water damage.
- Softwood can be strong; hardwood can still fail with weak cores.
- Core selection prevents sag and screw strip-out.
Grades vs strength
Grade A looks best, but it isn’t automatically stronger than C or D. Structural performance comes from panel rating, thickness, core build, and adhesive—while grades mostly describe the face quality you’ll see.
If you want a visual explanation of how grading is communicated, see What are the different grades of plywood?.
“Exterior” misunderstandings
“Exterior” usually points to glue and intended exposure cycles, not permanent weather exposure without protection. Water that sits on a horizontal edge will still swell wood fibers, and once edges swell, panels can telegraph ridges through finished layers.
Workaround: design edges so water can’t sit, seal cut edges, and allow assemblies to dry. Many failures happen because water gets trapped behind trim or impermeable membranes.
Softwood durability myths
Softwood plywood isn’t “weak” by default. It can be excellent structurally, which is why it’s common in building assemblies. The real durability question is exposure rating, panel rating, and whether the installation prevents chronic wetting.
Edge case: a softwood face can dent more easily than hardwood, so it’s a poor pick for furniture surfaces that get daily abuse. For those, choose a hardwood face or protect with high-wear finishes and design details like sacrificial rails.
Skipping core selection
Ignoring core type causes the most “mystery failures”: saggy shelves, hinge screws that loosen, and panels that won’t stay square. A fancy face over a weak core still behaves like a weak panel once loads and humidity show up.
Workaround: decide your core first (veneer, MDF, lumber), then pick a face grade and species that matches the finish. You get better outcomes and you stop overpaying for looks on hidden parts.
Lessons Learned in Practice
Key takeaways: The sheet that wins on paper can still fail from storage, cutting, and fastening details. Most real-world plywood headaches are edge-related: swelling, voids, splintering, and fastener placement.
- Store sheets flat and dry to avoid memory warp.
- Treat edges as the weak point; seal and protect them.
- Plan cuts around voids so critical joints land in solid plies.
- Use the right blade and tape/score to prevent tear-out.
On real jobs, the first surprise is how much sheet quality varies within the same stack. Two “identical” panels can cut differently: one leaves a clean edge; the other fuzzes and splinters, and you can hear the blade pitch change as it hits harder glue lines or denser patches. That’s a cue to slow your feed rate and support the sheet better to avoid edge blowout.
The next surprise is moisture timing. A panel can look fine after a rain, then a day later you feel the seams standing proud like a speed bump under your palm. If that happens on subfloors or roof decks, fix it before covering: let it dry, sand high seams lightly, and replace panels that show delamination bubbles or spongy spots.
Fasteners cause silent failures. Screws driven too close to the edge can wedge plies apart, and you’ll see a hairline split that grows with seasonal movement. Pre-drill, step up to better screws for cabinetry, and avoid “over-driving” with an impact driver—when the head snaps the surface fibers, you lose clamp force even if the screw feels tight.
Lastly, finishing mistakes show up under light. Thin face veneers sand through fast on corners; once you see a pale “ghost” patch, it’s too late. Use lighter sanding pressure, break edges minimally, and test finishes on offcuts so you don’t discover patchy absorption after the full panel is built.
Strategic buying outlook and decision checklist
Key takeaways: Start with performance targets (exposure, span, fastening), then pick grade and species for appearance. This reduces wasted money and prevents the common beginner move of buying by the prettiest face.
- Define exposure first, then structural needs, then finish goals.
- Inspect edges for voids and check flatness before buying.
- Spend money on core/ratings before face perfection.
Performance-first selection
Lock in the requirements that can’t be fixed later: exposure rating, thickness, and core. A premium face can’t rescue a roof deck that’s too thin, and a pretty veneer won’t stop shelf sag if the span is wrong.
If your project includes specialty panels like luan, treat it as its own category because it’s often used for underlayment and lightweight skins. See luan plywood and for the related species notes, luan wood.
Budget and value tradeoffs
Value shows up in labor savings and fewer redo’s. A flatter sheet with fewer voids cuts faster, dados fit better, and you spend less time filling and sanding. Cheap sheets can cost more once you fight warped panels and misaligned joinery.
If you’re weighing panel options against butcher-block style assemblies for tops or counters, compare the use case and movement behavior in butcher block wood. If sustainability and alternative materials are on your list, see bamboo lumber.
Quick selection checklist
- Where will it live: dry interior, humid interior, or exterior exposure? Pick exposure rating first.
- Is it structural or decorative? Choose rated sheathing where required.
- What spans and loads apply? Choose thickness and core to control deflection.
- Will screws be removed/reinstalled (hinges, hardware)? Favor veneer or lumber core.
- Will the face be visible? Choose A/B faces or hardwood veneer for finish quality.
- Inspect the sheet: check for warp, look for edge voids, and reject panels with bubbled faces.
- Plan protection: seal edges, store flat, and keep sheets dry before install to avoid swelling.
If you want a clear cross-reference while shopping, keep a note of the sheet label terms, the core you want, and the project requirements. That single-page checklist prevents most wrong-purchase scenarios tied to “different types of plywood” naming confusion and helps you pick the right types of plywood for your build.
FAQs
What Are The Different Types Of Plywood Sheets?
Plywood comes in several types based on wood species, core construction, and finish; common ones are softwood, hardwood, tropical, film-faced, and marine plywood.
Softwood is used for general construction, hardwood for furniture and cabinetry, and marine plywood uses waterproof adhesives for wet conditions. Choose a type by strength needs, moisture exposure, and desired appearance.
What Do Plywood Grades A B C And D Mean?
Plywood grades A, B, C, and D describe face veneer quality and appearance, with A the smoothest and D the most knotty.
A and B are chosen where appearance matters like furniture and trim, while C and D are fine for structural or hidden work. Grades do not fully reflect strength — also check species, core type, and adhesive for performance.
What Type Of Plywood For Roof Sheathing Is Best?
For roof sheathing, exterior-grade plywood such as CDX or oriented strand board (OSB) in 1/2″ to 3/4″ thickness is commonly recommended.
CDX offers better nail-holding and moisture resistance; OSB is a cost-effective alternative. Always follow local building codes, roof span requirements, and climate considerations when choosing material and thickness.
Is Hardwood Plywood The Same As Cabinet-Grade Plywood?
Hardwood plywood and cabinet-grade plywood are related but not identical: hardwood refers to the face species, while cabinet-grade denotes higher appearance and construction standards.
Cabinet-grade panels typically use matched hardwood faces, premium cores, and tighter tolerances for stability and finish. For quality cabinetry choose plywood labeled cabinet-grade to ensure consistent veneers and cores.
What’s The Difference Between Veneer Core And MDF Core Plywood?
Veneer-core plywood has a center made of stacked veneers that offers good strength and screw-holding, while MDF-core plywood uses a uniform medium-density fiberboard center for smoothness and flatness.
Veneer core is lighter and better for hardwood veneers and hardware; MDF core machines and paints consistently but holds screws less well. Pick veneer core for cabinetry hardware, MDF core for painted surfaces.